If you’ve ever taken a product photo, scanned a drawing, or downloaded a logo, chances are you’ve run into the same problem: a plain white background that you want to get rid of. In this content we will discovered 8 different system that how to remove white background in photoshop. Lets discuss-
Photoshop offers different ways of remove a white background. You can use a quick, one-click tool or try more advanced methods for professional results. The right tool depends on what kind of image you’re working with.
In this guide, I’ll walk you through 8 proven techniques to remove white backgrounds in Photoshop, step by step. By the end, you’ll know which method is best for quick edits, portraits, logos, and even tricky cases like hair or transparent objects.
Quick Answer (Fastest Way)
- Open your image in Photoshop.
- Unlock the Background layer.
- Go to the Properties panel → Quick Actions → Remove Background.
- Photoshop automatically creates a mask and removes the white Background.
- Refine the edges in Select and Mask if needed.
That’s it — you’re done with your job in seconds. This method works best for simple product photos or portraits where the subject stands out clearly from the background.
Now let’s dive into all the methods in detail.
1. how to Remove White Background in photoshop (One-Click Quick Action)
If you’re short on time, Photoshop’s built-in Remove Background is your friend.
How to use it:
- Open your photo and unlock the layer by clicking the padlock in the Layers panel.
- Go to the Properties panel.
- Under Quick Actions, click Remove Background.
- Photoshop’s AI will detect the subject, remove the white, and create a layer mask.
When to use it: Quick product shots, profile photos, or anything with a clean subject.
Pro tip: Always zoom in at 300% and check edges — a quick brush on the mask can fix leftover spots.
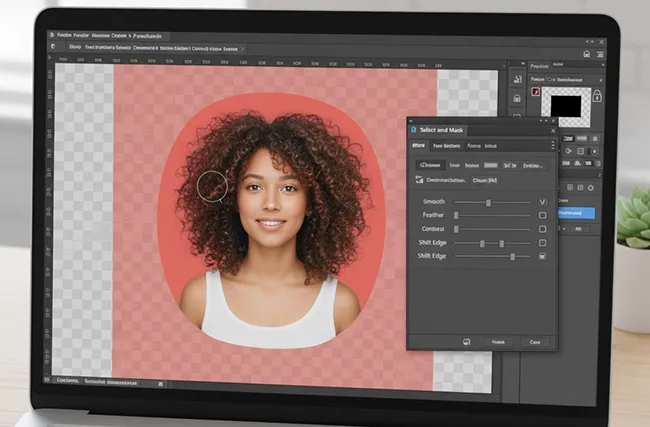
2. Select Subject + Select and Mask (Best for People & Complex Edges)
This is the most reliable method for images with hair, fur, or soft edges.
Steps:
- Unlock your background layer.
- Go to Select → Subject. Photoshop will automatically select the main subject.
- Click Select and Mask in the options bar.
- Use View Modes (On Black, On White, Overlay) to preview.
- Brush around hair or fine details with the Refine Edge Brush.
- Adjust Smooth, Feather, Contrast, and Shift Edge until it looks clean.
- Enable Decontaminate Colors if you see color fringes.
- Output to Layer Mask or New Layer with Mask.
When to use it: Portraits, animals, and objects with hair, feathers, or other fine edges.
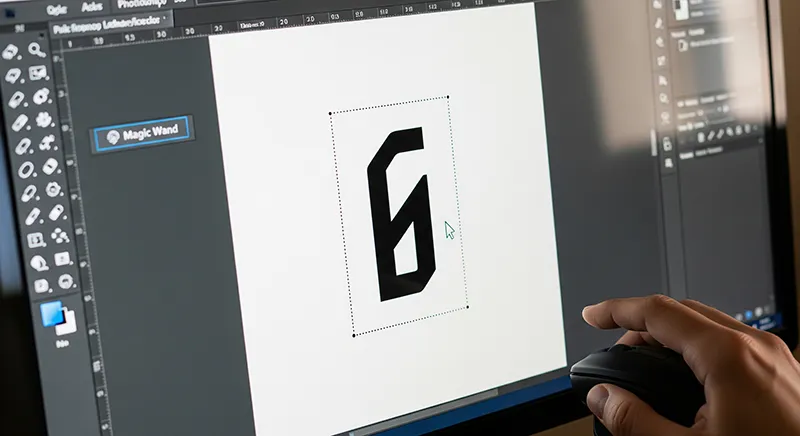
3. Magic Wand or Quick Selection (Simple Backgrounds)
For basic images with solid white backgrounds, these tools are fast.
Magic Wand Method:
- Select the Magic Wand tool (W).
- Click the white area — Photoshop will select it.
- Go to Select → Inverse to select the subject instead.
- Add a Layer Mask to remove the Background.
Quick Selection Tool: Works like a brush — drag over the subject, and Photoshop automatically detects edges.
When to use it: Logos, flat product images, or anything with a perfectly white background.
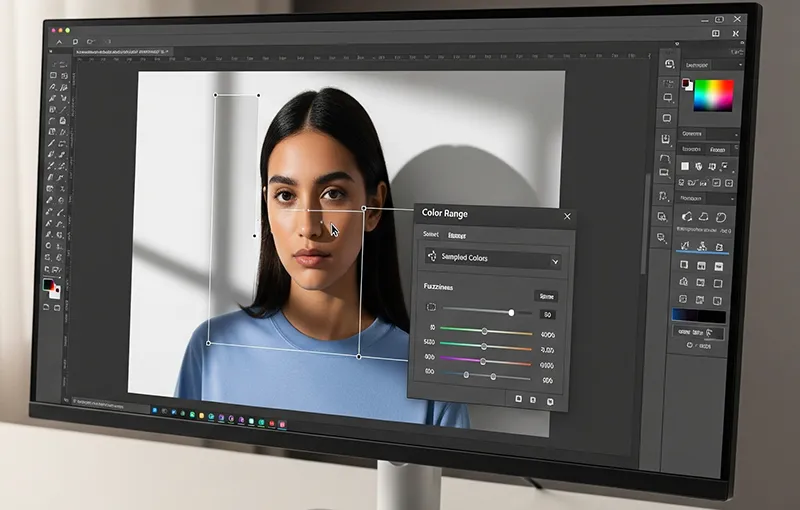
4. Color Range (Great for Multiple Shades of White)
Sometimes the Background isn’t pure white — it’s off-white, light gray, or has shadows. That’s where Color Range shines.
How to use it:
- Go to Select → Color Range.
- Use the Eyedropper to pick the white Background.
- Adjust Fuzziness to capture near-white areas.
- Click OK, then create a Layer Mask.
When to use it: Scanned paper, studio shots with uneven lighting.
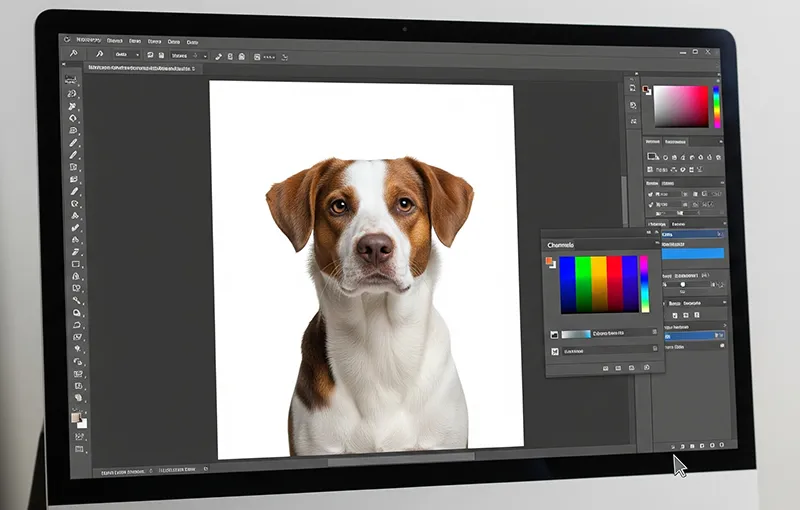
5. Channels Method (Perfect for Logos & Line Art)
For sharp edges and high contrast, channels give you incredible precision.
Steps:
- Open the Channels panel (Window → Channels).
- Look at the Red, Green, and Blue channels. Pick the one with the best contrast.
- Duplicate that channel.
- Use Levels (Ctrl+L) to darken the subject and brighten the Background.
- Ctrl-click the channel thumbnail to load it as a selection.
- Return to RGB and create a Layer Mask.
When to use it: Logos, signatures, line art, or scanned sketches.
6. Blend If (Non-Destructive Trick)
This hidden gem in Photoshop’s Layer Styles lets you hide whites without deleting them.
Steps:
- Double-click your image layer to open Layer Style.
- Under Blend If → This Layer, drag the white slider left.
- Hold Alt (Option on Mac) and split the slider for a smoother transition.
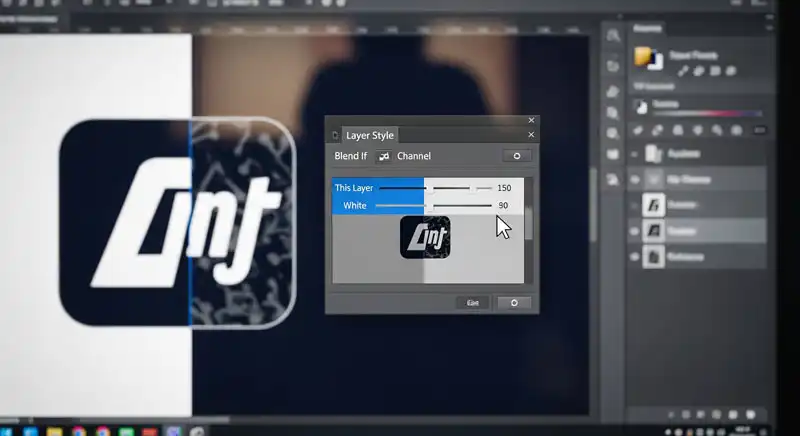
When to use it: Logos or images where you want to remove the white Background but keep white details inside (like text or shapes).
7. Pen Tool (Most Precise, Manual Method)
If you need pixel-perfect cutouts, nothing beats the Pen Tool.
Steps:
- Select the Pen Tool (P).
- Draw a path around your subject (zoom in for accuracy).
- Right-click → Make Selection → feather 1–2 pixels.
- Add a Layer Mask.

When to use it: Jewelry, electronics, or e-commerce products where edges need to look sharp and clean.
8. Refining Edges & Saving as Transparent
No matter which method you use, continually refine the final result:
- Check edges at 200% zoom.
- Use Defringe (1px) if you see white halos.
- Use the Brush Tool on the mask to manually clean.
- Save as PNG for transparency (File → Export → Export As → PNG).
- Save a PSD if you want to keep working on it later.
Troubleshooting Tips
- The subject has a white interior (like a logo). Use Channels or Blend If to avoid erasing the internal white parts.
- Still seeing a white halo. Open Select and Mask → shift edge inward, or use Decontaminate Colors.
- The ” Remove Background button doesn’t work. Make sure the layer is unlocked and selected.
Which Method Should You Use?
- Quick product photo: Remove Background (1-click)
- Portrait or hair: Select Subject + Select and Mask.
- Logo or sketch: Channels or Blend If.
- E-commerce product (high detail): Pen Tool.
Professional Help for Removing Backgrounds
If you have an eCommerce business or a large batch of product images, doing it all by yourself can be time-consuming. At Clipp Out Line, we have a team of skilled editors who handle background removal with precision, helping you save time and focus on growing your business.
Final Thoughts
Removing a white background in Photoshop can be as easy as one click or as detailed as hand-drawing with the Pen Tool.
If you want a quick fix, use the Remove Background button. If you need professional, polished results — especially for hair, logos, or e-commerce — try Select and Mask, Channels, or Pen Tool.
Whichever method you choose, always save as PNG if you want transparency.
FAQ
What’s the fastest way to remove a white background in Photoshop?
Use the Properties panel → Quick Actions → Remove Background.
Which tool is best for hair?
Select Subject + Select and Mask with the Refine Edge Brush.
How do I keep the white parts inside my logo while removing the Background?
Use the Channels method or Blend If — they let you keep interior whites.