
How to edit photos like a professional in today’s digital world. Anyone can snap a photo, but making it stand out is where the real magic happens. Editing photos like a professional can transform even the simplest images into visual masterpieces.
Professional editing is more than just adding filters. It needs a good grasp of color, light, texture, and software tools. Even if you’re a beginner, a few techniques can make you a professional photo editor.
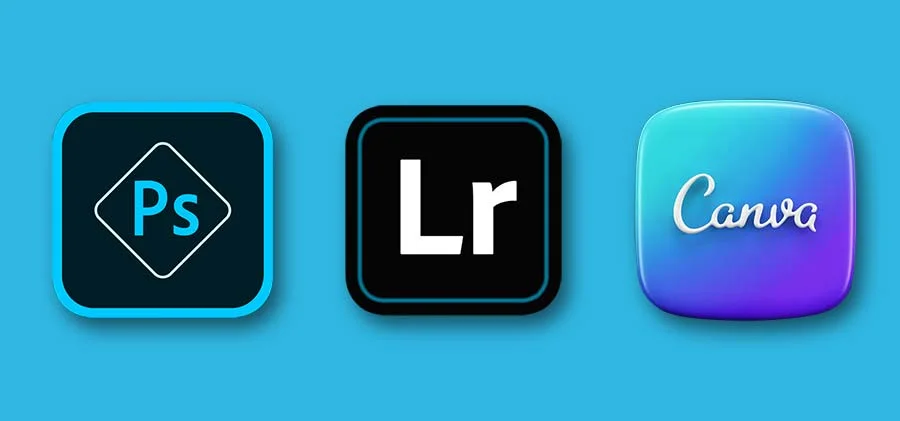
Choosing the Right Photo Editing Software:
The foundation of professional photo editing lies in selecting the appropriate software. Here are some top contenders:
- Adobe Photoshop: A versatile industry standard for advanced editing and photo manipulation.
- Adobe Lightroom: Ideal for managing and editing large volumes of photos, especially RAW images.
- GIMP: A free, open-source alternative offering many professional-grade tools.
- Canva: Canva is easy for beginners and perfect for social media images.
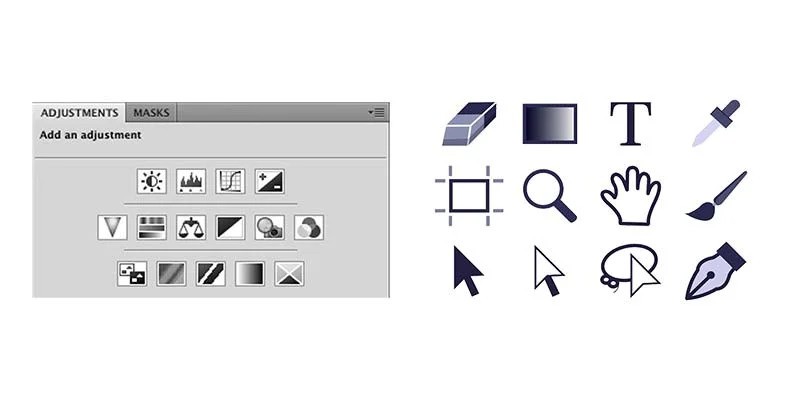
Once you’ve chosen your software, it’s essential to get familiar with its interface. Spend time understanding where key tools are, like the adjustment sliders, crop tool, and layer panel.
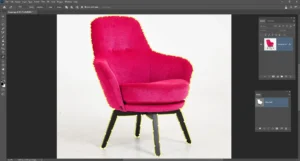
Professional Photo Editing in Photoshop
Understanding the Basics of Photo Editing
Before how to edit photos like a professional guideline, it’s crucial to grasp the fundamental concepts of Photoshop.
- Layers: Layers are like clear sheets stacked on top of each other. You can edit each layer separately without changing the others, which gives you more control over your image.
- Tools: Photoshop has many tools, each designed for a specific task. The Brush, Eraser, Clone Stamp, and Healing Brush are key tools for editing.
- Adjustment Layers: Adjustment layers act like filters for your image. They allow you to change brightness, contrast, color balance, and more without altering the original image.
Mastering with Essential Editing Tools
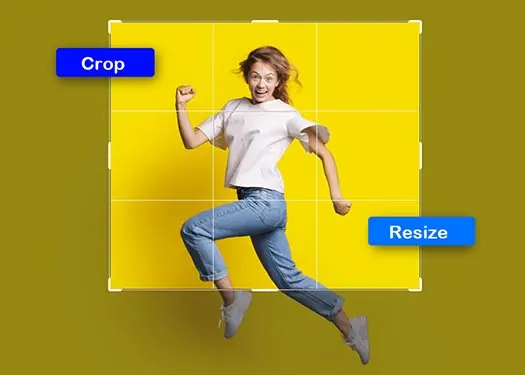
- Crop and Straighten: Use the Crop tool to adjust the composition of your image and the Straighten tool to correct any tilt or skew.
- Adjusting Exposure, Contrast, and Brightness: These adjustments control the overall brightness, contrast, and tonal range of your image.
- Color Correction: Use the Color Balance, Hue/Saturation, and Levels tools to adjust the colors in your image.
Background Remove
Photoshop offers several powerful tools and techniques to effectively remove backgrounds from images. Here are some of the most common methods:
- Pen Tool:
⦁ Precise Selection: Use the Pen tool to draw a path around the subject.
⦁ Create Mask: Convert the path into a mask to isolate the subject.
⦁ Refine Edge: Use the Refine Edge tool to adjust the mask’s boundaries for a more accurate selection. - Quick Selection Tool:
⦁ Choose the Quick Selection tool from the toolbar.
⦁ Click and drag over the area you want to keep and Photoshop will automatically select the edges.
⦁ Use the Refine Edge brush tool to improve the selection if needed.
⦁ Create a new layer and fill it with a solid color or gradient to change the background.
- Magic Wand Tool:
⦁ Color-Based Selection: Click on a color within the subject to select similar areas.
⦁ Adjust Tolerance: Adjust the tolerance to control the range of colors selected.
⦁ Create Layer Mask: Create a layer mask to isolate the subject.

Retouching and Removing Imperfections
- – To remove blemishes and unwanted objects, utilize the Spot Healing Brush, Clone Stamp, or Patch tool.
- – When smoothing skin, apply a gentle Gaussian Blur or use a combination of tools to maintain its natural texture.
- – Brighten eyes and teeth using the Dodge and Burn tools or Adjustment Layers.
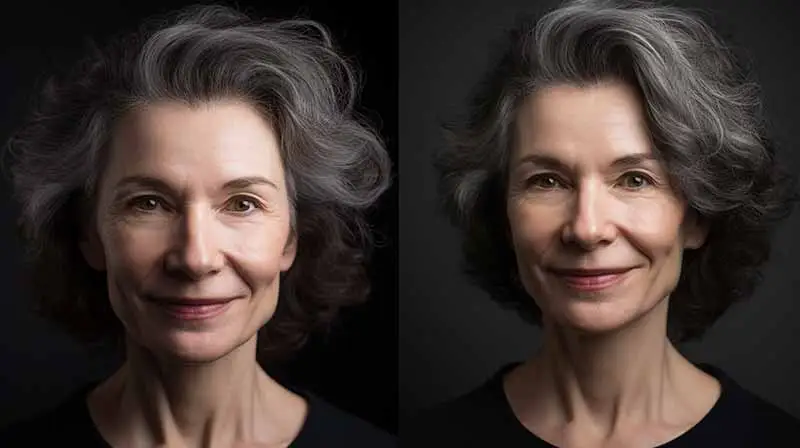
Even the best photos may have small imperfections. Retouching helps you smooth skin blemishes, remove distractions, and fix small issues that take attention from your subject. Tools like the clone stamp and healing brush are great for removing unwanted spots. They keep the natural texture of your photo.
Sharpening and Noise Reduction
Sharpening enhances the details in your image, making textures crisper and clearer. Be careful, though—over-sharpening can cause unnatural-looking edges.
Noise refers to the grainy texture that can appear in photos, especially in low-light settings. Noise reduction tools smooth out this grain while maintaining detail, ensuring your image looks clean and polished.

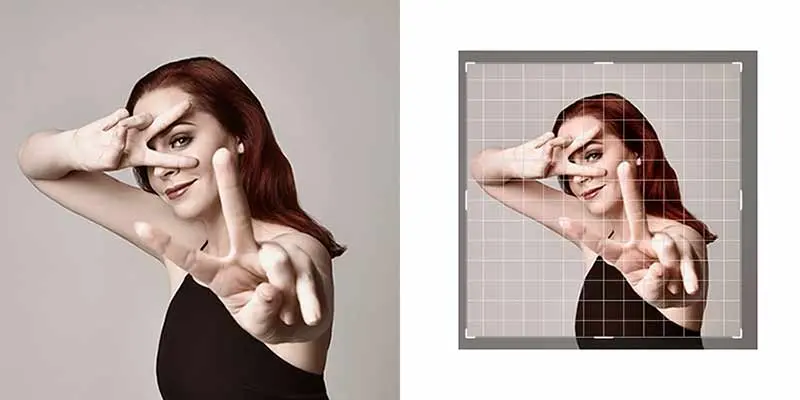
Cropping and Composition Improvements
Composition is how you frame your subject. Sometimes, a little cropping can make all the difference. The rule of thirds is a useful guideline when cropping. Imagine breaking your image down into thirds horizontally and vertically.
Placing the subject along these lines creates more balanced and visually interesting photos.
Besides cropping, consider adjusting your image to improve its composition. Straighten horizons or remove distractions from the edges of your photo to help your subject shine.
Advanced Editing Tips
- Frequency Separation: This technique splits the image into two layers: high-frequency for texture and low-frequency for color. This lets you edit texture and color separately.
- Dodging and Burning: Use the Dodge and Burn tools to brighten or darken parts of your image. This adds depth and dimension.
- High Pass Sharpening: This technique adds sharpness to the edges without affecting the overall image.
- Color Grading: Use Color Lookup Adjustment Layers or Gradient Maps to add a specific color style to your image.
Working with Layers and Masks
- Creating and Managing Layers: Learn how to create, duplicate, merge, and hide layers to organize your workflow.
- Using Masks: Masks let you edit specific parts of an image, giving you precise control over your changes.
Exporting for Different Platforms
When you’ve completed your edits, it’s crucial to export your photos in the correct format and resolution based on where they will be used:
- For print, export at 300 dpi (dots per inch) and in a format like TIFF or high-resolution JPEG.
- For the web, Optimize your image size for faster loading on the web. Use a resolution of 72 dpi and save it in JPEG format.
- Different social media platforms have their requirements for uploads. For Instagram, use a width of 1080 pixels for the best quality.
Photo Editing in Light room: A Beginner’s Guide
Lightroom is a powerful tool for photographers, offering a wide range of features for editing images. Here’s a basic guide to How to edit photos like a professional in Lightroom.
Essential Tools and Their Functions:
- Develop Module: This is where you’ll spend most of your time for editing photos.
- Basic Panel: This panel has the most used adjustments: exposure, contrast, highlights, shadows, white balance, and black points.
- Tone Curve: This tool allows you to adjust the overall tone and contrast of your image.
- Color Panel: This panel provides tools to adjust color balance, saturation, and hue.
- Lens Corrections: This panel helps you correct lens distortions and vignetting.
- Detail Panel: Here, you can sharpen your image and reduce noise.

Basic Editing Workflow:
- Import Photos: Open your photos in Lightroom from your camera or storage device.
- Develop Module: Go to the Develop module to start editing.
- Basic Adjustments: Adjust the exposure, contrast, highlights, and shadows to get the overall tone you want.
- Color Adjustments: Fine-tune the color balance, saturation, and hue.
- Lens Corrections: If necessary, correct lens distortions and vignetting.
- Sharpening and Noise Reduction: Sharpen your image to enhance details and reduce noise if needed.
- Export: When you’re satisfied with your edits, export the photo to your desired format and location.
Working with Filters and Presets
Filters and presets are a fantastic way to speed up your editing process while maintaining consistency across your images. They apply pre-determined settings to your photos with just one click.
Filters are great for adding a specific mood or style to your photo. However, be sure not to overuse them. The goal is to enhance, not cover-up.
Adding Effects and Artistic Touches
For those looking to add a bit more creativity to their photos, consider adding effects such as vignettes or lens flares. A vignette darkens the edges of your image, drawing attention to the center, while a lens flare adds a sun-kissed glow.
Tips for Effective Editing:
- Start with small adjustments: Make gradual changes to avoid over-editing.
- Use the “before and after” view: Compare your edited image to the original to see the difference.
- Experiment with different settings: Feel free to experiment with different settings and don’t hesitate to try out various combinations.
- Use Lightroom’s presets: Lightroom comes with various presets that can help you achieve different looks.
- Save your edits as presets: If you create a look you like, save it as a preset for future use.
Want to develop your edit photos like a professional ? Stick to a few core principles—consistent color tones, sharpness levels, and overall mood. Over time, you’ll create a recognizable look across your portfolio.
Common Mistakes to Avoid
A common mistake is over-editing. Adding too much contrast or saturation, or overusing filters, can make your photo look unnatural. Always aim to enhance, not overwhelm.
Additionally, don’t lose sight of the image’s original intent. Stay true to the story the photo is trying to tell.
Conclusion
Learning photo editing techniques can significantly enhance your images and boost your creativity. By following the guidelines in this comprehensive guide, you can transform ordinary photos into captivating visuals. Practice regularly, experiment with different styles, and discover what fits your unique vision. With dedication and practice, you’ll be well on your way to mastering the art of professional photo editing.
FAQs
What software do professionals use for photo editing?
Most professionals use Adobe Photoshop or Lightroom, but there are free alternatives like GIMP that are also effective for edit photos like a professional.
What is the rule of thirds in photo editing?
The rule of thirds is a guideline that helps you compose your image by placing the subject off-center, creating more balance and interest.
How can I remove blemishes from a photo?
You can use the healing brush or clone stamp tool in software like Photoshop to remove blemishes while keeping the skin’s natural texture.
How do I adjust the color balance in my photos?
Use the Lightroom software to make sure the colors in your photo look natural, especially in various lighting.
What file format is the best to export my photos?
JPEG and PNG file formats are ideal for sharing online, while PSD and TIFF are better to save in high-quality preservation.
When I use presets or filters in photo editing?
Presets and filters can save time and help you keep a consistent style in your images when used correctly.
How do I know when my edits are too much?
If the image seems fake or overly edited compared to the original, you may have gone too far. Aim for a balanced appearance.
Are there any online resources to learn advanced photo editing techniques?
Yes! Websites like YouTube, Skillshare, and Udemy offer many courses and tutorials to learn how to edit photos like a professional.