There is no one-size-fits-all answer to this question, as the best way to edit pictures to black and white that looks nice may vary depending on the picture’s original colour scheme and how you want it to look in black and white. Likewise, the best way to edit photos to black and white that looks nice may vary depending on the picture’s original colour scheme and how you want it to look in black and white.
Here are a few simple editing tricks for making your photos look better in black and white. This trick is for when you have a photo with an over-saturated colour scheme and want it to appear more muted in black and white.
The following image editing techniques are designed to help you improve the overall look of your photos, regardless of their color scheme.
Level or Curves
Adjust the colours of the picture. To do this, go to Image> Adjustments > Level. Next, click on the Curves button, and use the curve tool to change the Image’s colours. This is often an excellent way to remove unwanted colours from an image.

Use the Black & White option
Create a duplicate of your Image and then change the “color” mode to “Black & White.” Selective Color is an excellent way to add contrast to a picture. This is an excellent technique to remove colours from an image.

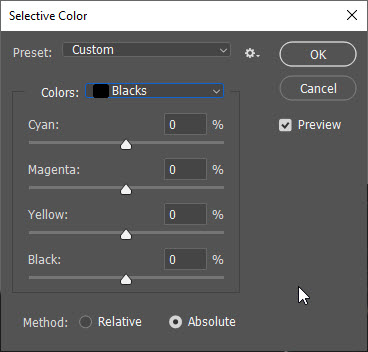
Selective Color
Selective Color is a valuable tool to change the colours of your picture to black and white, but it does not work well on photos with a lot of color saturation. Selective Color is a useful tool to change the colors of your picture to black and white, but it does not work well on pictures with a lot of color saturation.
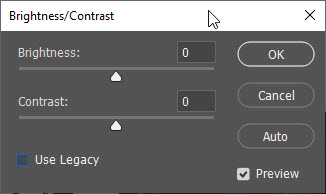
Tips 5, Brighten or Darken:
Use the Image > Adjustments > Brighten or Darken.
Surprisingly, this can also make an image look better in black and white. If you are making an image darker, use the Brighten tool. If you are making an image darker, use the Brighten tool.
Shadows and Highlights
Go to Image> Adjustments > Shadows and Highlights. This is a good way to make your Image look better in black and white. It can also help to create an image darker or brighter.

Sharpening
Go to Image > Adjustments > Sharpen. Use this tool to add a little extra “bite” to your picture. Sharpening is a great way to make your picture look sharper. However, sharpening may reduce the Image’s contrast, making it look less colorful.
Adjustments > Sharpen. Use this tool to add a little extra “bite” to your picture. Sharpening is a great way to make your picture look sharper. However, sharpening may reduce the Image’s contrast, making it look less colorful.”

Color Correction
Use the Color Correction tool. This tool is very useful for correcting color problems in a picture.

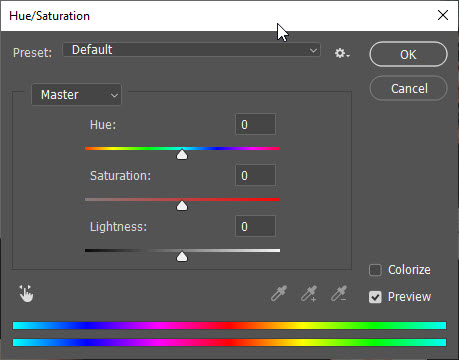
Adjust the Hue/Saturation
This is another helpful tool for changing the Color of your picture to black and white. Use the Hue/Saturation tool to change the Color of your picture to black and white. This tool will work best if you have a very colorful image and want to make it appear blacker and whiter.
How to cut the white part from a black and white picture?

Meanwhile, you can also use Photoshop’s magic wand to select the area you want to cut, and then click on Cut, and the selected area will be cut out.
If you want to cut out the white part from a black and white picture, you can use the Magic Wand tool to select the area you want to cut, and then click on Cut, and the selected area will be cut out.
To do this, go to Image> Adjustments > Adjustment Brush, and click on the Magic Wand tool. You can then click on the area you want to cut, and Photoshop will automatically cut out the selected area.