How you photograph jewelry for retouching comes down to two decisions, made before an editor ever opens the file: focus held across every plane of the piece, and a light source that does not blow out metal highlights before the shutter fires. A soft capture cannot be sharpened back to true, and a blown highlight has no facet detail left in it to recover. Editing improves what the sensor captured. It cannot invent what the sensor missed.
What a retoucher needs from your file, before you shoot a single frame
An editor working on a ring or a pendant needs three things in the file that no amount of skill can add afterward: sharp focus across the whole piece, exposure that holds detail in both the metal highlights and the darkest facet shadows, and enough resolution to work at 200 to 400% without the image falling apart into noise or compression blocks. A file missing any of the three gets fixed by guesswork, and guesswork on a $4,000 ring is not a service we’re willing to sell you.
This is also where a colour reference earns its place before the shoot even starts. If a white gold band needs to read cool and not yellow, we need something to check it against: a grey card in the first frame, a Pantone swatch, or a written note on the order. Without one, colour correction becomes an opinion instead of a match.
Camera and lens: why a macro lens is not optional
A kit lens or a phone camera has a minimum focus distance that is simply too far from a stud earring or a ring shank to fill the frame with useful detail. Get close enough to matter and the lens can no longer focus. A true macro lens, one built for 1:1 reproduction, closes that gap: a 90mm to 105mm macro is the common choice for jewelry, since it holds enough working distance that the lens barrel and the photographer’s own shadow stay off the piece.
Cropping a non-macro frame in Photoshop afterward does not substitute for shooting at 1:1. Cropping enlarges the pixels that are already there; it does not add the facet-level detail a true macro capture holds. An editor can tell within seconds whether a file was shot macro or cropped to look like it was.
Camera settings that hold detail without noise
Three settings do most of the work on a jewelry shoot, and none of them are a matter of taste.
Aperture: sits in the f/11 to f/16 range for most pieces. Wide open at f/2.8 or f/4 gives a depth of field measured in millimetres, too thin to hold a ring’s stone table and its band in focus at once. Past about f/16, diffraction starts to soften the image again, so this is a band, not a single number.
ISO: stays at 100 to 200 wherever the shot allows it. Noise at high ISO reads as grain sitting directly on top of the facets an editor needs to relight individually, and grain does not come out cleanly without also softening real detail.
Lighting the piece: light tent vs. two-flash-head setup, and the 45° rule
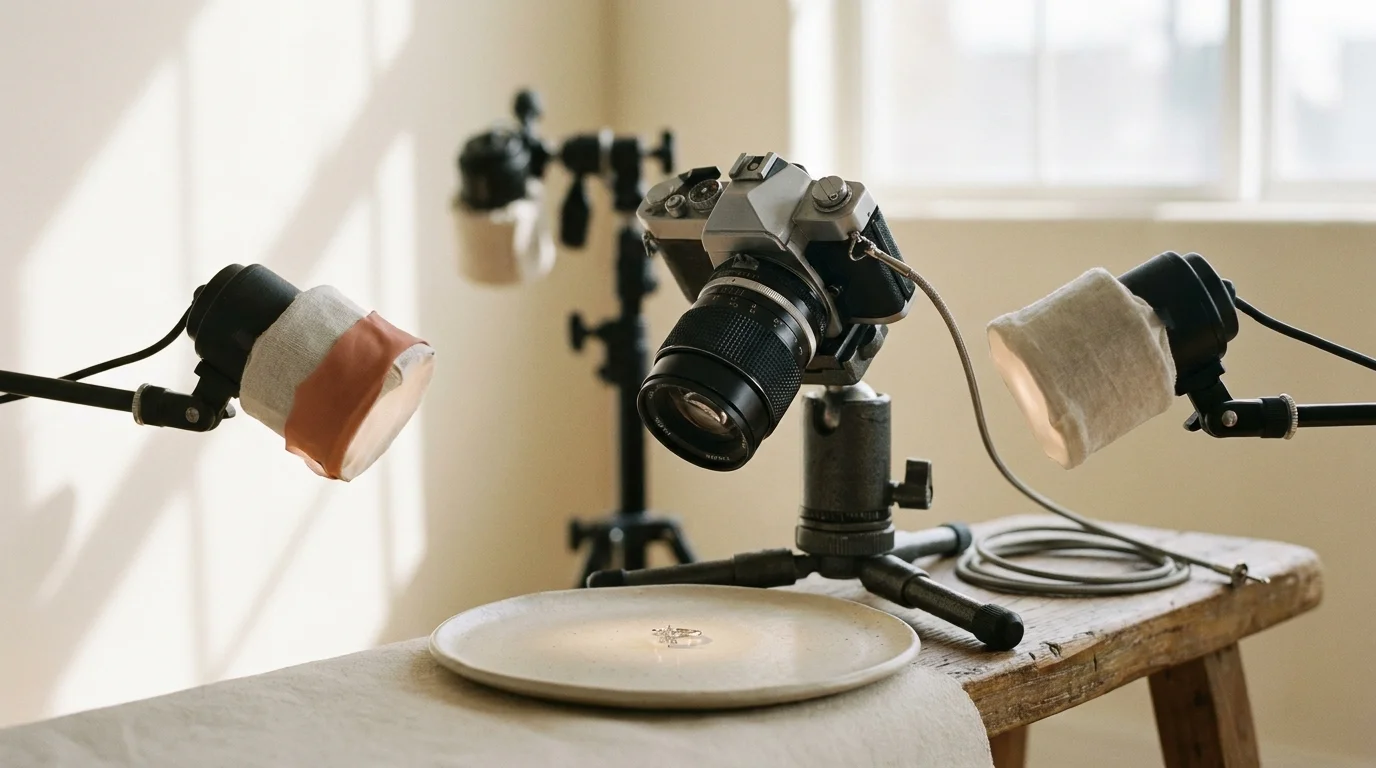
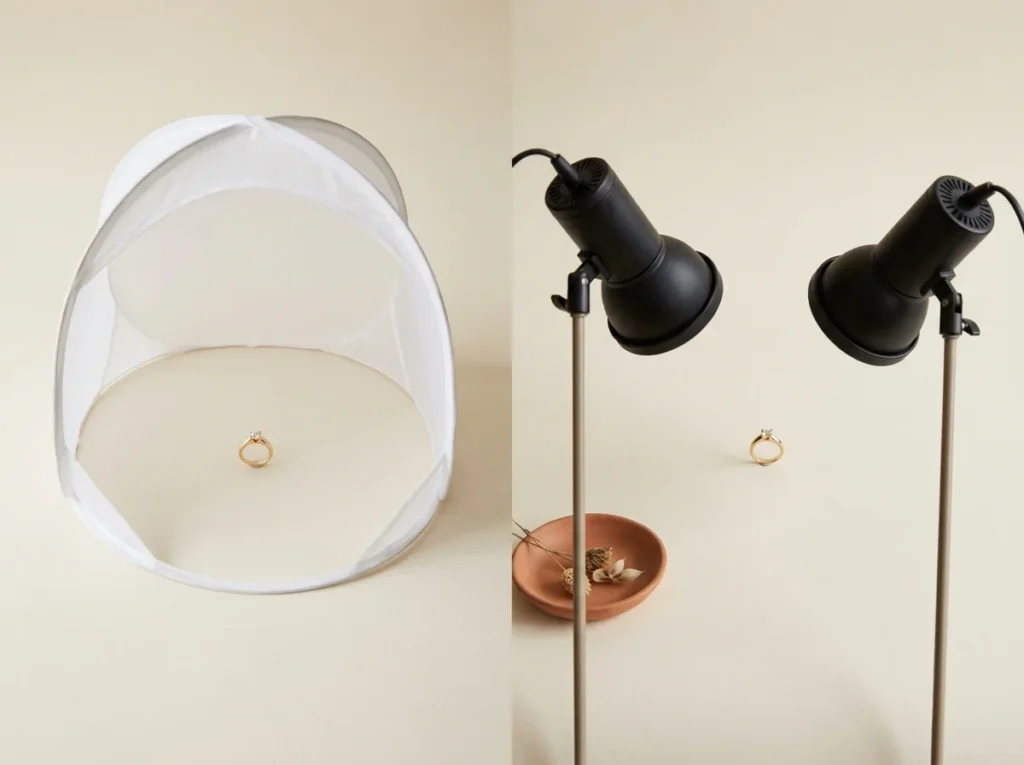
A light tent, a diffusion box the piece sits inside, gives even, low-contrast light with almost no setup skill required, and it’s a reasonable starting point for simple pieces like plain bands or studs. A two-flash-head setup with diffusion panels on each head gives more control: one head can build sparkle where you want it while the second fills the shadow side, which a light tent alone can’t do as precisely.
Whichever setup is used, light hitting the piece straight-on from directly above or directly in front creates a hard, flat hotspot that blows the metal to pure white and kills the sparkle a buyer is looking for. Angling the light to roughly 45° to the piece lets facets catch and throw light the way they do in hand, instead of reflecting the light source itself straight back into the lens.
Cleaning the piece and the surface: what dust does to a file at magnification
Dust sitting on a ring is close to invisible to the naked eye at a normal viewing distance. At the magnification a jewelry photo is shot and later viewed at, that same dust becomes an obvious, distracting artefact sitting on top of the facets. A piece shot uncleaned is one of the most common reasons a file comes back to us needing rework that a thirty-second wipe before the shutter would have prevented.
The surface the piece sits on matters as much as the piece itself. A glossy or reflective backdrop bounces the studio, the light stand and sometimes the photographer straight back into the metal, and that reflection has to be painted out by hand afterward. A matte surface, cleaned the same way the piece is, avoids creating a problem that didn’t need to exist.
Focus stacking: why one shot can’t hold a ring sharp front to back
At the apertures and magnifications a macro jewelry shot uses, the plane of sharp focus is only a few millimetres deep. A ring shot straight on might hold the front of the main stone in focus while the band recedes into a soft blur, because the depth of the piece is simply greater than the depth of field available in a single frame, even at f/16.
Focus stacking solves this by taking a series of frames, each focused a fraction further into the piece than the last, then merging them into one composite where everything is sharp. A simple stud might need five to eight frames. A ring with a deep pavé setting or a pendant with layered elements can need fifteen to twenty-five. Sending the individual frames unmerged, rather than a single flattened shot, gives an editor control over exactly how the stack blends rather than inheriting whatever a camera’s built-in stacking mode decided.
Shooting the interior and hard-to-reach angles
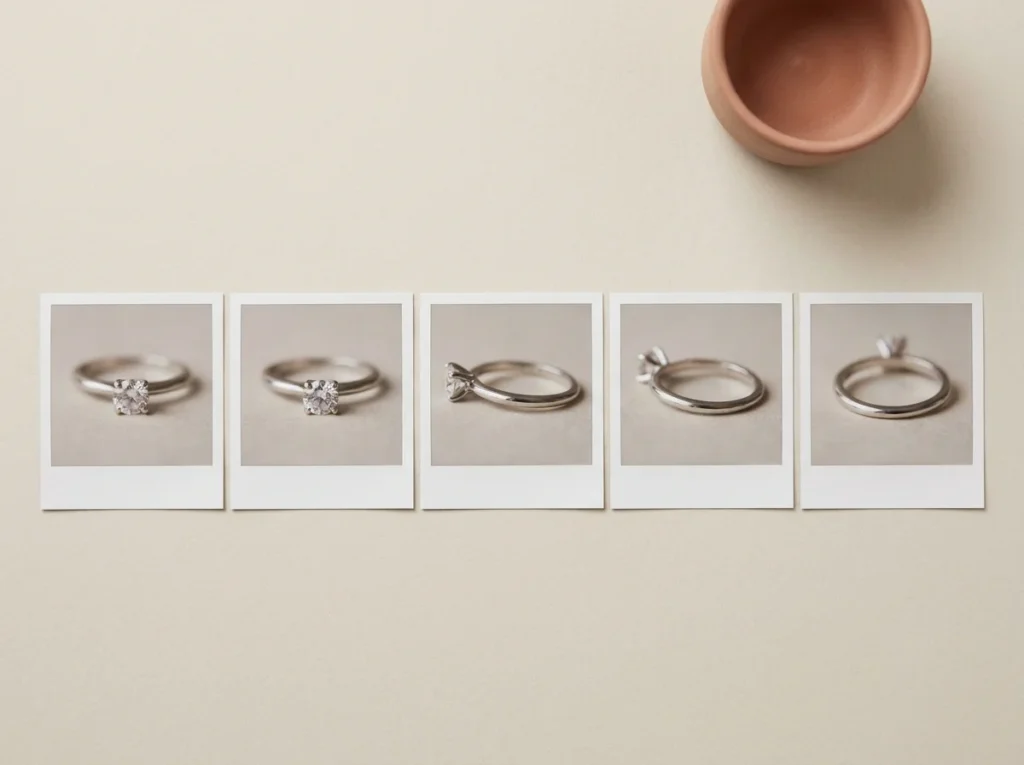
A catalog listing built only from the front-facing hero shot misses detail that buyers, and sometimes retouchers, need. The band interior carries a hallmark or an engraving that a buyer checking authenticity will look for. Prong undersides show whether a setting sits flush or has a gap that needs correcting rather than hiding. A clasp mechanism, on a bracelet or necklace, is often the first thing a buyer zooms into on a listing, since it’s the part most likely to fail.
These angles need the same macro discipline as the hero shot: a tripod, the piece steadied rather than handheld, and the same 45° lighting logic adapted to whichever surface is now facing the lens.
What we see go wrong when a file arrives
Across incoming jewelry files, the same handful of problems show up on repeat, in roughly this order: no colour reference sent with the order, the piece shot uncleaned, only one hard light source used, no focus stack provided for a piece with any depth, a reflective backdrop bouncing the studio back into the metal, and no written spec on the first order. None of these are exotic mistakes. They’re habits that a five-minute checklist before the shoot removes entirely, which is the same six mistakes we see on the editing side, in more depth, once that article is live.
The bad version of a jewelry shoot looks like this: a single overhead flash, no diffusion, shot handheld at f/2.8 to keep the shutter speed usable without a tripod. The metal blows to pure white in the highlights, any engraving disappears into a facet-less blob with no defined edges left to work from, and the file arrives with no real information left in the blown areas for an editor to recover. At that point the retoucher would have to invent detail that was never captured, which is exactly the kind of shortcut our jewelry retouching floor won’t take: no one-click sparkle filters or AI presets standing in for missing capture data, because that invents facets the stone never had.
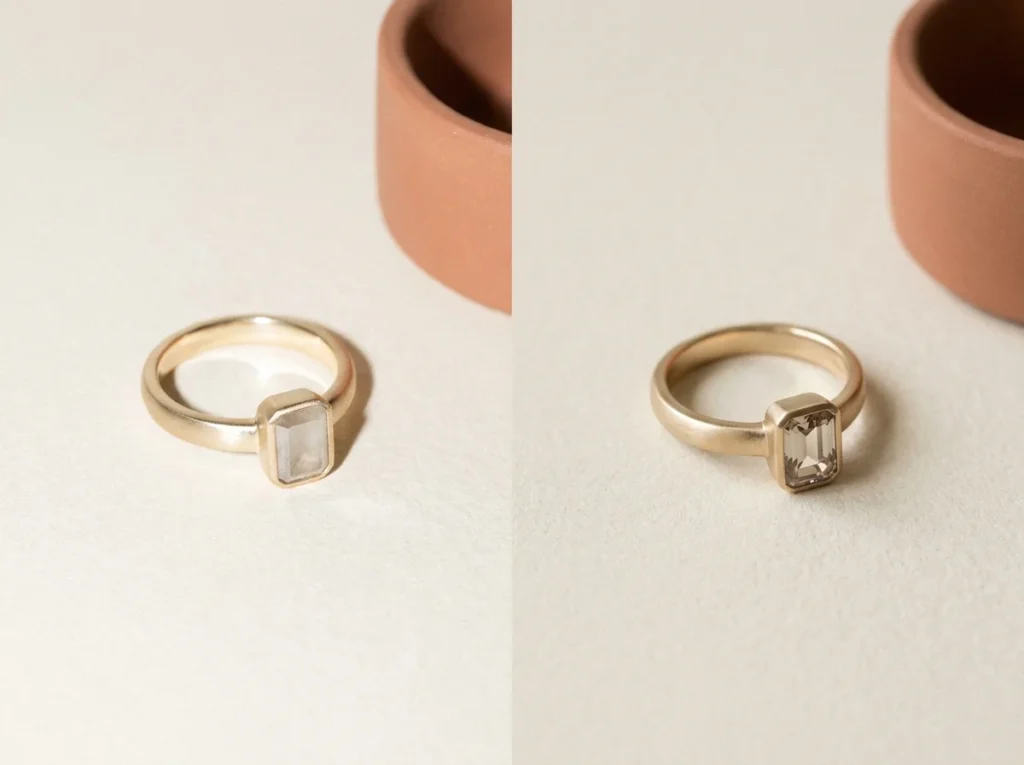
What to send your editor: file format, reference shots, colour reference
Send RAW files where the camera supports it, since RAW holds the full sensor data an editor needs for accurate stone and metal colour correction; a high-resolution JPEG is the fallback, not the first choice. Alongside the piece itself, include a colour reference in the first frame, a grey card or swatch works, and a short written note on metal tone and any spec the order needs to match. If the shot is focus-stacked, send the individual frames unmerged rather than a single flattened composite.
A file that arrives with all three, a macro capture, an unmerged stack, and a colour reference, moves straight into editing. A file missing any of them usually means a question back to you before work starts, which adds a day neither of us wanted.
FAQ
A true macro lens with 1:1 reproduction, most often in the 90mm to 105mm range. A kit lens’s minimum focus distance is too far to fill the frame with facet-level detail, and cropping afterward can’t add back what a macro capture would have held.
A light tent works well for simple pieces and needs little setup skill. A two-flash-head setup with diffusion gives more control over where sparkle builds and where shadow falls, which matters more on multi-stone or bridal pieces. Either can work if the light stays off a direct 90° hotspot.
Usually the problem sits with the light, not the edit. A single hard light source flattens facets before the shutter fires, and no retouching step restores contrast the sensor never captured. A second light or a diffusion panel at 45° fixes this on set, not afterward.
It depends on the piece’s depth. A simple stud might need five to eight frames. A ring with a deep pavé setting or a pendant with layered elements can need fifteen to twenty-five frames merged into one sharp composite.
RAW where your camera supports it, since it holds the full sensor data needed for accurate colour correction. A high-resolution JPEG works as a fallback. Send unmerged focus-stack frames rather than a single flattened shot, plus a colour reference.