The newborn photography tips that matter most are the ones that decide the edit: shoot every composite pose as separate frames with a spotter’s hands on the baby, light with one soft source at one color temperature, expose for the skin, and keep wraps and backdrops clean. Get those right and the gallery needs only light polish.
Quick answer:
- Safety first: composite poses are always two or more frames, with hands on the baby.
- Use one soft light source and never mix daylight with warm lamps.
- Expose for the forehead and nose so newborn skin never clips.
- Focus on the eyelashes of a sleeping baby.
- Choose lint-free wraps and leave room around every pose.
- Shoot RAW and send your editor every frame of a composite.
This guide is for the photographer behind the camera. Our newborn retouching team edits newborn galleries every week, and most of the hours spent on them trace back to a few choices made during the shoot. Each section below covers one of those choices and points to a deeper guide where one exists.
What these newborn photography tips cover
These newborn photography tips cover the posed and lifestyle session from the photographer’s side: safety and composite poses, the posing flow, light, props and backdrops, siblings, lifestyle sessions at home, and the files you hand over. Each tip ends where the shoot ends; skin work, composite merges and anything else done to the file afterwards is a retoucher’s job.
Why the shoot decides the edit
A newborn edit can only work with what the camera recorded. A clipped forehead has no skin left to recover, a soft eyelash can’t be sharpened back, and two color temperatures on one face never fully even out. Each is a capture problem, and each costs more editing time than any skin mark.
Most newborn photography tips online cover gear, poses and props well. They rarely say how each choice shows up in the edit, so every tip below says what it saves, or costs, once the file reaches a retoucher.
The pattern we see most often in client files is the same short list: a composite pose sent as one frame, highlights blown on pale skin, window light mixed with a warm lamp, focus missed on the lashes, and JPEGs with a preset already baked in. None can be fully fixed afterwards, and all can be avoided during the session.
Newborn photography safety comes before every pose
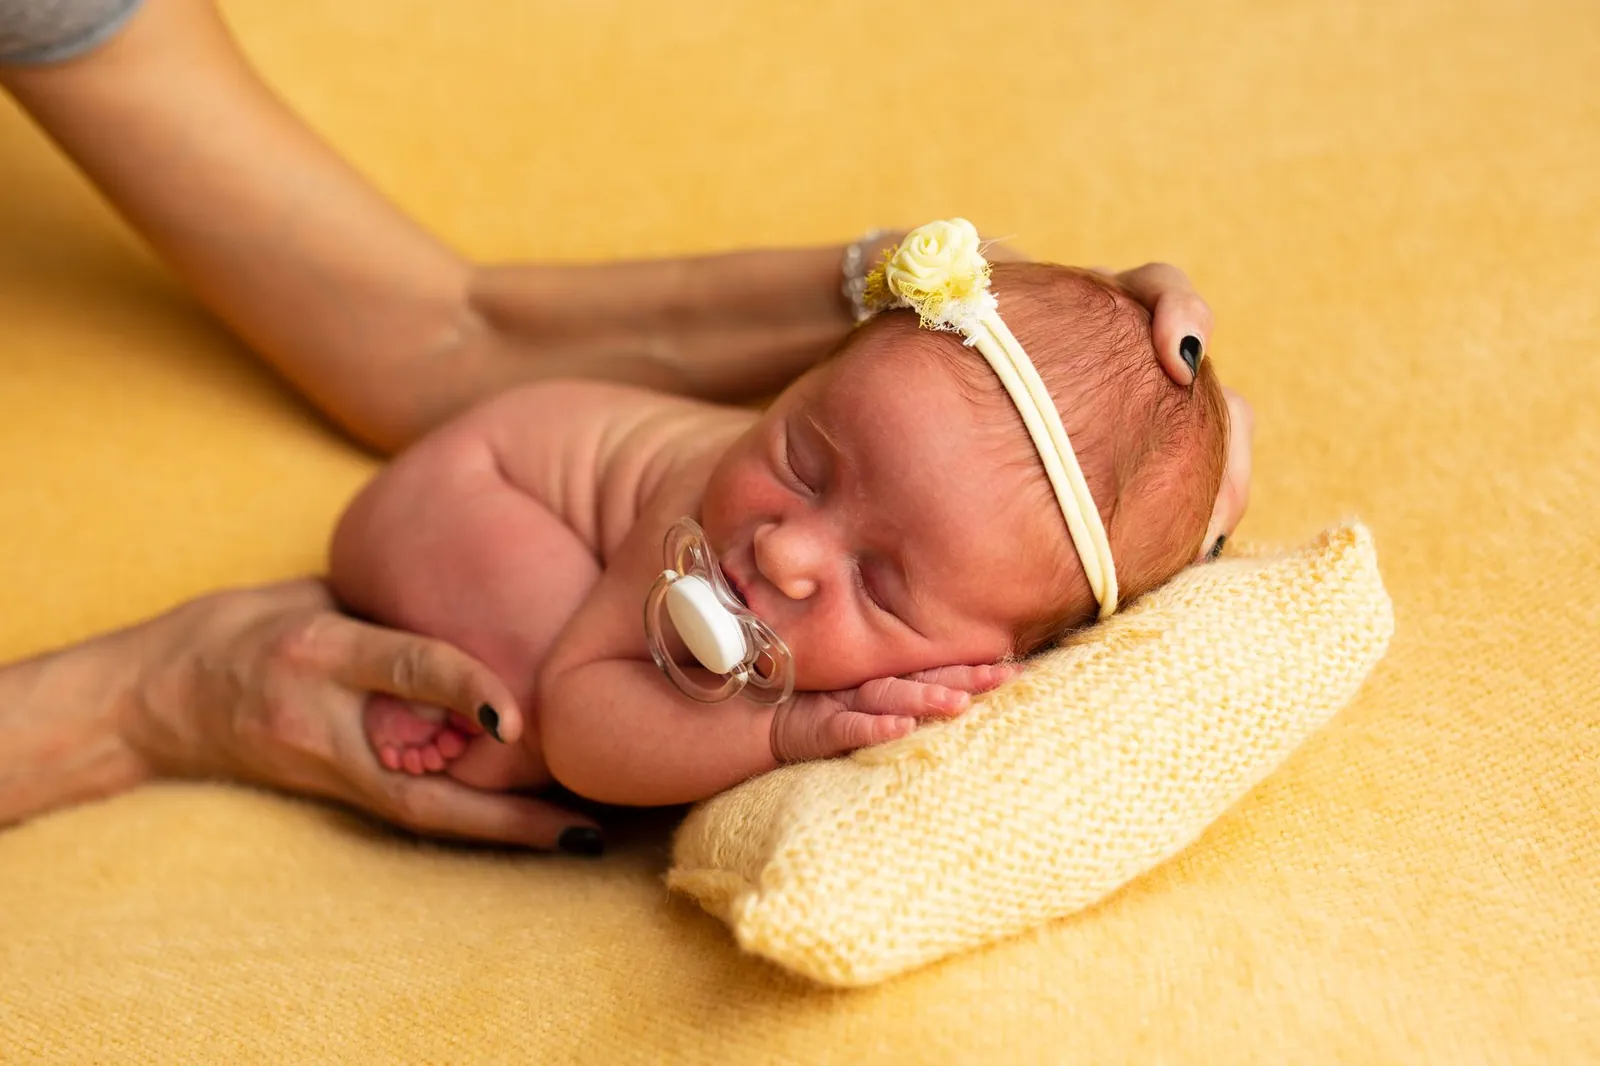
Newborn photography safety means the baby is never balanced, suspended or propped in a way that depends on the baby holding still. Poses that look like the baby is holding its own head, such as the froggy pose or chin on hands, are built from two or more frames, with a parent’s or assistant’s hands on the baby in each one.
- Hands on, always. A spotter stays within reach whenever the baby is on a beanbag, in a prop or on a raised surface.
- Shoot composite poses in parts. Shoot one frame with a hand supporting the head and another with the hand on the wrists or body, then merge them. Never remove the hands in camera.
- Props go low and weighted. Baskets and bowls sit on the floor or a posing bean, filled and stable, with a spotter beside them.
- Warmth and hygiene. Keep the room warm enough for a bare baby, keep any heater well away, and wash your hands and wraps between sessions.
- Follow the baby. If a baby resists a position, skip the pose. A sleeping baby is the only one you pose.
For proper training, Accredited Professional Newborn Photographers International (APNPI) runs a safety awareness course that its accreditation requires, and many experienced photographers publish the poses they refuse to do. The pose table below marks which poses are safe as single frames and which are composites only.
Newborn photo session tips: before the baby arrives
Most of a calm session is set up before the family walks in. Many newborn photographers book posed sessions within the first two weeks, while babies sleep deeply and curl easily, and plan for a session of one and a half to three hours with time for feeding and settling.
- Warm the room before the baby arrives, and keep a white noise or shushing sound running.
- Set the light and white balance first, with a doll or a towel on the beanbag, so you aren’t adjusting with a baby in place.
- Lay out the session in order: beanbag poses, then wrapped poses, then props, then parents and siblings.
- Lint-roll every wrap and blanket you plan to use. Lint is invisible at arm’s length and obvious at 100%.
- Ask parents to feed the baby just before posing starts.
Poses: a flow that moves the baby as little as possible
A posing flow is a set order of poses where each one leads into the next with the smallest possible movement, so a sleeping baby stays asleep. A common flow starts on the back, moves to the side, then to the tummy poses, and finishes wrapped, with props and parents last. Our guide to newborn photo poses walks through each pose in that flow.
Posing also decides how much editing a frame needs. A pose with fingers curled toward the face looks natural but puts long fingernails and scratches in the sharpest part of the frame. A tummy pose shows the most skin, so it needs the cleanest light. Wrapped poses hide the body and need the least skin work, which is why they are the safest single frames for beginners.
| Pose | How it is shot | What it means for the edit |
|---|---|---|
| Wrapped, on the back | Single frame | The least skin work in the session |
| Side pose, hands near the face | Single frame | Fingernails and scratches sit in the sharpest part of the frame |
| Tummy pose on the beanbag | Single frame, spotter beside the bean | The most skin on show, so it needs the cleanest light |
| Basket or bowl | Single frame, prop on the floor, spotter beside it | Prop edges, floor and fabric cleanup |
| Froggy or chin on hands | Composite: two or more frames, hands on the baby | A merge, hand removal and a light match across the join |
| Hanging or suspended (sling) poses | Composite: the baby is shot safely low, the prop separately | A full composite with the background rebuilt |
The froggy pose is the composite we most often receive as a single frame. It is always shot in parts: one frame with a hand on the head and one with the hand on the wrists, shot without moving the camera. Our froggy pose guide walks through the two frames, the spotter’s position and what to send the editor.
Light: one soft source, one color temperature
Newborn skin is pale, thin and reflective, so it needs large, soft light from one direction. Use a window, a large softbox or a big diffused umbrella, placed to the side and slightly above the baby, with a reflector or the room filling the shadow side. One source keeps the skin tone even across the whole gallery.
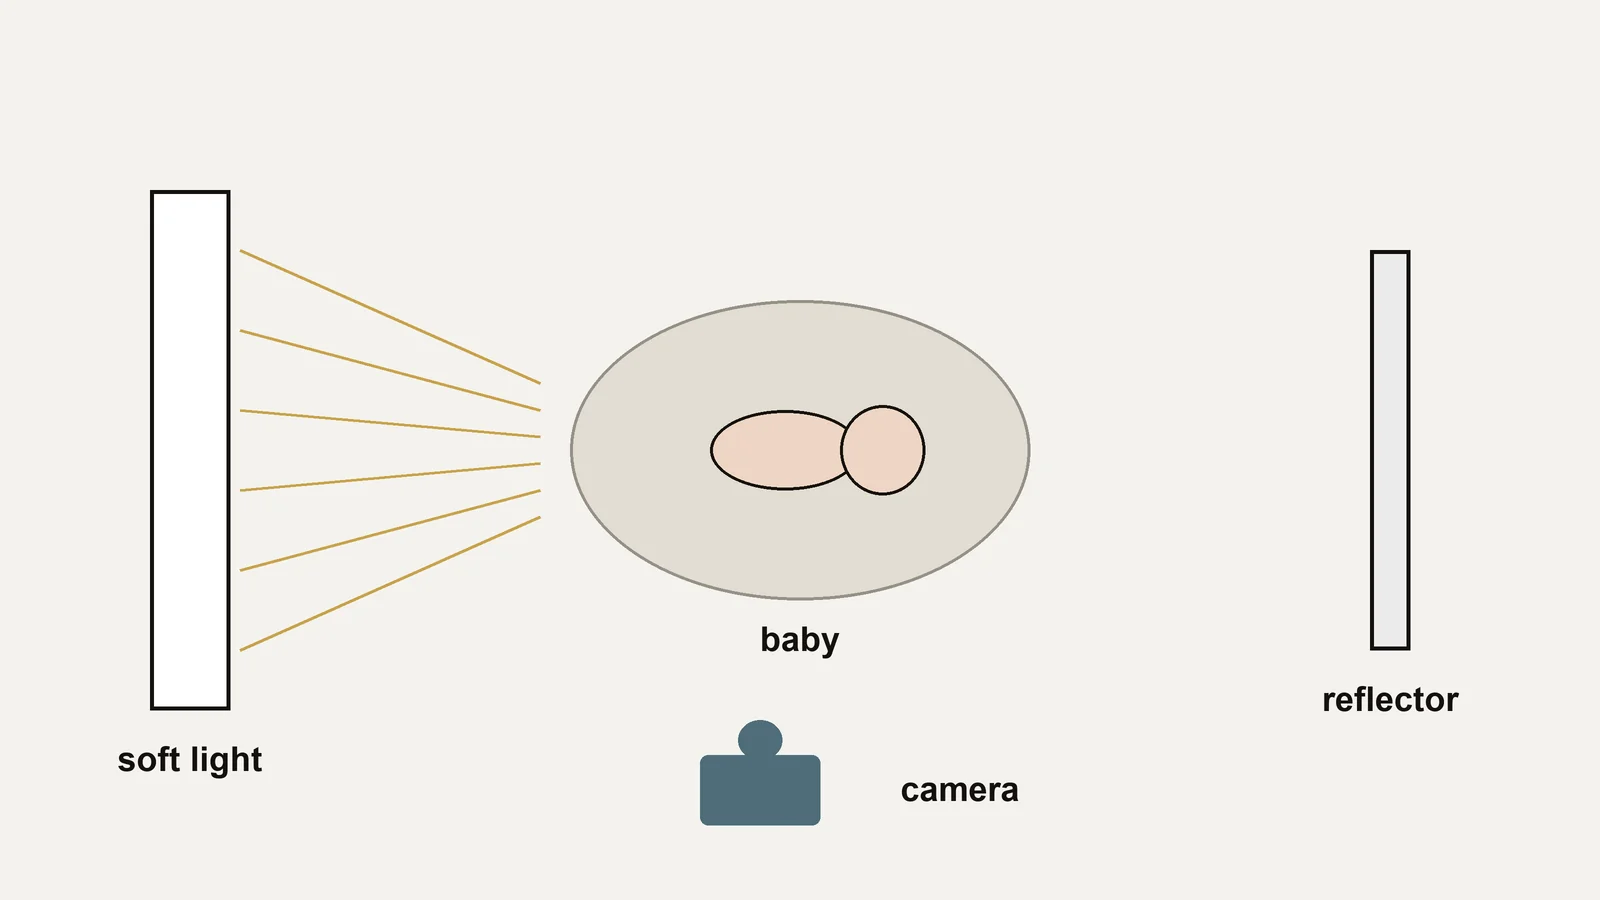
- Never mix light colors. Turn off warm room lamps when you shoot by a window or a daylight-balanced strobe. Mixed light splits one cheek warm and one cool, and that split never fully evens out in editing.
- Expose for the skin. Meter or check the histogram on the forehead and the bridge of the nose. If those clip to pure white, there is no skin texture left to bring back.
- Focus on the lashes. On a sleeping baby, the eyelashes are the focus point. At wide apertures, a soft lash ruins an otherwise good frame.
- Set white balance once. Use a gray card or a custom white balance at the start, and leave it alone while the light stays the same.
Lenses and detail shots
Most newborn photographers cover a session with a standard prime around 35 to 50mm for full-body frames and a macro lens for details. Use an aperture that keeps both eyes’ lashes sharp when the face is angled; a very wide aperture can leave the far eye soft. Detail frames of lips, lashes, toes and fingers are the frames an editor sees at the largest size, so they need the cleanest skin and the most careful focus of the whole session.
Flash or window light both work, and each has its trade-off: strobes give the same light all day, while windows change as clouds pass. Our newborn photography lighting guide compares window light, softboxes and flash, with the camera settings that keep the lashes sharp.
Props, wraps and backdrops that are quick to clean
Props and backdrops set the style of a posed session, and they decide a large share of the cleanup. A basket with a weighted base, a smooth stretch wrap and a backdrop with no seams in frame look styled in the gallery. A fuzzy blanket, a visible clamp and a crease across the backdrop each become a cleanup job on every frame they touch.
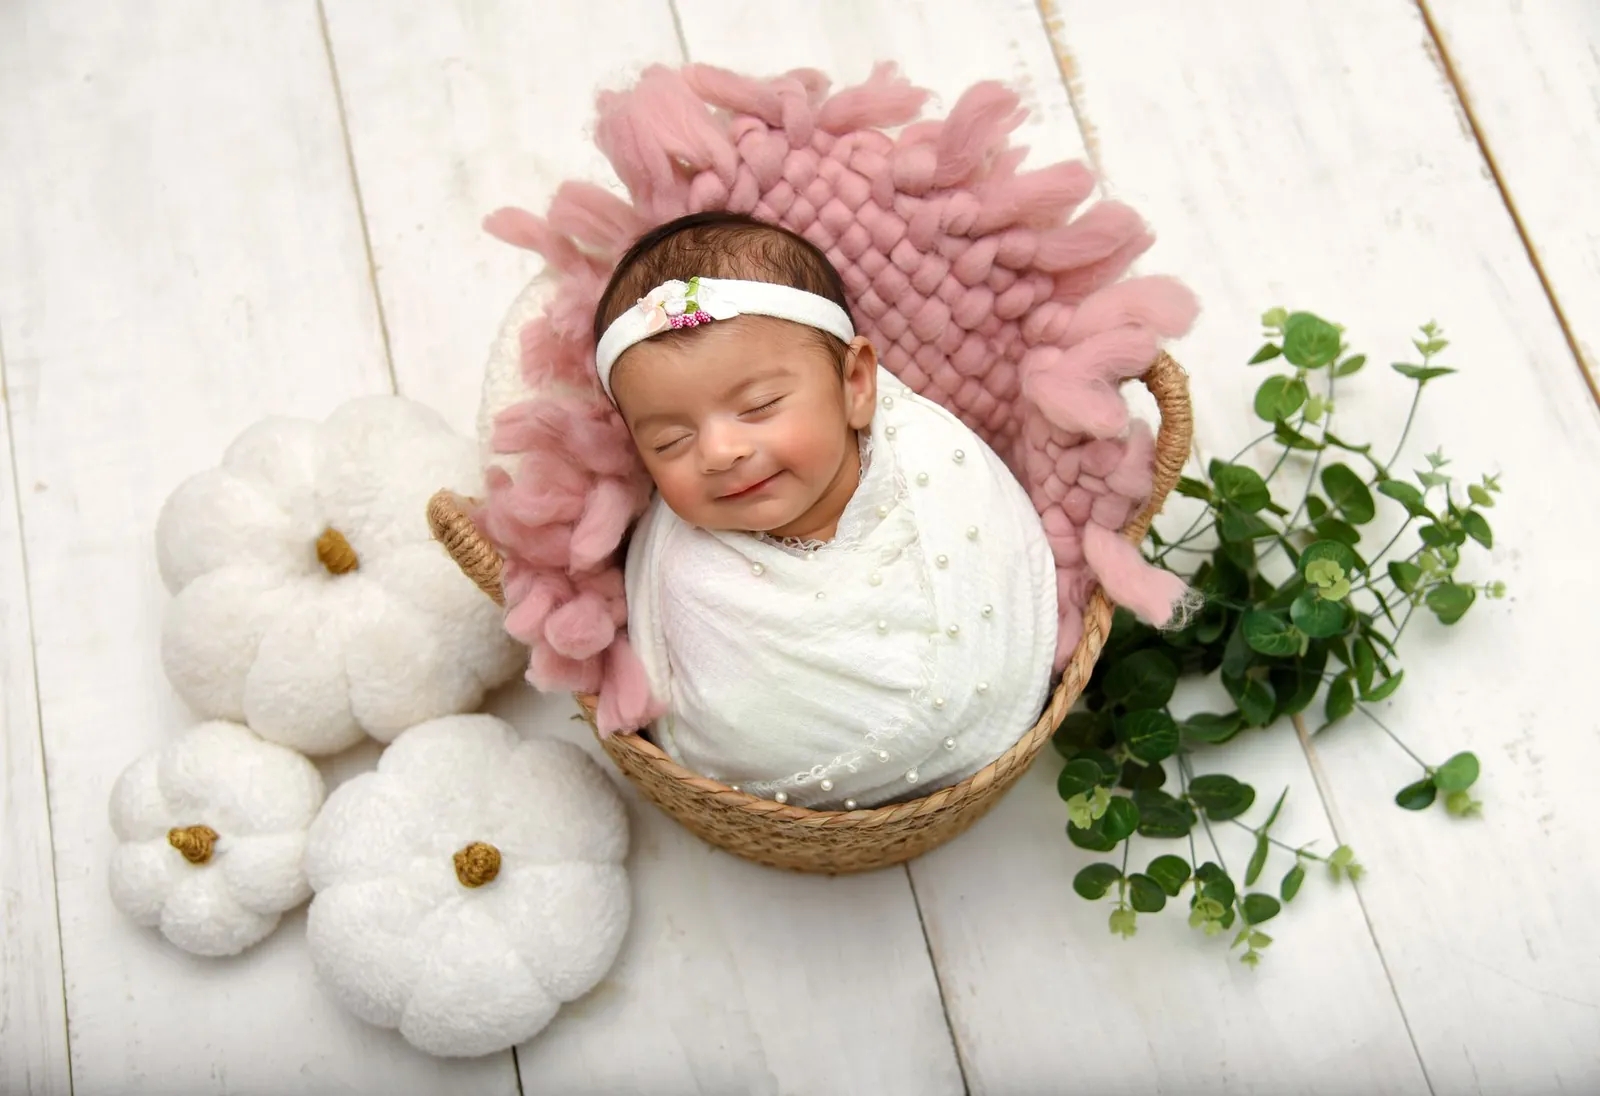
- Wraps: stretch knit or cheesecloth with a smooth surface sheds less lint than mohair or faux fur.
- Baskets and beds: keep them low and weighted, and fill them so the baby lies level.
- Beanbag fabric: pull it taut and clamp it out of frame, then check the edges before you shoot.
- Backdrops: leave space around the pose so a tight frame can be reframed for an album or a wide print later.
Our newborn photography props guide covers the full kit, from the posing beanbag to baskets and blankets, and how to set each one up safely. A separate newborn photography backdrop guide covers stands, fabric colors and when a digital backdrop is the honest choice.
Siblings and parents: frames a toddler can’t ruin
Sibling frames are where safety and patience run out fastest. A toddler can’t be trusted to hold a newborn still, and the baby can’t hold its own head. The answer is the same as for composite poses: shoot the older child and the baby in separate frames, with the camera and light fixed, and merge them later.
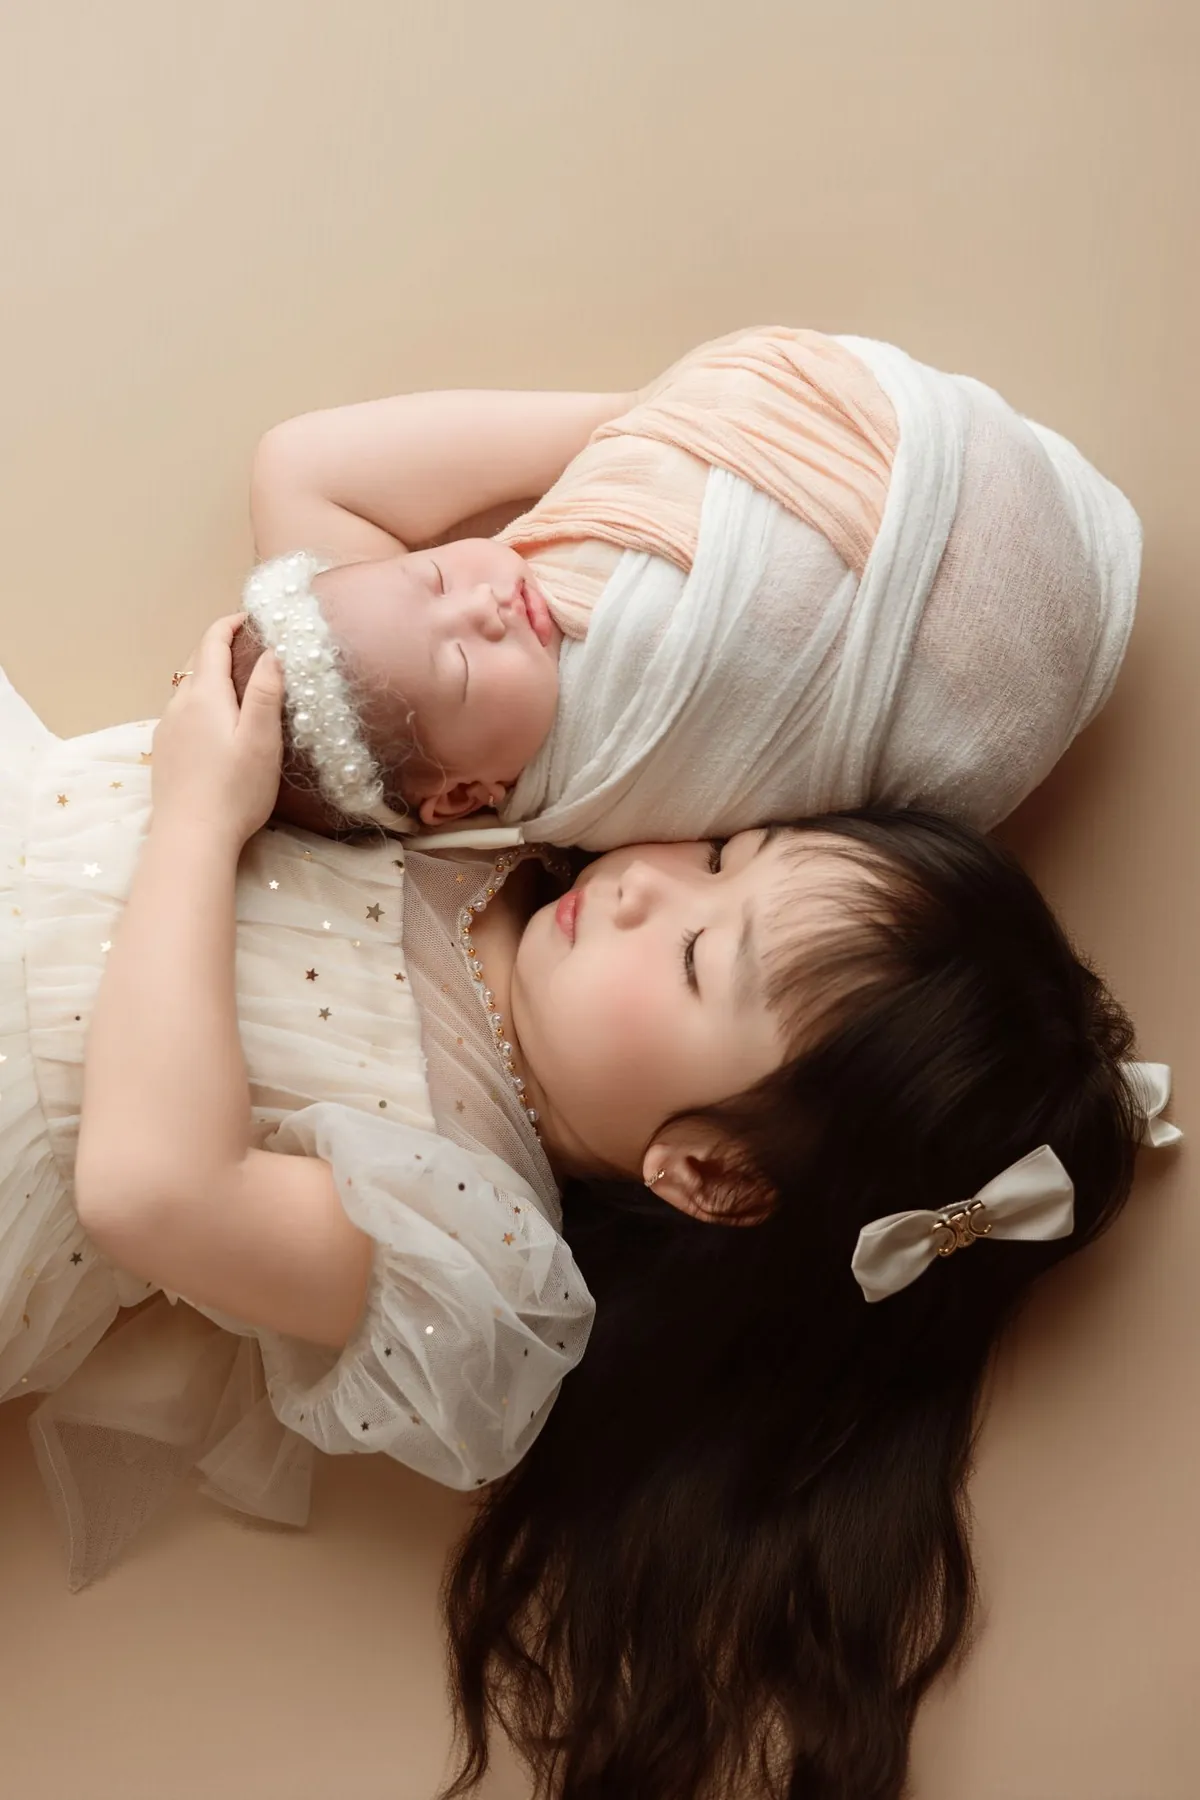
- Lock the camera on a tripod for sibling frames, so the two frames line up.
- Shoot the baby first while it sleeps, then bring the sibling in.
- For a parent’s hands or arms in frame, ask them to remove rings and watches and keep their nails short and clean.
- Shoot several frames of every family grouping. Someone will blink, and a head swap needs a second frame with the eyes open.
Our newborn sibling photos guide shows the two-frame sibling method in detail, with the poses a parent can hold safely and the ones that need a composite.
Lifestyle sessions: window light in a client’s home
A lifestyle session swaps the beanbag and props for the family’s own home: the nursery, the parents’ bed, a chair by the window. The poses are looser and the parents are in most frames. The light is whatever the room gives you, which is why color consistency is the main editing problem lifestyle galleries bring.
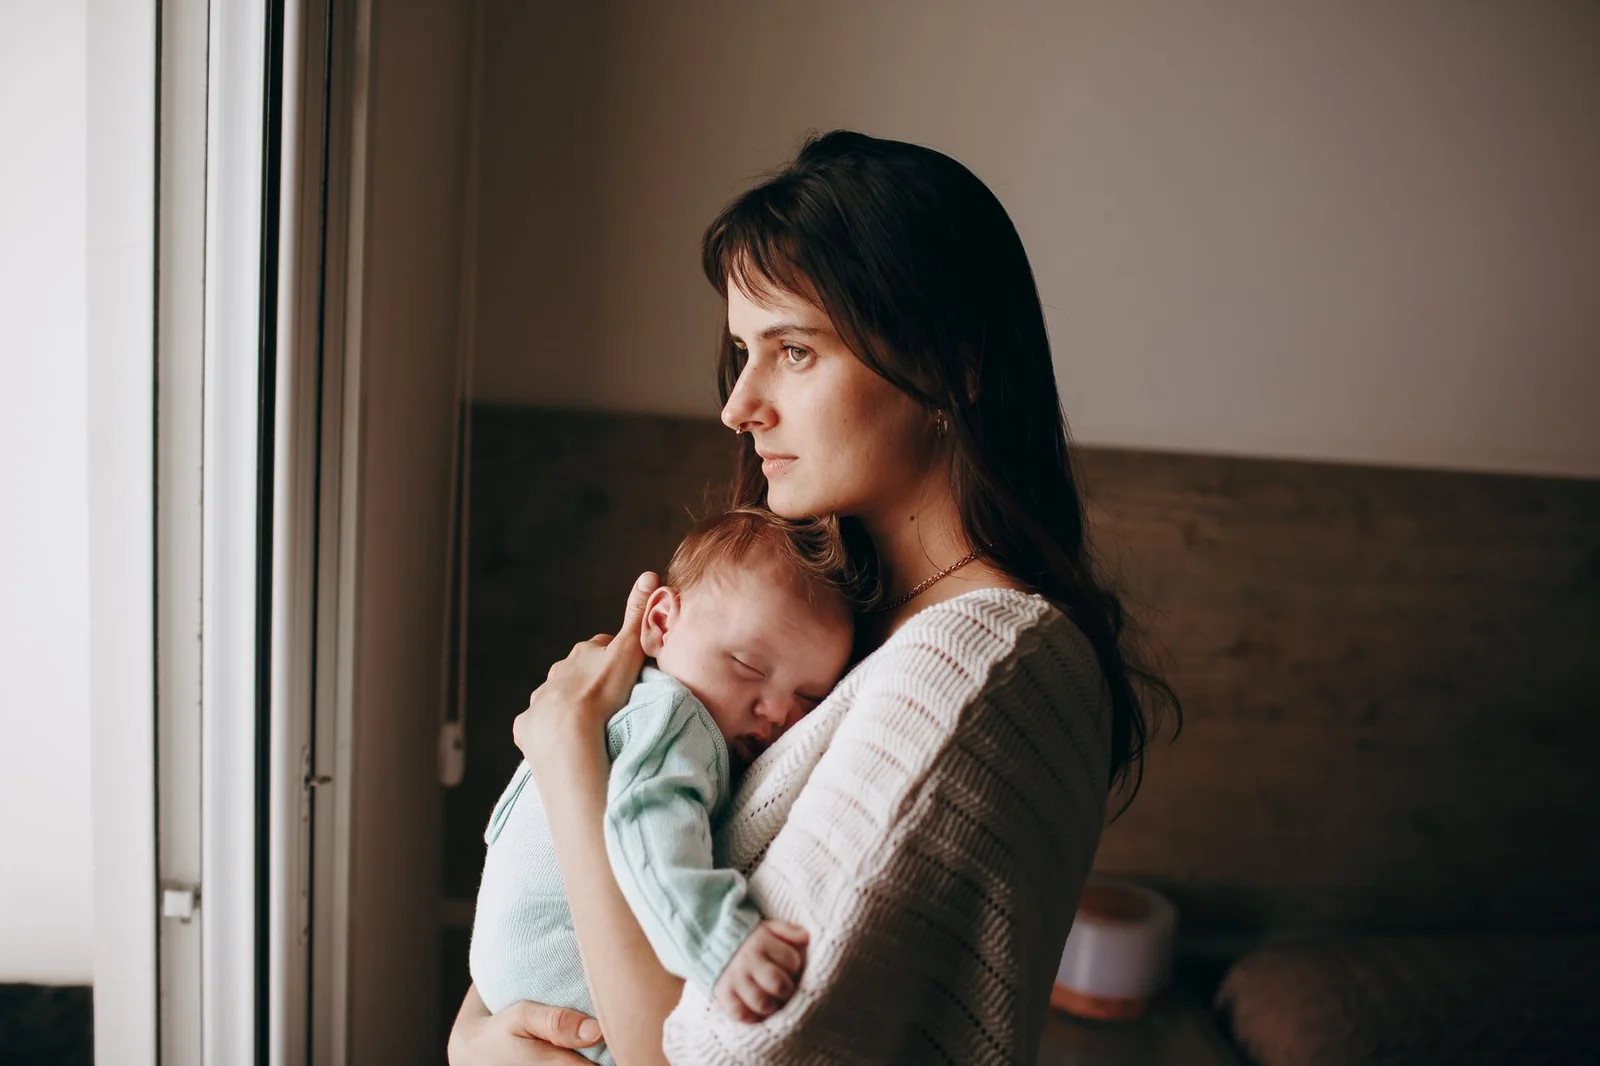
Pick the room with the largest window and the plainest walls, turn off every lamp, and shoot with the window to the side of the family. Expect the light to drift as clouds pass, and check white balance whenever the room gets brighter or darker. Our lifestyle newborn photography guide covers room choice, posing parents and how to keep a home gallery consistent.
Hand your editor files they can work with
The last of these newborn photography tips happens after the session, because what you send decides what your editor can do. RAW files keep the tonal range that newborn skin needs, every frame of a composite gives the editor something to merge, and a few finished images set the style for the whole gallery.
| Send | Why it matters |
|---|---|
| RAW files, or JPEGs with no preset applied | A preset with clarity and warmth already pushed has lost the range skin needs |
| Every frame of each composite pose | With one frame there is nothing to merge; extra frames give a cleaner join |
| Three to five finished images in your style | “Soft and natural” means different things to different editors |
| Notes on what to keep | Birthmarks and stork bites often stay; say so up front |
| Your naming and folder spec | Delivered files drop straight into your gallery or album software |
Group composite frames so they can’t be mixed up. Put each pose’s frames in its own folder, or add a shared suffix such as “froggy-A” and “froggy-B”, and include the frames you think are unusable. More source frames give the editor more choice for the join, and a more natural position for the head and hands.
What no newborn shoot can fix
Even a well-run session leaves work that only editing can do. Newborn skin changes by the hour: baby acne, milk spots, peeling, scratches, blotchy redness and a yellow jaundice cast all show at full size. A composite still has to be merged, with the supporting hands removed and the light matched across the join, and even clean wraps carry some lint.
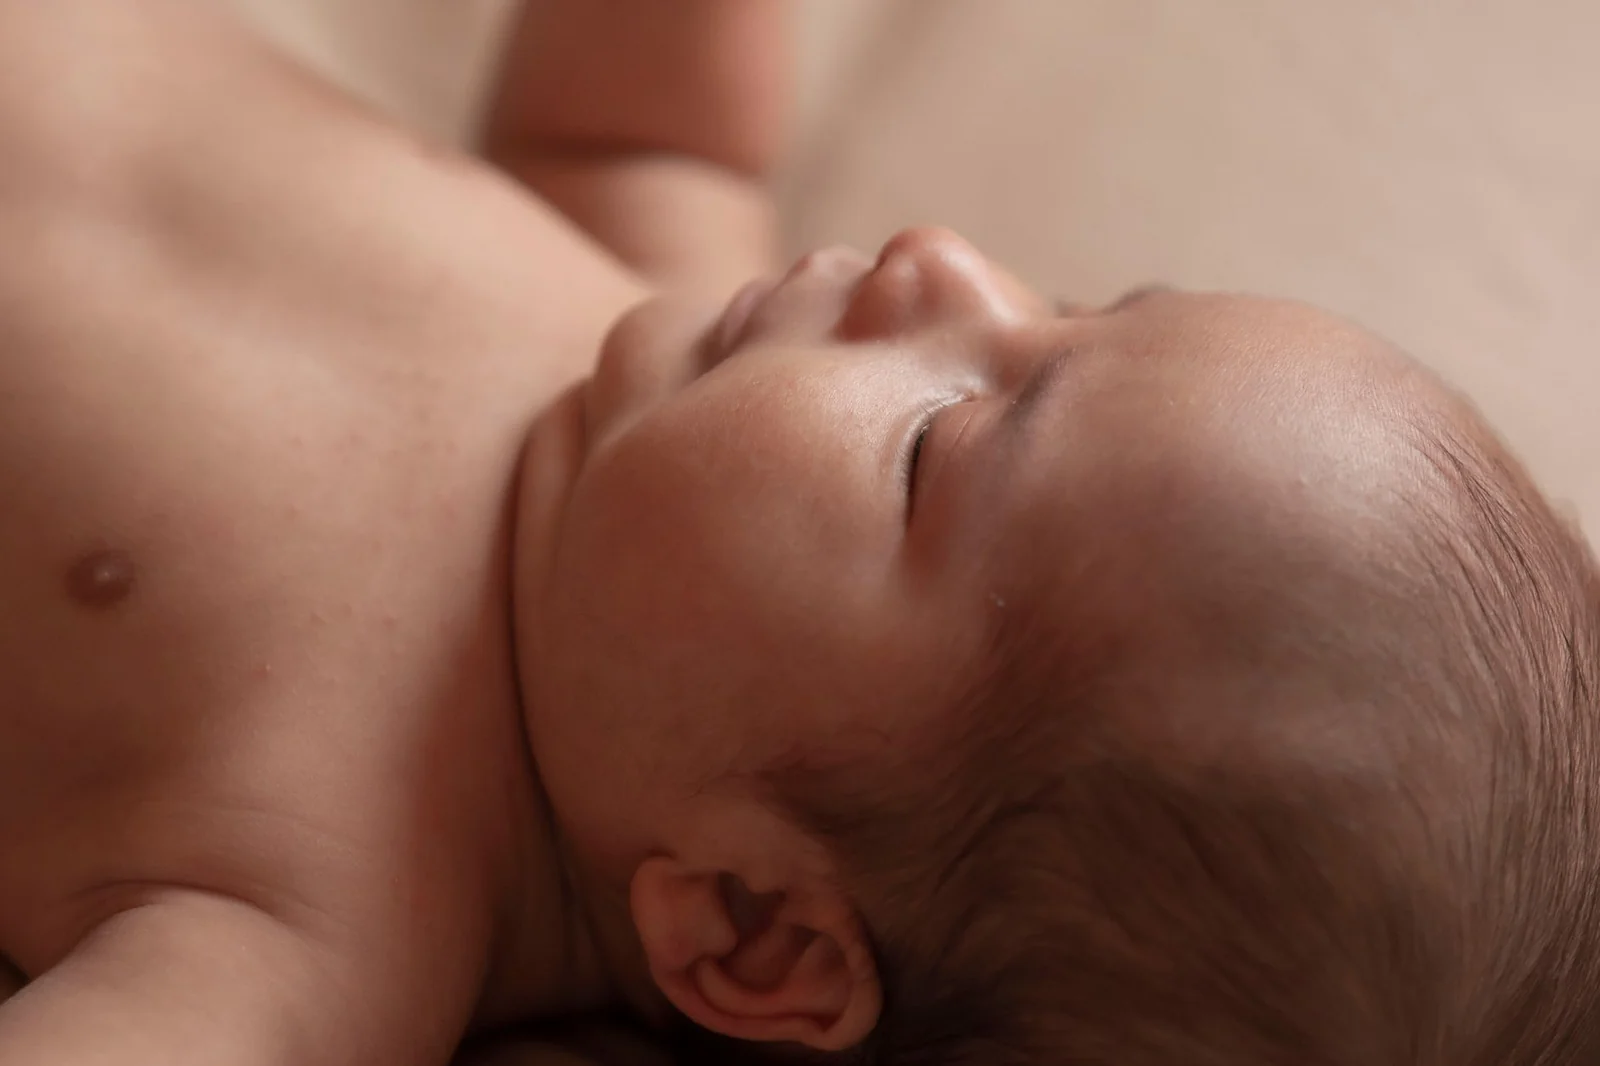
That is where retouching takes over: marks removed one at a time while the skin keeps its texture, the composite merged so the join can’t be seen, and color matched across the whole gallery. Birthmarks, stork bites and fine hair belong to the baby, so they stay unless you ask otherwise.
Common mistakes
| Mistake | What it looks like | Fix at the shoot |
|---|---|---|
| Composite pose shot as one frame | Supporting hands in the only frame, or a pose shot without hands | Two frames, hands on the baby in both, camera locked |
| Blown highlights on skin | A flat white forehead with no texture | Expose for the forehead and nose |
| Mixed color temperature | One cheek warm, one cool | Turn off room lamps; one light color only |
| Missed focus on the lashes | Sharp blanket, soft eyes | Focus on the lashes, check at 100% early in the session |
| Fuzzy wraps | Lint and fibers across every frame | Smooth wraps, lint-rolled before the session |
| Tight framing | No room to crop for an album or a wide print | Leave space around every pose |
| Preset baked into JPEGs | Orange skin and crushed shadows that can’t be pulled back | Shoot RAW; send files before any preset |
Edit yourself or outsource?
If you shoot a few sessions a month and enjoy editing, edit yourself. The edit is part of your style, and a small gallery is manageable in an evening.
| Editing yourself works when | Outsourcing works when |
|---|---|
| You shoot a few sessions a month | You shoot several sessions a week |
| Your galleries have few composites | Most galleries include composite poses |
| Editing is the part of the job you enjoy | Editing time is time you’d rather spend booking and shooting |
If a gallery of 40 images takes four minutes per image in skin work and color, that is over two and a half hours a session before any composite. At three sessions a week, it is about eight hours of editing every week.
Our editors work on hand-edited newborn photos from $2 per photo, priced per service so you pay for what each frame needs. We have edited by hand since 2010, every image gets a second check by a second retoucher at 100%, and the standard turnaround is 24 hours.
Send us your trial images. It’s free, with no card or sign-up.
Frequently asked questions
Put safety first and shoot composite poses as two frames with hands on the baby. Then use one soft light source, expose for the skin, focus on the lashes and keep your wraps clean.
Many newborn photographers book posed sessions within the first two weeks, when babies sleep deeply and curl easily. Older babies are often more awake, so sessions lean on wrapped and lifestyle poses.
Plan for one and a half to three hours. Feeding, settling and changing the baby take much of that time, and family or sibling frames add more.
Only as a composite. The froggy pose is shot as two or more frames with a parent’s or assistant’s hands supporting the baby, then merged in editing. The baby never holds the pose alone.
Both work if the light is large, soft and one color. Strobes stay the same all day; window light is easy and flattering but changes as clouds pass. Never mix window light with warm room lamps.
Yes. RAW keeps the tonal range pale newborn skin needs, so highlights and skin tones can be corrected without banding or orange casts.