A lightbox for jewelry photography works well for plain metal: bands, chains and studs come out evenly lit with almost no setup. It works badly for faceted stones and mirror-polished pieces, because light from every side flattens the contrast that makes metal read as metal and stones sparkle.
Quick answer:
- Use a light box for plain metal and simple pieces.
- Use one softbox at about 45°, 30 to 50 cm from the piece, for high polish.
- Use two diffused lights at a 2:1 ratio plus a small pinpoint light for diamonds and gemstones.
- Add black cards to every setup to give metal its edges back.
Our retouchers see the files each setup produces. Some need a light cleanup; others arrive with problems that jewelry photo editing can only paint over. The distances, power ratios and times below are starting points: adjust them to the piece in front of you.
What a lightbox for jewelry photography does
A light box is a white fabric or plastic cube that diffuses light coming in from its sides and top. The piece sits inside on a white or gray sweep, surrounded by soft, even light with almost no shadows.
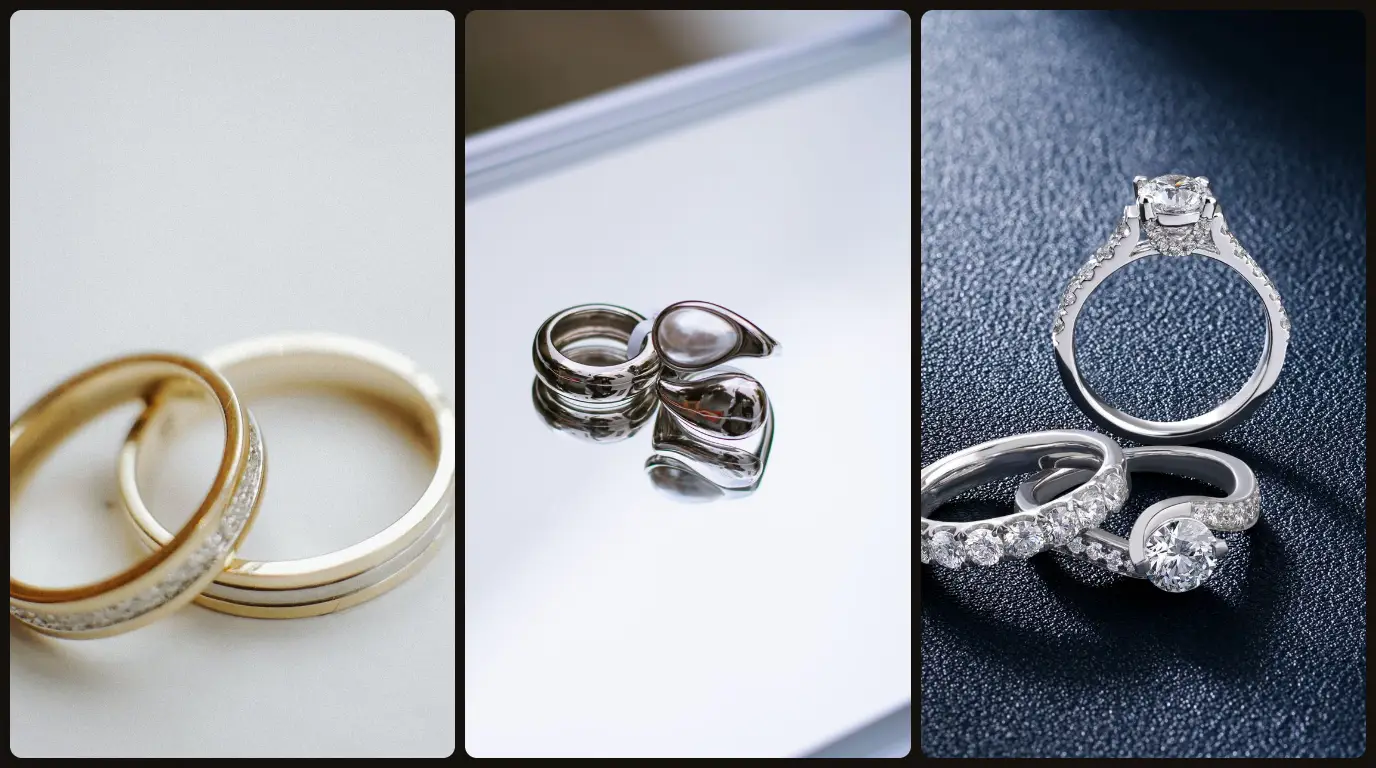
Jewelry lighting comes down to three setups. A light box lights the piece from every direction, with few shadows and little control. A softbox gives one large, soft light from one side, so you can shape the shadows. Two lights through diffusion give a main and a fill, often with a small hard light added for sparkle.
Whichever you choose, the lighting must not change what the buyer receives. Light that makes plated metal read as solid gold, or makes a cloudy stone look clear, turns a product photo into a false claim.
Why jewelry lighting is harder than lighting other products
Lighting is one part of a larger shoot. If you are setting up from scratch, start with how to photograph jewelry for the lens, settings and focus stacking, then come back here for the light.
Polished metal is a curved mirror. It shows whatever surrounds it, so the shape of your light becomes part of the product. A light box surrounds the piece with white, so the metal reflects white everywhere and loses the dark edges that show its form. That is why rings shot in a box often look gray and flat.
Stones work the other way. A diamond sparkles because small, bright light sources reflect back through its facets. Light that is soft from every side gives the facets nothing to return, so the stone looks dull. A buyer who cannot judge the metal tone or the life in a stone from the photo will ask questions, buy elsewhere, or send it back.
What you need before you start
| What | Why it matters | Minimum |
|---|---|---|
| Light box | Even light for plain metal with little setup | 40 to 60 cm cube with white walls |
| Softbox | Soft, directional light that keeps edges on metal | One 50 to 60 cm softbox or strip box |
| Second light | Fills the shadow side for stones and multi-part pieces | Flash or LED of the same color temperature |
| Small pinpoint light | Builds the sparkle in faceted stones | A bare LED or a small spot |
| Black and white cards | Black adds edges to metal; white fills shadows | Two of each, about 20 × 30 cm |
| Daylight-balanced, high-CRI lights | Mixed or low-quality light shifts gold and stone color | 5,000 to 5,600 K, CRI 95 or higher |
| Tripod, macro lens, gray card | Same frame and color reference across every setup | As in the main jewelry photography guide |
Some lighting faults are beyond any retoucher. Metal clipped to pure white has no detail left, so anything put there is painted. A stone shot with no sparkle can only gain sparkle by adding it, which changes how the stone looks. A softbox reflected across a whole band leaves no clean metal to rebuild from.
Lighting also has a legal limit. The FTC’s Guides for the Jewelry, Precious Metals, and Pewter Industries cover how jewelry is represented to US buyers, and the UK’s CAP Code covers ads there. Both ask whether the buyer is misled, so light the piece to look the way it does in hand.
How to set up jewelry photography lighting in 7 steps
Allow 38 to 63 minutes to build and test all three setups. A light box on its own, Steps 1 to 4 and Step 7, takes 18 to 33 minutes.
Step 1: Match the setup to the piece (2–3 min)
Pick the setup for the piece in front of you, even if that means borrowing a light.
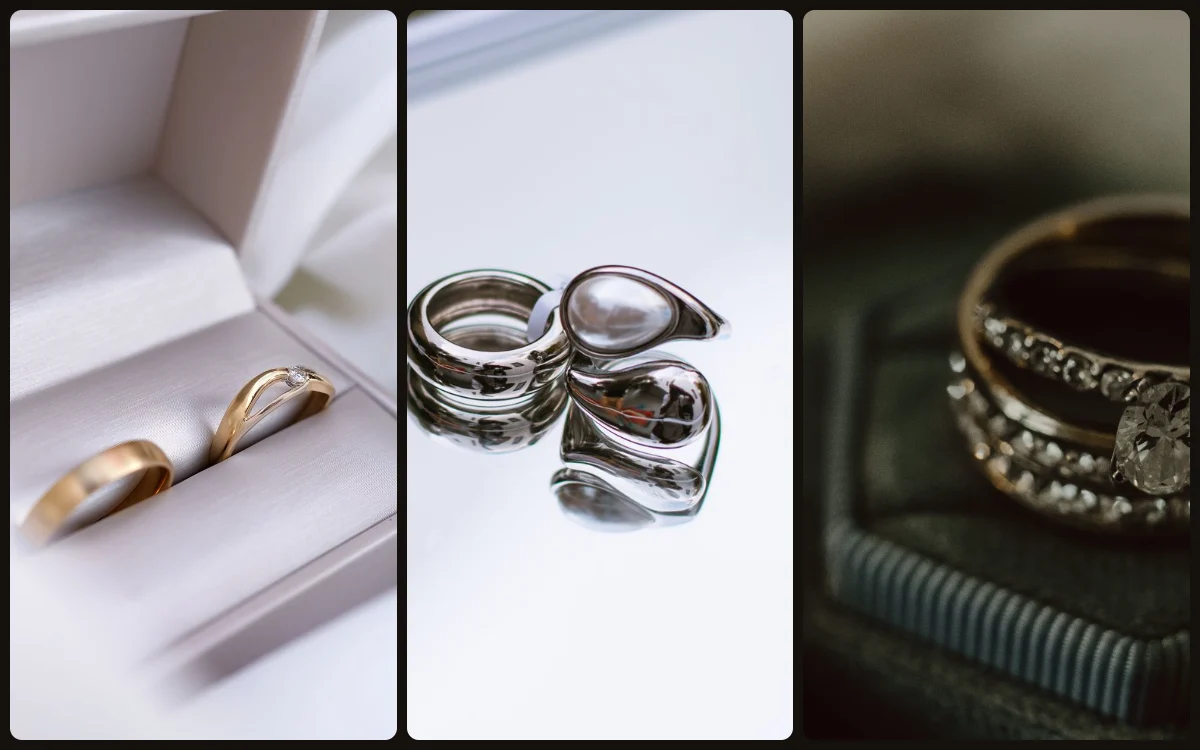
- For plain metal, matte or brushed (bands, chains, simple studs), use a light box.
- For high-polish metal (mirror bands, cuffs, watch cases), use one softbox plus black cards.
- For faceted stones (diamonds, gemstone rings, pavé), use two lights plus a pinpoint light.
- For a mixed collection, shoot the plain pieces in the box first, then move to the two-light setup for the stones.
Step 2: Set up the light box (5–10 min)
A box only gives even light if the light reaching each wall is even.
- Put the box on a stable table away from windows, and turn off room lights to avoid mixed color.
- Lay a matte white or light gray sweep inside, curving up the back wall.
- Place one light on each side wall and one above, all the same model and set to the same color temperature (5,000 to 5,600 K).
- Start the side lights at equal power and the top light one stop lower, so the piece keeps a soft shadow underneath.
White and light gray suit most listings. When to switch to black or a textured surface is covered in our guide to jewelry photography backgrounds.
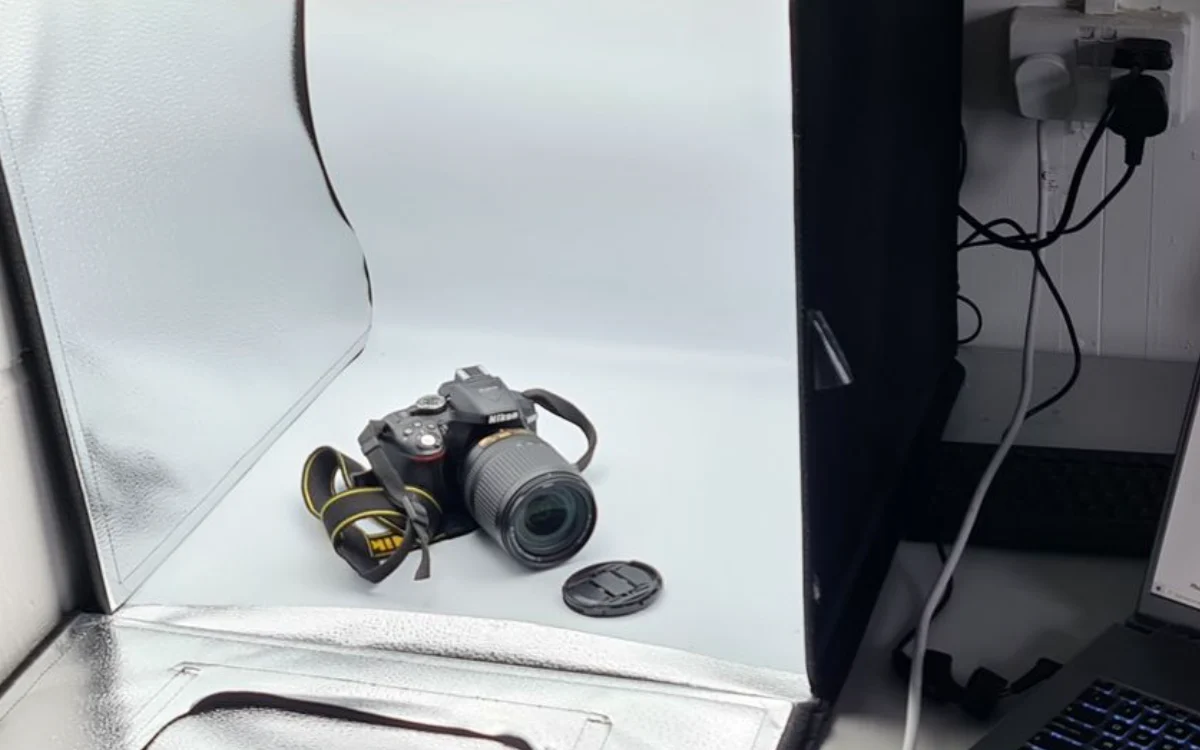
Step 3: Position the piece and the camera (3–5 min)
Distance from the back wall controls how clean the background stays.
- Place the piece in the center, 10 to 15 cm from the back of the sweep.
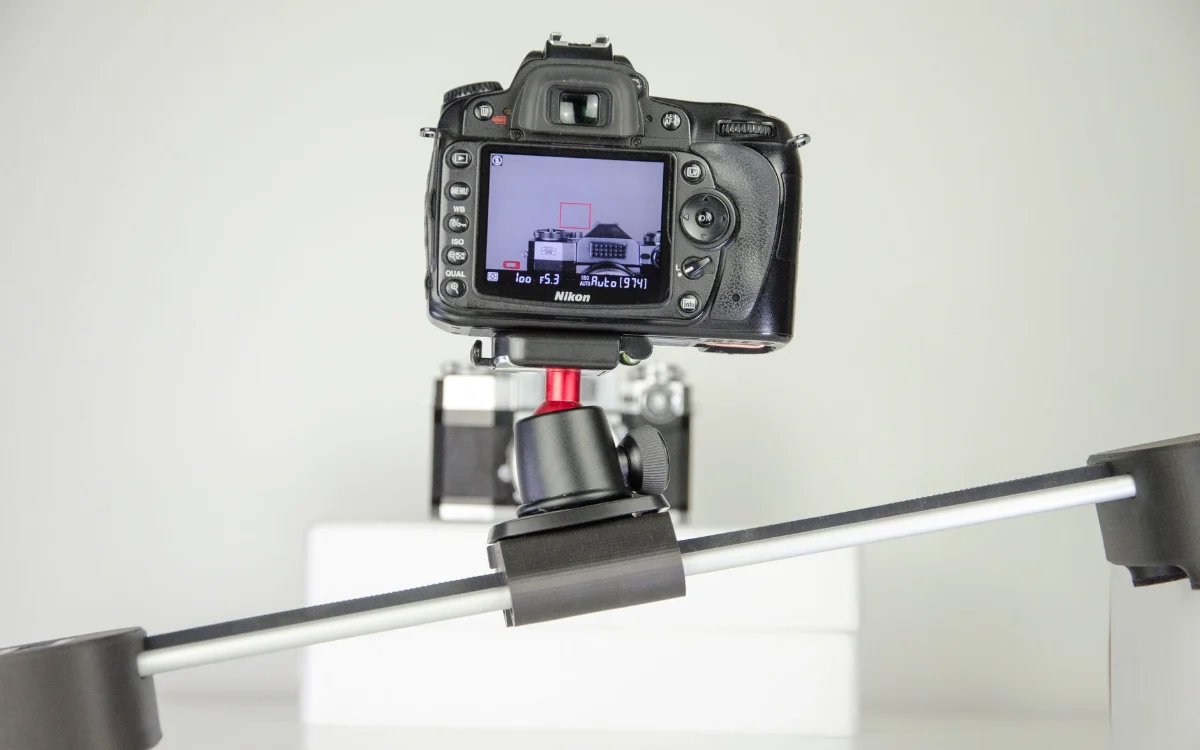
- Set the camera on a tripod outside the front opening, angled about 30° down.
- If you can see the lens in the metal, cover the front with black card and shoot through a hole cut for the lens.
Close-up work changes how much the camera reflects, which our guide to the macro lens for jewelry photography covers.
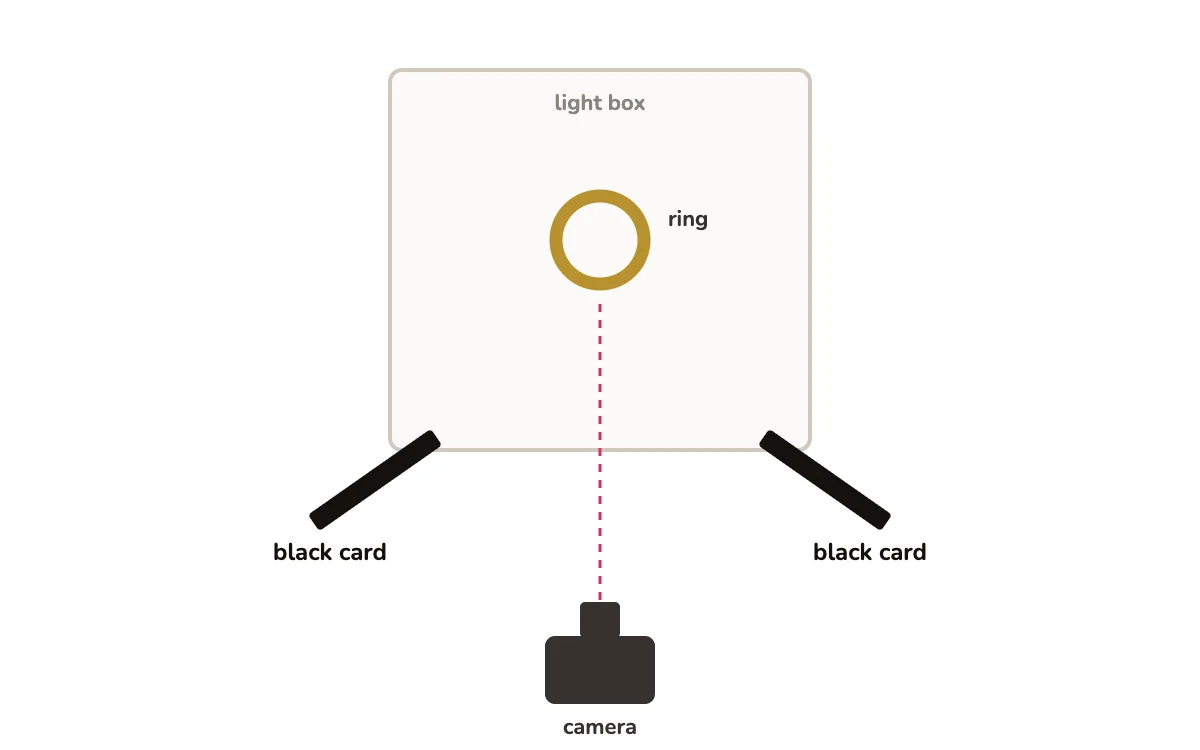
Step 4: Shape the metal with black and white cards (5–10 min)
Black cards give back the dark edges a light box takes away.
- Stand a black card just outside each front corner of the box, angled toward the piece.
- Watch the metal on the live view: a dark line should appear along each edge of the band.
- Move a card closer for a stronger line, further away for a softer one.
- Use a white card under the front edge if the underside of the piece goes too dark.
Tip: Change one card at a time and take a frame after each move. Two changes at once make it hard to see which one helped.
Step 5: Switch to a softbox for high polish (10–15 min)
One large source shows in polished metal as a single smooth gradient, with dark edges either side once the cards are in.
- Take the piece out of the box and set it on a matte sweep on the table.
- Place one 50 to 60 cm softbox above and in front, at about 45°, 30 to 50 cm from the piece.
- Put black cards on both sides so the metal shows defined edges against the gradient.
- Add a white card opposite the softbox if the shadow side loses its shape.
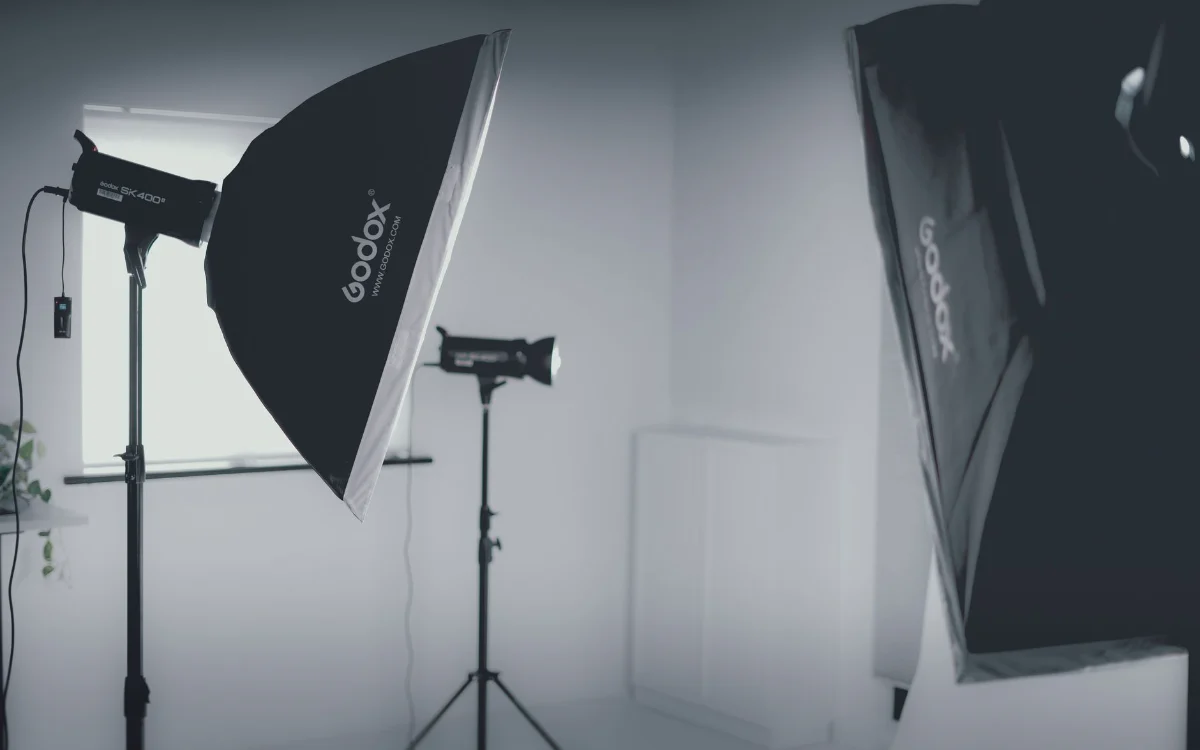
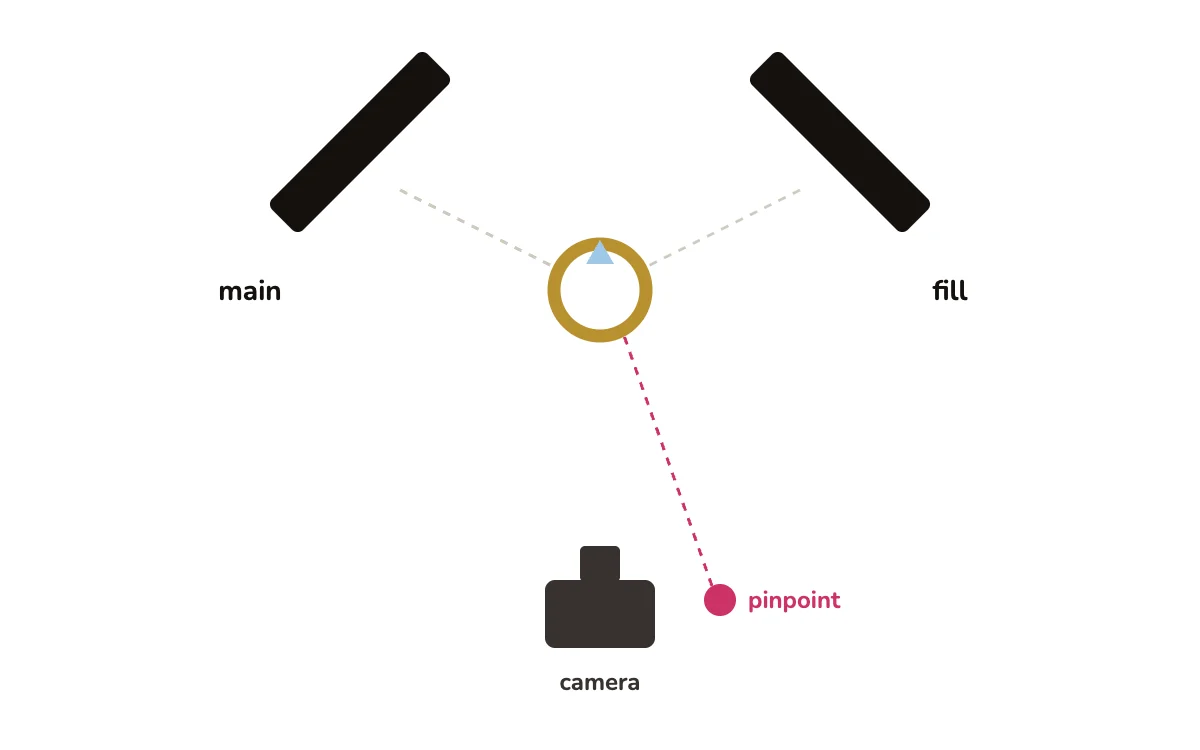
Step 6: Use two lights and a pinpoint for stones (10–15 min)
Stones need a main light, a fill light, and a small hard source to make the facets return light.
- Set the main light through diffusion at 45° on one side, and the fill light at 45° on the other.
- Set the fill one stop below the main, a 2:1 ratio, so the piece keeps its shape.
- Aim a small pinpoint light at the stone from just behind or beside the camera.
- Turn the pinpoint down until the sparkle shows in a few facets, not across the whole stone.
Tip: If the stone looks brighter in the photo than in your hand, the pinpoint is too strong. Turn it down until the two match.
Step 7: Test, check the highlights and lock the setup (3–5 min)
One test frame shows whether the light is safe before you shoot the batch.
- Shoot one frame with a gray card beside the piece.
- Turn on the highlight warning on playback. Blinking areas on the metal are clipped.
- If the metal blinks, lower the main light or move it further off-axis, then reshoot.
- Mark the light and card positions with tape, so every piece in the batch is lit the same way.
Common mistakes
| Mistake | What it looks like | Fix |
|---|---|---|
| Shooting stones in a light box | Clear but lifeless diamonds, no sparkle | Two lights plus a pinpoint light |
| No black cards on polished metal | Gray, flat bands with no edges | Black cards at the front corners |
| Mixed color temperatures | Gold turns green or orange in parts of the frame | Same light model and K value on every head |
| Room lights left on | Warm cast and stray reflections | Shoot in a dark room |
| Pinpoint light too strong | Stone brighter than in hand | Lower it until photo and piece match |
| Softbox too close and too large | One white sheet across the whole band | Move it back or use a strip box |
Light it yourself, or outsource the finish?
Lighting your own pieces is the right call for many brands. A light box and two cards cover most plain metal, and a softbox setup is worth learning if you shoot polished pieces often. For the rest of the shoot, the complete guide covers it end to end.
| Doing it yourself works when | Outsourcing works when |
|---|---|
| Most pieces are plain metal | The collection is mostly stones or high polish |
| You shoot a few dozen pieces a month | A drop runs into the hundreds |
| One person shoots, so the light stays consistent | Several shooters or seasons have to match |
| The images go to your own site | A marketplace launch date is fixed |
Even good light leaves work: dust, small reflections, and color matched across a collection. Finishing a jewelry photo takes 15 to 40 minutes once the file is clean. Fifty pieces is 12 to 33 hours; two hundred is 50 to 133 hours.
At that volume, a professional jewelry retoucher gives those hours back. Our studio has retouched jewelry by hand since 2010, with more than 60 retouchers on jewelry alone. Every image gets a second check at 100% zoom, and full-resolution files come back, most within 24 hours.
To see the finish on your own files, send us your trial images. It’s free, with no card or sign-up.
Frequently asked questions
Not always. A light box is the fastest way to get even light on plain metal pieces. For diamonds, gemstones and mirror-polished metal, a softbox or two lights give better results, because they keep the contrast and sparkle a light box removes.
A 40 to 60 cm cube suits most rings, earrings and pendants. It leaves room to keep the piece 10 to 15 cm from the back wall. Go larger only for long necklaces or full sets shot together.
A softbox is better for polished metal and anything with stones, because its light comes from one direction and keeps edges and sparkle. A light box is better for quick, consistent shots of plain metal.
Polished metal reflects its surroundings, and in a light box everything around it is white. With nothing dark to reflect, the edges disappear and the metal looks gray. Black cards near the front corners of the box bring the edges back.
Daylight-balanced light at 5,000 to 5,600 K, with every light set the same. Mixing temperatures puts different color casts on different parts of the piece, which is hard to correct later, especially on gold.