The best macro lens for jewelry photography is a 90 to 105 mm macro that reaches 1:1 magnification: it leaves room for light and fills the frame with a ring. On a crop-sensor camera, a 60 mm macro does the same job at a shorter distance.
Quick answer:
- Choose a true 1:1 macro: 90 to 105 mm on full frame, 60 mm on crop sensors.
- Expect about 15 cm between lens and piece with a 100 mm.
- Shoot at f/8 to f/11; at 1:1 the lens behaves two stops smaller.
- Focus stack 15 to 30 frames for a ring.
The lens is one part of the shoot; our full guide to photographing jewelry covers the light, settings and background. This post sticks to the lens: focal lengths, distances, apertures and frame counts, the numbers our retouchers wish every file arrived with.
What jewelry macro photography means
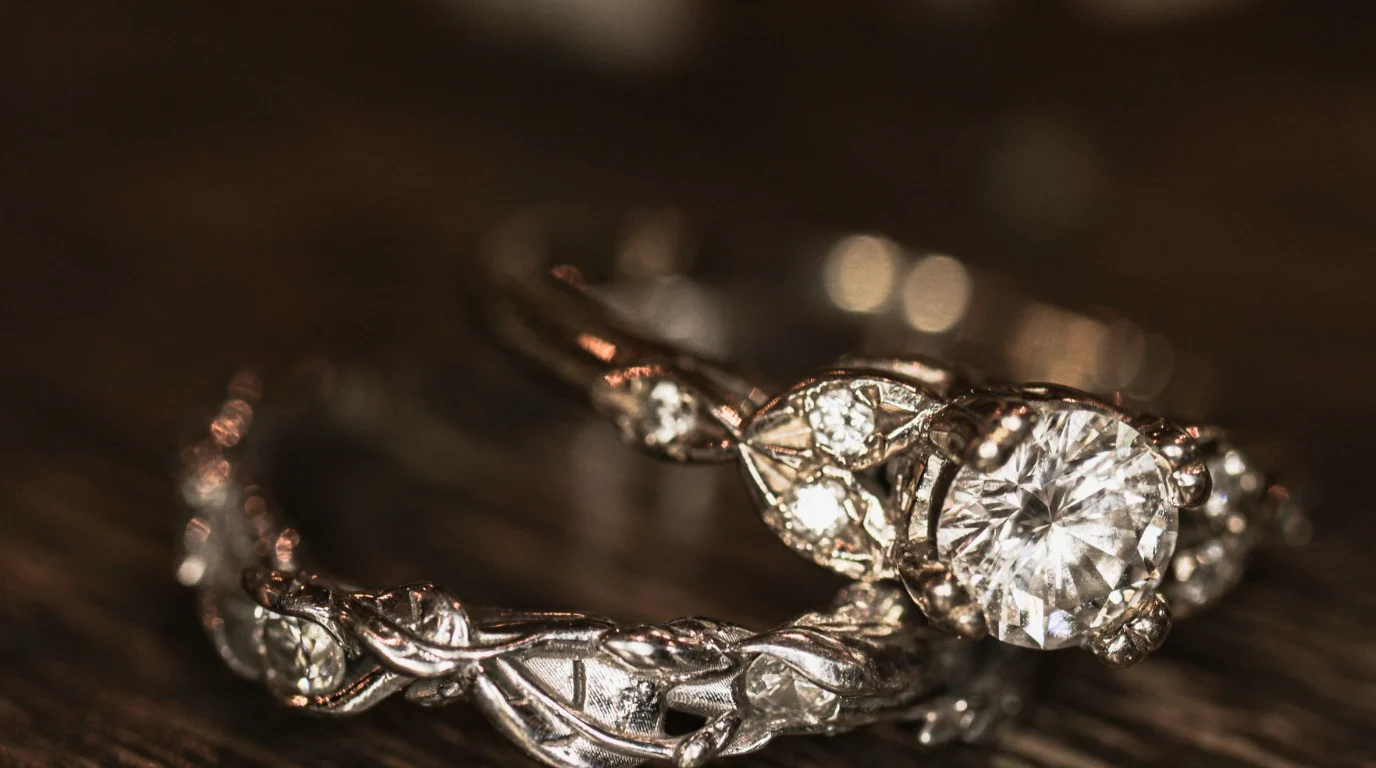
Jewelry macro photography is shooting a piece so close that it fills the frame at, or near, life size. A macro lens is built for this: it focuses close enough to put the subject on the sensor at 1:1, so a 20 mm ring spans most of a full-frame sensor’s 36 mm width.
Close up jewelry photography with a macro lens covers:
- Choosing a focal length for your sensor and your pieces
- Setting magnification and the working distance between lens and piece
- Picking an aperture that holds detail without softening it
- Focus stacking, because no single frame holds a whole ring sharp
Macro work must still show the piece as it is. A lens that makes a stone look bigger than it is, through crop or angle, misleads the buyer as much as heavy editing does.
Why does a macro lens matter more for jewelry than for other products?
Jewelry is small, and buyers zoom in. A kit zoom focuses down to about 0.25x to 0.35x magnification, so a ring fills a quarter of the frame. Cropping in to fill the frame throws away most of the pixels, and a marketplace zoom view then shows mush where the prongs should be.
Depth is the second problem. At 1:1 and f/8 on a full-frame camera, the zone of sharp focus is about 1 mm deep. A ring seen at an angle can be 15 to 20 mm deep from the front prong to the back of the band, so no lens, however expensive, gets it all sharp in one frame.
Buyers judge prongs, stone edges and surface finish from these photos. If the prongs are soft, a buyer can’t tell whether the stone is held securely, and the close-up has told them nothing.
What you need before you start
To shoot jewelry with a macro lens, you need a true 1:1 macro (90 to 105 mm on full frame, 60 mm on a crop sensor), a locked tripod and a way to move focus in small, even steps. Add a shake-free release, plenty of light and a dust kit. Tethering to a monitor is optional.
| What | Why it matters | Minimum |
|---|---|---|
| Macro lens | Reaches 1:1 without cropping | 90 to 105 mm macro on full frame, 60 mm on crop sensors |
| Tripod | Frames must line up for stacking | A sturdy tripod or a copy stand, head locked |
| Focusing rail or stacking software | Moves the plane of focus in small, even steps | A manual rail, or camera focus-bracketing |
| Remote release or 2-second timer | Stops shake from pressing the shutter | Built-in timer |
| Continuous light or flash | Small apertures need a lot of light | The setup from the lighting guide |
| Blower and lint-free cloth | At 1:1, every speck of dust shows | Rubber blower, microfiber cloth, cotton gloves |
| Tethering (optional) | Check focus at 100% on a monitor | Capture One or Lightroom Classic tethered capture |
Some things a macro lens cannot fix. Glare that clips polished metal to pure white has no detail left to sharpen. A stone shot slightly out of focus cannot be refocused afterwards, only rebuilt. Halos, stray dust and lens reflections are different: jewelry photo retouching cleans those once the file lands.
Stacking also has an ethical line. A stack combines frames of the same piece to extend focus, so the result still shows what the buyer gets. The FTC’s Guides for the Jewelry, Precious Metals, and Pewter Industries and the UK’s CAP Code both judge an image by whether it misleads the buyer. Never stack frames of two different pieces, or add sparkle the stone doesn’t have.
How to shoot jewelry with a macro lens in 7 steps
The method runs in a fixed order: choose the lens, set the magnification, lock the camera, set the exposure, clean the piece, then shoot and blend a focus stack. Allow 35 to 66 minutes for the first piece, including the stack and the blend. You only repeat Steps 1 and 2 when the setup changes.
Step 1: Choose the focal length for your camera (3–5 min)
Match the lens to the sensor and to how much room your lights need.
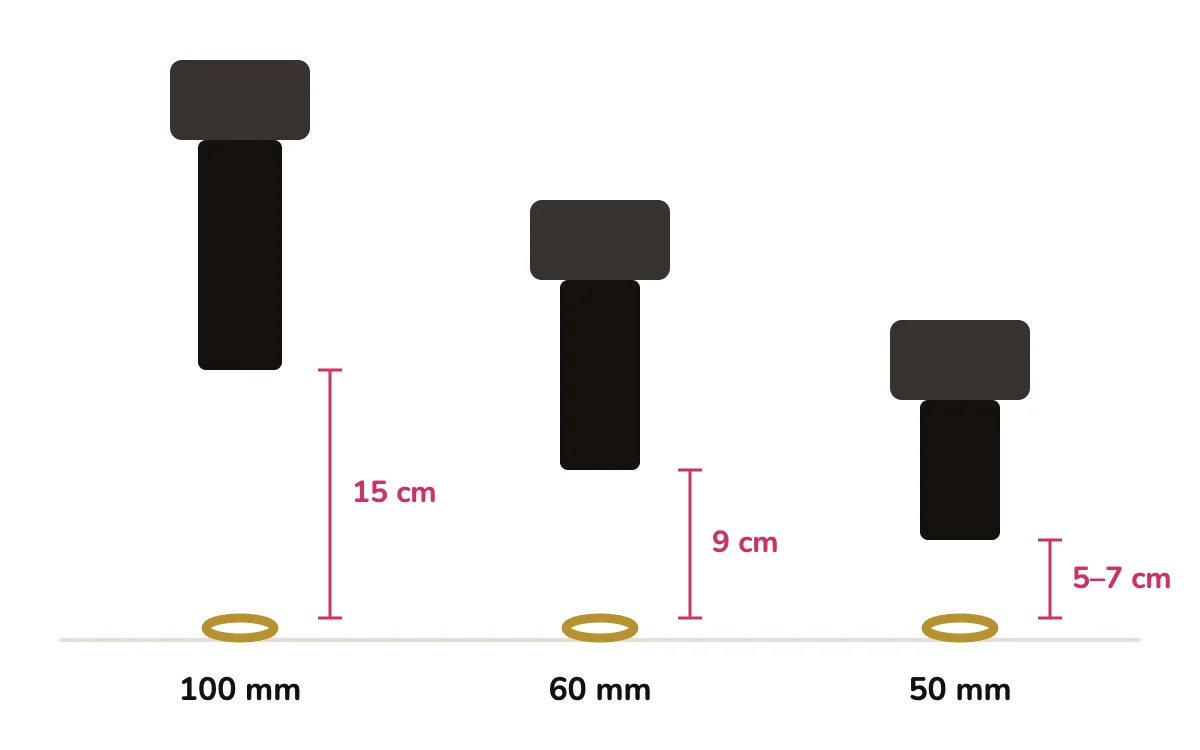
- On full frame, use a 90 to 105 mm macro. At 1:1 it leaves about 15 cm between the front of the lens and the piece.
- On a crop sensor (APS-C), a 60 mm macro frames like a 90 mm, at about 9 cm working distance.
- Skip 50 mm macros on full frame for rings: at 1:1 the front element sits only 5 to 7 cm away and blocks your light.
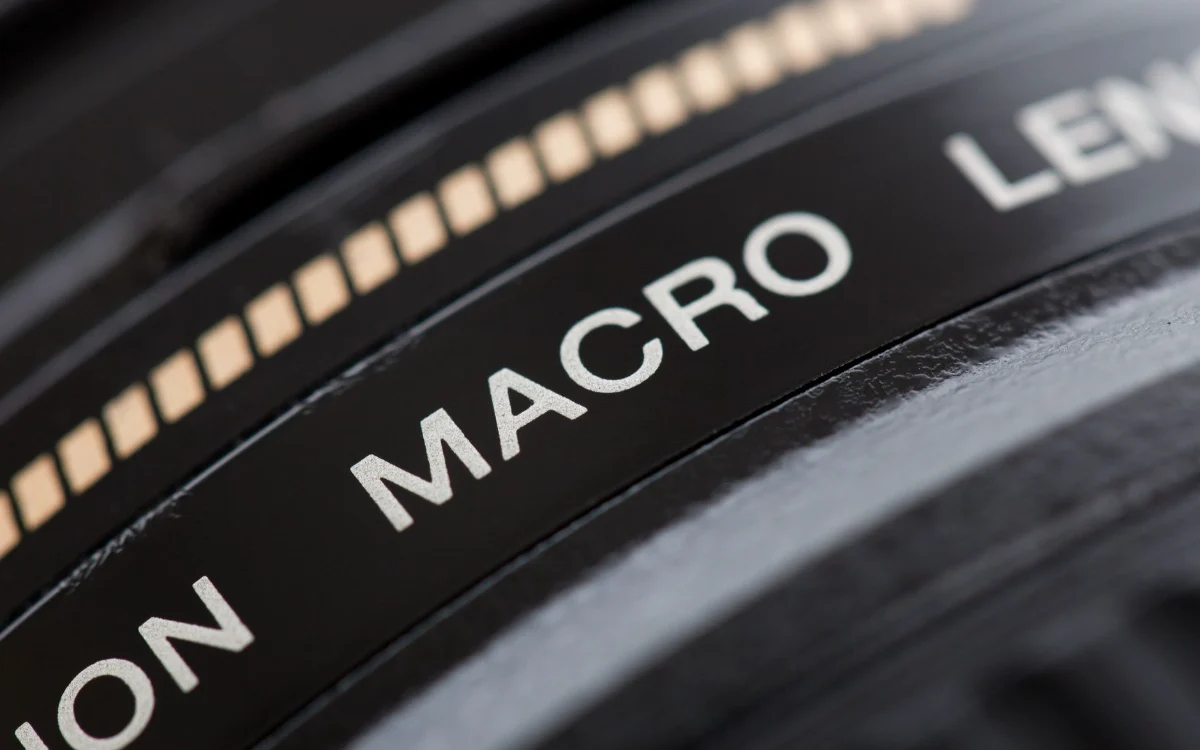
- Check the lens spec reads 1:1 or 1.0x. “Macro” on a zoom often means 0.3x.
Tip: On a budget, extension tubes behind a 50 mm prime reach about 0.5x. They cost little but lose light and stop the lens focusing far away.
Step 2: Set magnification and working distance (5–8 min)
Decide how much of the frame the piece fills, then lock it.
- Turn the focus ring to the magnification you want. The scale on the lens barrel shows it, for example 1:2 or 1:1.
- Leave the focus ring there. Move the whole camera on the tripod or rail until the piece is sharp.
- For a ring, frame so it fills 70 to 85% of the width. That leaves space for a square marketplace crop.
- Measure lens to piece and note it, so the next piece matches.
Step 3: Lock the camera and focus by hand (5–10 min)
At this magnification, autofocus hunts and a touch on the camera blurs the frame.
- Switch the lens to MF and turn off image stabilization on a tripod.
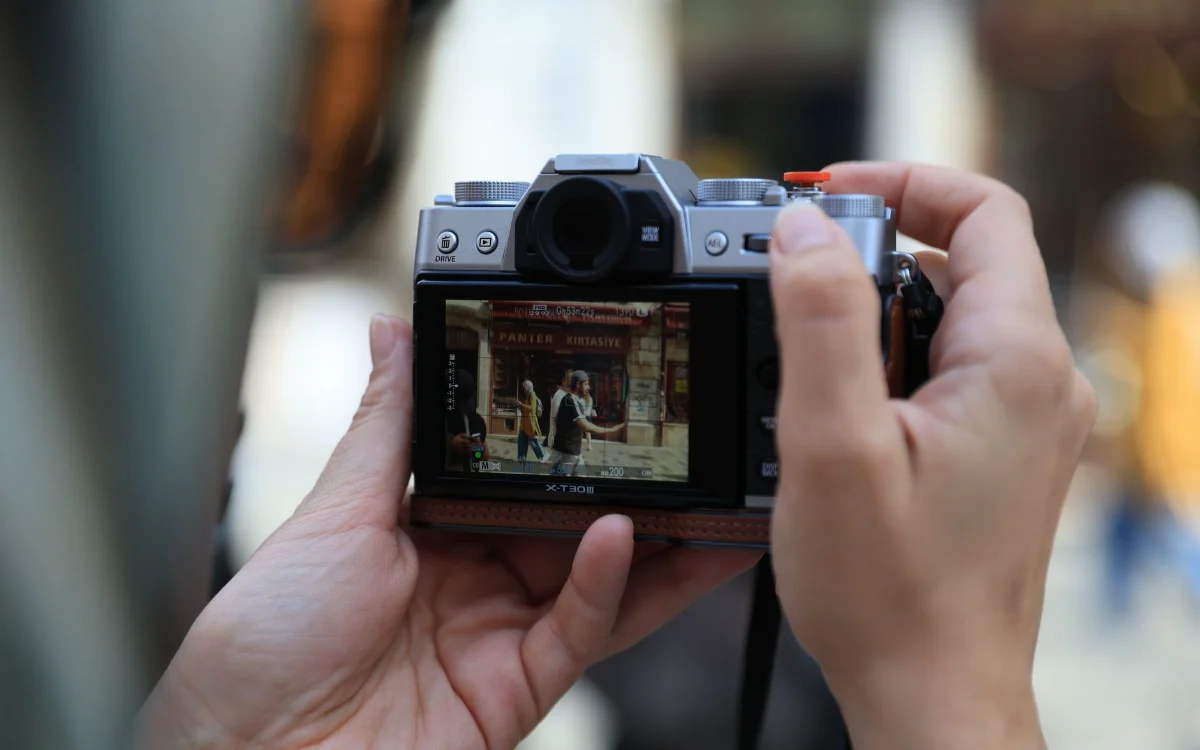
- Open live view and zoom it to 10x on the nearest prong.
- Set the 2-second timer or use a remote, and turn on electronic front-curtain shutter if the camera has it.
- If you tether, open File > Tethered Capture in Lightroom Classic, or the Capture tab in Capture One, and view each frame at 100%.
Step 4: Set aperture and exposure (2–3 min)
Smaller apertures add depth, but past a point they soften everything.
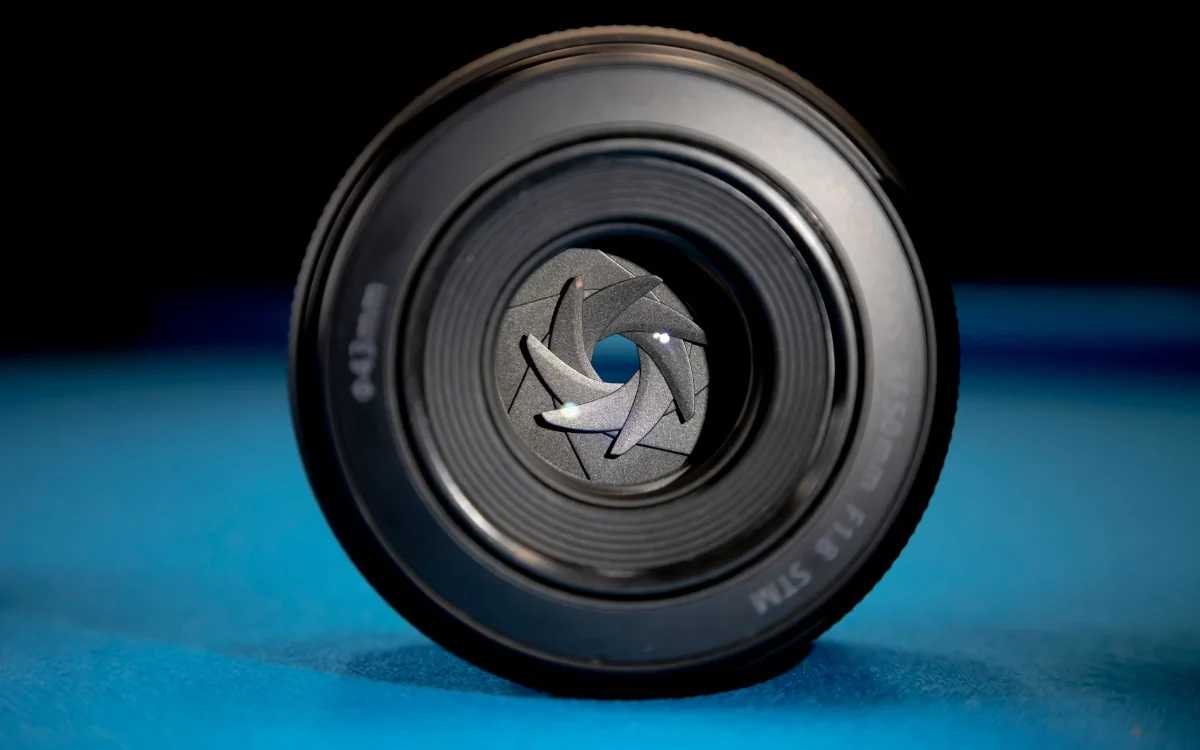
- Start at f/8 on full frame and f/5.6 to f/8 on crop sensors.
- Remember the light loss at 1:1: the lens behaves about two stops smaller than the dial says, so f/8 acts like f/16.
- Don’t go past f/11 on full frame. Beyond it, diffraction softens fine detail more than the extra depth helps.
- Set ISO 100 and adjust the shutter speed or light power for exposure, not the aperture.
Step 5: Clean the piece and check for dust at 100% (5–10 min)
A 1:1 lens shows dust the eye never sees.
- Wear cotton gloves and wipe the piece with a microfiber cloth.
- Blow off lint with a rubber blower. Don’t blow by mouth: it leaves spit spots on polish.
- Shoot one test frame and check it at 100%, or tethered on the monitor.
- Repeat until the metal and stones are clean in the test frame.
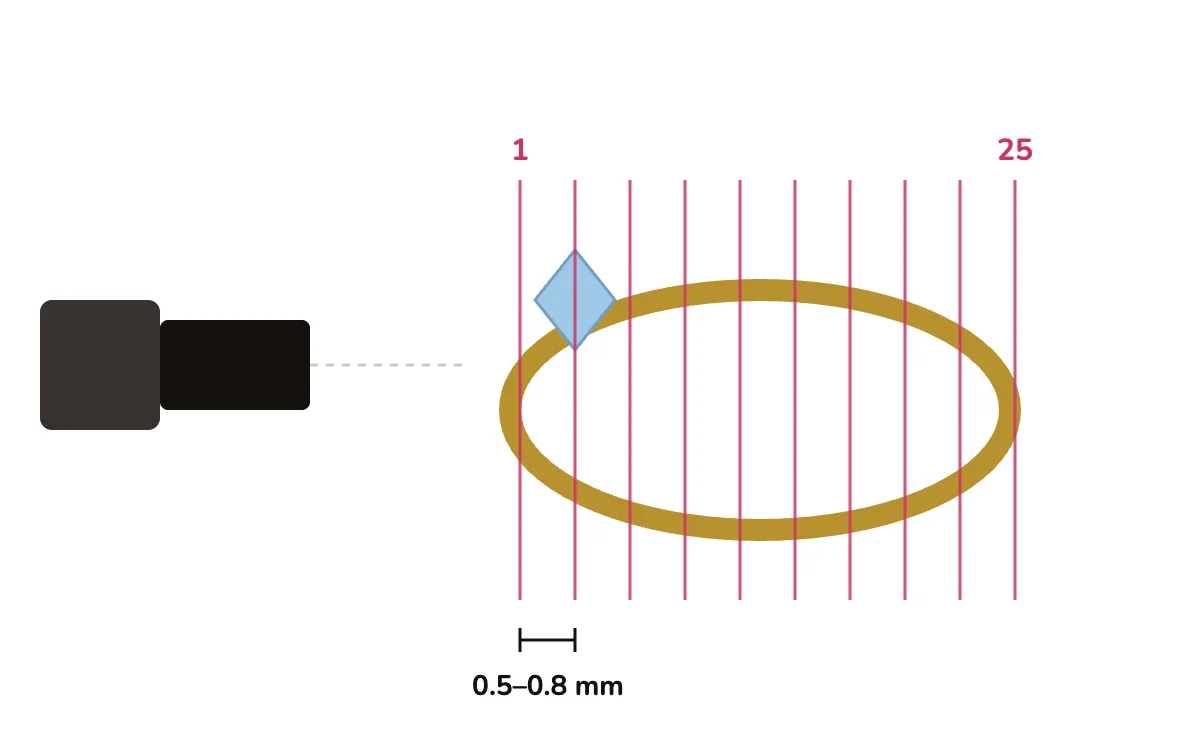
Step 6: Shoot the focus stack (5–10 min)
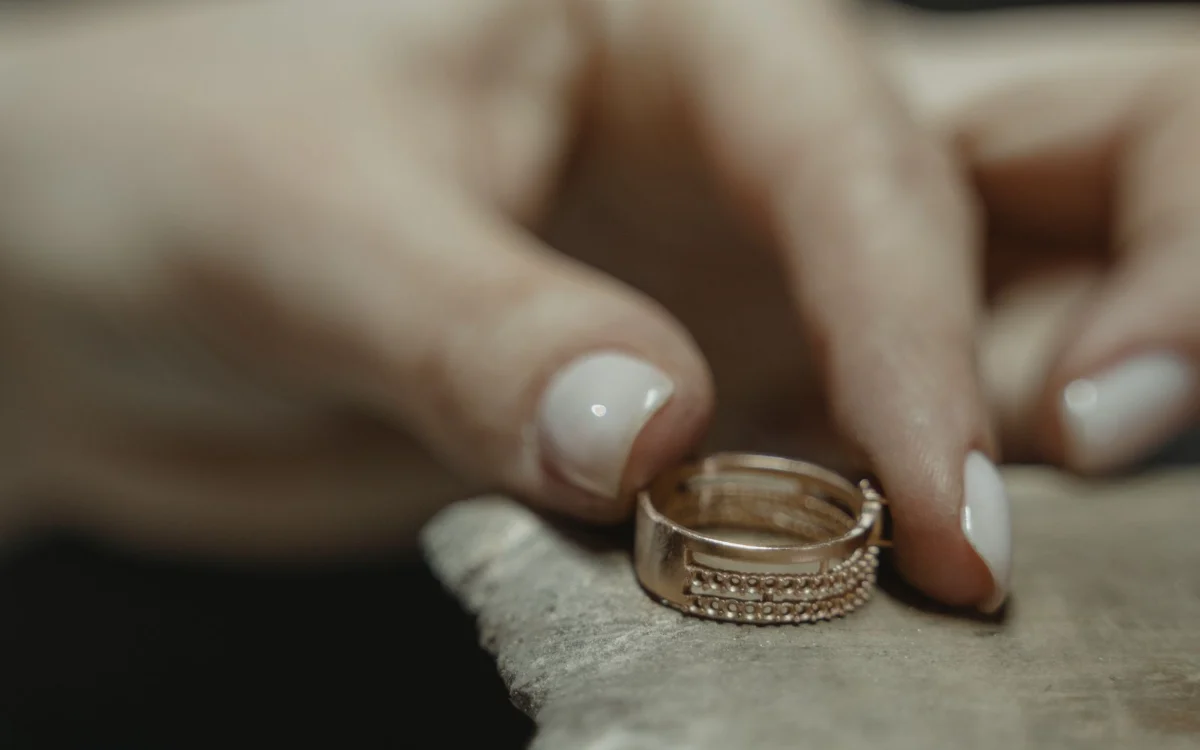
Move the plane of focus through the piece in steps smaller than the depth of field.
- Focus on the nearest point, usually the front prong, and shoot the first frame.
- Move the rail 0.5 to 0.8 mm per frame, or use the camera’s focus bracketing with a small step width.
- Keep going until the back of the band is sharp. A ring usually takes 15 to 30 frames; a flat pendant 5 to 10.
- Keep the light and the exposure the same for every frame.
Tip: Shoot one extra frame past each end of the piece. A front prong that falls just outside the first frame is a common reason a stack fails.
Step 7: Blend the stack and check the seams (10–20 min)
Stacking software blends well but leaves its own faults, so check the result before you call it done.
- In Photoshop, choose File > Scripts > Load Files into Stack and tick Attempt to Automatically Align Source Images.
- Select all layers, then Edit > Auto-Blend Layers > Stack Images with Seamless Tones and Colors on. Helicon Focus and Zerene Stacker do the same job with more control.
- Check the blend at 100%: halos along stone edges, doubled prongs, and soft patches where frames were missed.
- Save the blended file at full resolution as a TIFF or PSD.
Common mistakes
Most soft or dusty macro files come from fighting the shallow focus instead of stacking for it. The six mistakes below are the usual causes: stopping down to f/22, cropping a kit-lens shot, refocusing mid-stack, leaving gaps in the stack, letting the lens show in the polish and skipping the dust check.
| Mistake | What it looks like | Fix |
|---|---|---|
| Shooting at f/22 to get everything sharp | The whole piece looks slightly soft | Stay at f/8 to f/11 and focus stack |
| Cropping a kit-lens shot instead of using a macro | Mushy prongs in the marketplace zoom view | Use a true 1:1 macro |
| Refocusing with the focus ring mid-stack | Frames change size and the blend shows ghost edges | Lock magnification, move the camera on a rail |
| Too few frames in the stack | Soft bands across the band or a stone | Use 0.5 to 0.8 mm steps, plus one frame past each end |
| Lens too close to the piece | The lens and camera appear in the polish | Use a longer macro or move the lights |
| Skipping the 100% dust check | Specks on every frame, multiplied in the stack | Clean, test, check at 100% before stacking |
Shoot it yourself, or outsource the finish?
Plenty of brands shoot their own macro images and do it well. One good macro lens, a tripod and a stacking routine cover most rings and pendants. If you are building the rest of the setup, the jewelry photography guide covers the lens, settings and focus stacking in context, and the lighting setups for jewelry photography cover the light.
| Doing it yourself works when | Outsourcing works when |
|---|---|
| You shoot a few dozen pieces a month | A drop runs into the hundreds |
| Most pieces are flat or simple | Most pieces are rings and stones that need deep stacks |
| One person shoots and blends | Several shooters’ files have to match |
| The images go to your own site | A marketplace launch date is fixed |
Even a clean stack leaves work: halos on stone edges, dust that slipped through, and reflections of the lens in the polish. Finishing a stacked jewelry photo takes 15 to 40 minutes. Fifty pieces is 12 to 33 hours; two hundred is 50 to 133 hours.
At that volume, a professional jewelry retoucher gives those hours back. Our studio has retouched jewelry by hand since 2010, with more than 60 retouchers on jewelry alone. Every image gets a second check at 100% zoom, and full-resolution files come back, most within 24 hours.
To see the finish on your own files, send us your trial images. It’s free, with no card or sign-up.
Frequently asked questions
For rings, earrings and stones, yes. A kit zoom reaches only about 0.3x, so the piece fills a fraction of the frame and cropping loses detail. Extension tubes or a close-up filter can stand in on a budget, with some loss of light and edge sharpness.
A 90 to 105 mm macro on a full-frame camera, or a 60 mm macro on a crop sensor. Both reach 1:1 while leaving room between lens and piece for light. Shorter macros put the lens so close that it blocks the light and shows in the polish.
Start at f/8 on full frame and f/5.6 to f/8 on crop sensors. At 1:1 the lens behaves about two stops smaller, so going past f/11 softens detail through diffraction. Use focus stacking for depth instead of a tiny aperture.
Usually 15 to 30 frames at 1:1, moving focus 0.5 to 0.8 mm per frame. A flat pendant needs 5 to 10. Add one frame past the front and the back of the piece so neither end goes soft.
Most often it is camera shake or a too-shallow depth of field. Use a tripod, a 2-second timer and manual focus in magnified live view. If only part of the piece is sharp, the depth of field is the limit: focus stack instead of stopping down further.