Most advice on how to take pictures of rings is written for engagement photos. For a shop, stand each ring upright and shoot six frames: front, three-quarter, profile, top-down, inside the band and on a hand. Light it softly, with one small hard light for sparkle.
Quick answer:
- Stand the ring upright on clear putty, an acrylic stand or a ring clip.
- Shoot six frames: front, three-quarter, profile, top-down, inside the band, on a hand.
- Square the stone to the lens, and focus-stack so the whole ring is sharp.
- Soft light for the metal, one small hard light for sparkle, black cards for contrast.
- Never add sparkle or a different stone color in editing: the buyer receives the real ring.
The lens, light and focus stacking behind every shot are in our jewelry photography guide. This post is for sellers: the angles a buyer checks before paying, and what each one costs in editing.
What photographing rings for a shop involves
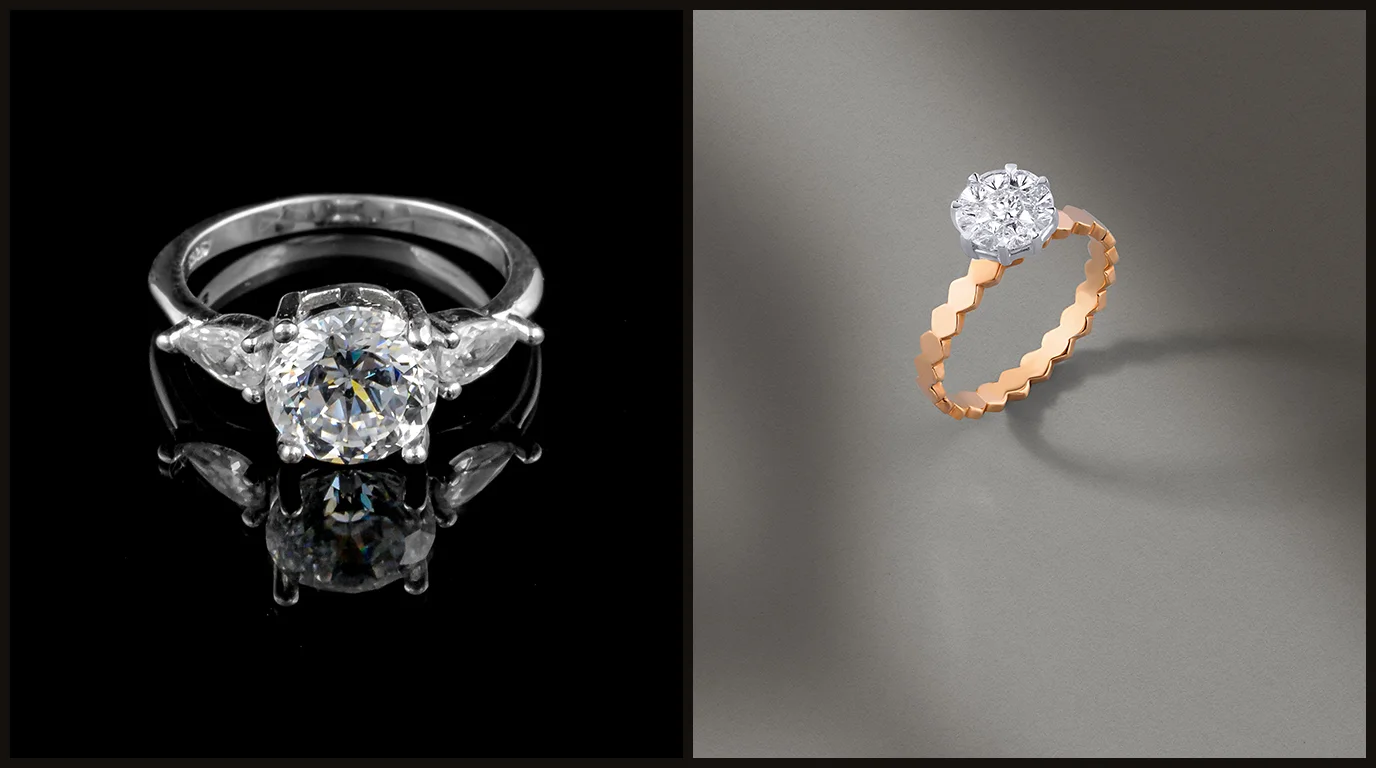
Photographing a ring for a listing means answering a buyer’s questions before they ask: what the stone looks like face up, how high it sits, how wide and thick the band is, what it is stamped, and how big it looks on a hand. An engagement photo needs one good frame. A listing needs all of these.
A complete ring set covers:
- The front, with the stone or design facing the camera
- A three-quarter view and a profile, for depth and setting height
- Top-down, the face-up view buyers use to compare stones
- The inside of the band, with any metal stamp
- One frame on a hand, for scale
A ring must be shown as it is. A stone brightened past its real color, sparkle painted in, or a band made to look thicker misrepresents the product.
Why rings are harder to photograph than other jewelry
A ring is small, round and polished all the way around. The curved band reflects the whole room. The stone sits above the metal, so the front and back rarely share one plane of focus. And a ring won’t stand up on its own.
Stones add a second problem. A diamond needs bright points of light to sparkle and dark reflections to show its facets. Soft, even light alone makes it look flat and gray. Buyers who can’t see the stone clearly, or the stamp inside the band, ask questions or buy elsewhere.
How to take pictures of rings: what to stand them on
How you hold the ring decides which angles you can shoot and how much cleanup each frame needs. Most sellers use two holders: one for the upright shots and a hand for scale.
| Holder | Best for | Watch for |
|---|---|---|
| Clear museum putty under the band | Front, three-quarter and profile; works for any ring size | Putty showing in frame; keep it behind the shank |
| Clear acrylic ring stand | Upright shots in a matching series | Edges of the stand catching light |
| Ring clip on a thin rod | Floating rings on a white sweep | The clip visible behind the band |
| A slit cut in white foam | Quick upright shots, plain bands | Foam texture in close-ups |
| A hand | Scale and how the ring sits | Dry skin, nail color competing with the stone |
What you need before you start
How to photograph a ring well comes down to two things: a holder that keeps it still, and light that works for both the metal and the stone.
| What | Why it matters | Minimum |
|---|---|---|
| Clear putty and tweezers | Holds the ring at an exact angle without fingerprints | Clear museum putty, fine-tip tweezers |
| Cotton gloves, a blower and a polishing cloth | Every prong and facet shows dust at 100% | Lint-free gloves, a rubber air blower |
| One large diffused light | Soft, even light on the band | A softbox or a light through diffusion fabric |
| One small hard light | Points of light for the stone’s sparkle | A small LED panel or flashlight, no diffuser |
| Black and white cards | Black gives metal edges and facets contrast; white fills shadows | Two of each, about 10 × 15 cm |
| Gray card | Keeps metal and stone color true | An 18% gray card |
Some faults can’t be fixed later. A stone photographed tilted away from the lens stays dark, and a ring shot with no hard light has no sparkle to keep. Dust on the prongs, fine scratches on the band and the putty under the shank are different: that is what hand retouching cleans up.
The FTC’s Guides for the Jewelry, Precious Metals, and Pewter Industries and the UK’s CAP Code judge an image by whether it misleads the buyer. Removing dust passes. Adding sparkle the stone doesn’t have, or changing its color, does not.
How to photograph rings: 6 steps
Allow 35 to 65 minutes for the first ring through all six steps. Rings of the same style go faster once the holder and lights are set.
Step 1: Clean the ring and stand it upright (5–10 min)
A ring that leans or carries a fingerprint costs more to fix than to prevent.
- Put on cotton gloves, blow dust off the prongs and wipe the band with a polishing cloth.
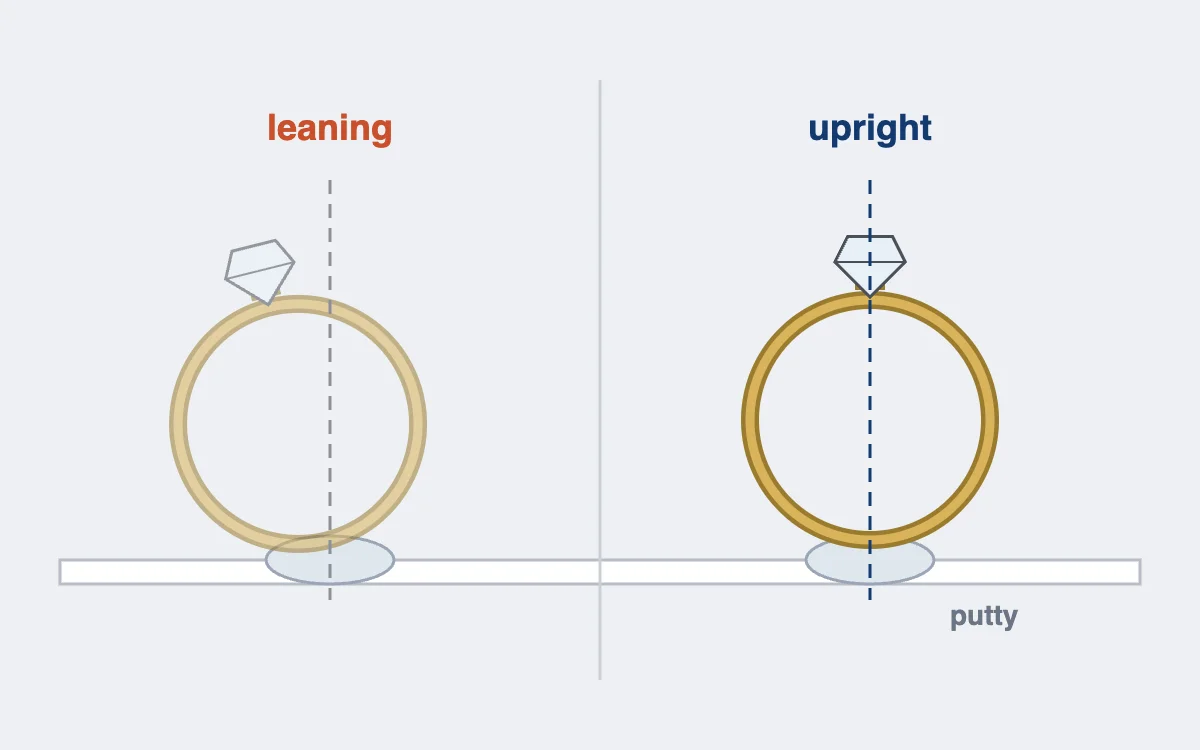
- Press a small ball of clear putty onto the surface and set the shank into it, stone up.
- Check from the camera position that the ring stands straight, not leaning left or right.
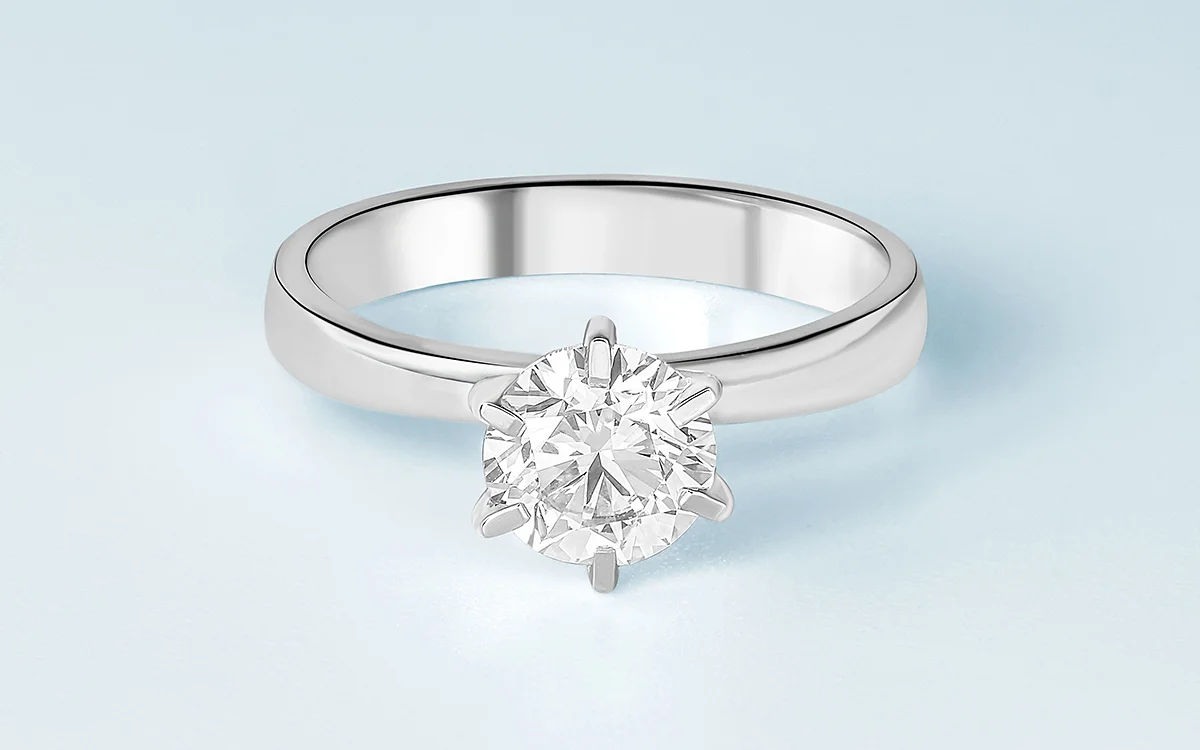
Step 2: Shoot the front with the stone facing the lens (10–15 min)
This is the main image, and the stone has to face the camera square.
- Put the camera level with the stone or slightly above it, about 10 to 15°, so the table of the stone faces the lens.
- Use f/11 to f/16 and ISO 100, the settings from the full guide, and frame the ring at 70 to 85% of the width.
- Focus-stack from the front prongs to the back of the band: a ring is deeper than any single aperture keeps sharp at this distance.
- Shoot one frame with the gray card, then one without.
Step 3: Turn it for the three-quarter view and the profile (5–10 min)
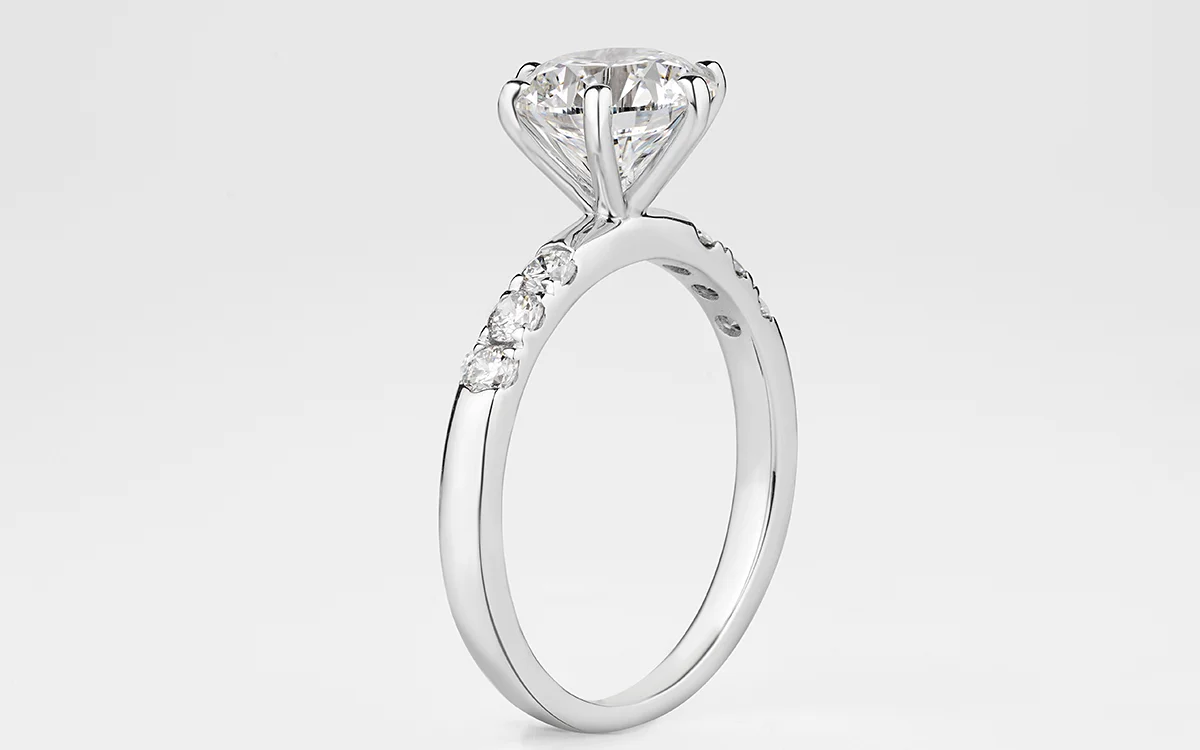
These two frames show how high the stone sits and how thick the band is.
- Turn the ring about 45° with tweezers on the shank, not your fingers on the stone.
- Turn it a full 90° for the profile, so the camera sees the side of the setting.
- Re-stack each angle: the depth changes every time the ring turns.
Step 4: Add the top-down view and the inside of the band (5–10 min)
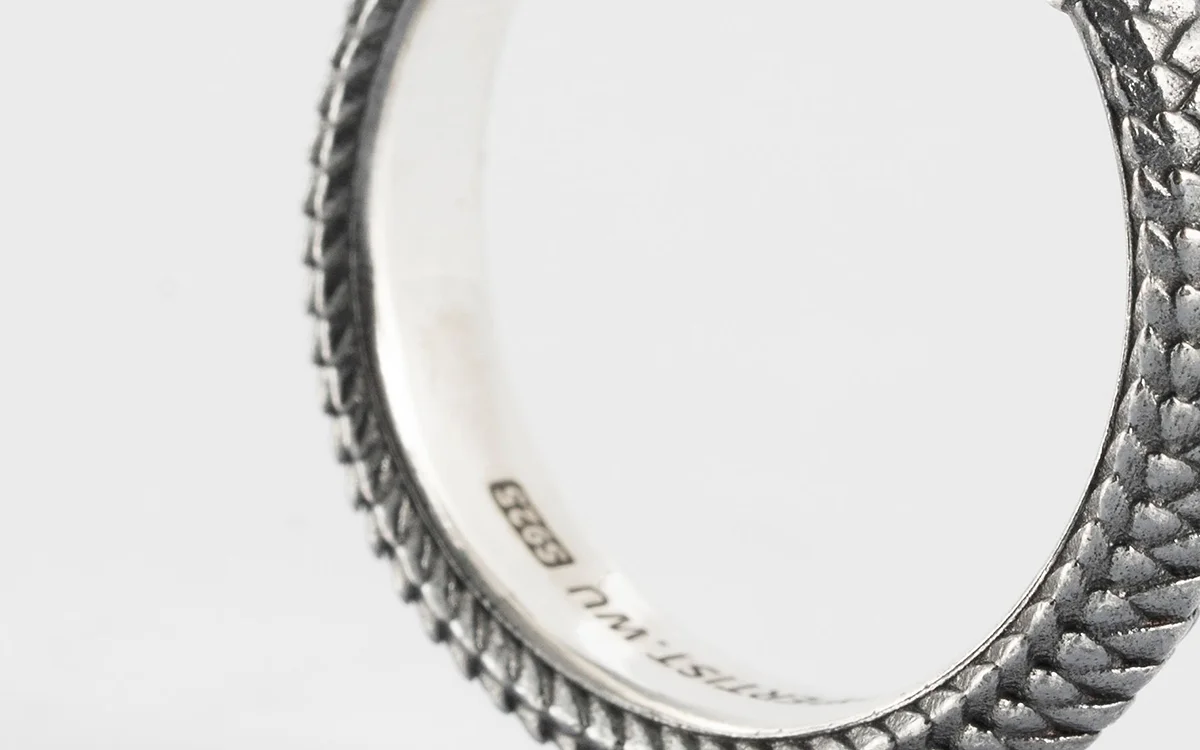
Top-down is how buyers compare stones; the inside answers the metal question.
- Lay the ring flat, stone up, and put the camera directly above it for the face-up view.
- Tilt the ring so the camera sees inside the band, and frame any stamp (14K, 18K, 925) so it is readable.
- Light the inside with a white card bounced into the band, not a direct light.
Step 5: Bring out the stone’s sparkle with light (5–10 min)
How to photograph diamond sparkle comes down to two kinds of light at once.
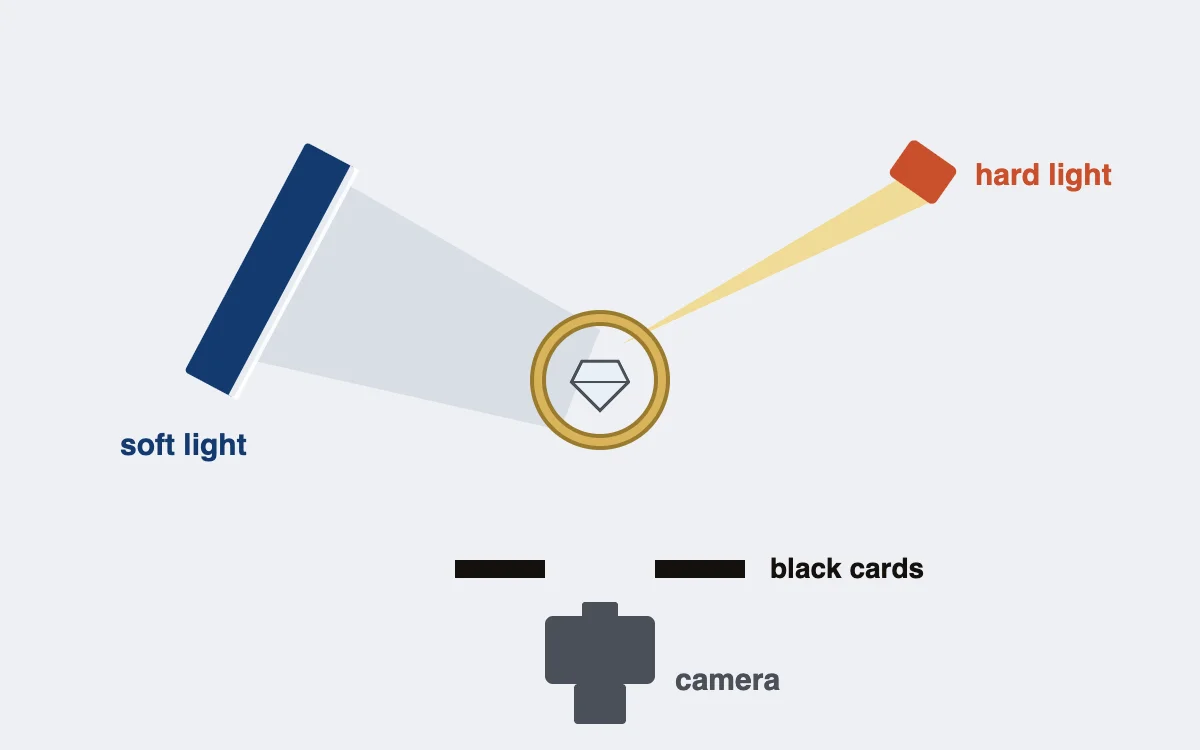
- Keep the large diffused light on the band, so the metal stays soft and even.
- Add the small hard light from above or the side, so the facets throw back small bright points.
- Stand black cards just outside the frame near the lens: dark reflections give the facets contrast.
- Move the hard light a few centimeters between frames and keep the one where the stone sparkles without blowing out.
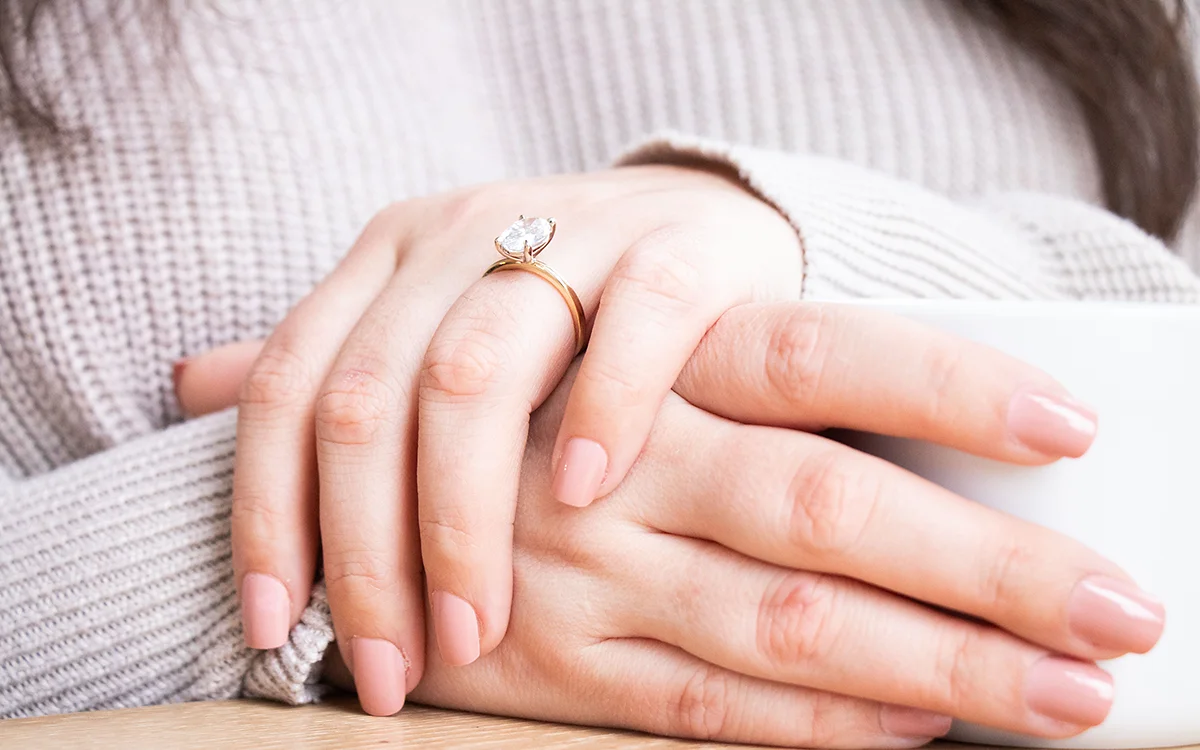
Step 6: Shoot one frame on a hand (5–10 min)
A worn shot shows the size better than any measurement.
- Use a clean, moisturized hand with short, neutral nails, so nothing competes with the stone.
- Put the ring on the ring finger and rest the hand on a plain surface in soft window light.
- Keep the gray card in the first frame: skin and yellow gold sit close in hue.
How to photograph a diamond ring, a band or a statement ring
The six steps stay the same for every style. What changes is where the effort goes.
| Type | Focus on | Watch for |
|---|---|---|
| Diamond and gemstone rings | The front and top-down; Step 5 light | A flat, gray stone from soft light alone |
| Plain bands | Profile and inside of the band | The room reflected all around the band |
| Eternity bands | Three-quarter, so stones show around the band | Stones at the back going dark |
| Signet and statement rings | Front and top-down for the design | Engraving lost in glare; light from the side |
| Stacking sets | The set together, then each ring | Rings not touching evenly in the stack |
Necklaces have the opposite problem, a long chain with a small focal point; our guide on how to photograph a necklace covers the drape and the clasp.
Common mistakes
Most ring photos we see fail on the stone or the angle. These six cause most of the retakes and editing time.
| Mistake | What it looks like | Fix |
|---|---|---|
| Stone tilted away from the lens | A dark or gray stone | Square the table of the stone to the camera |
| Soft light only | No sparkle; the diamond looks like glass | Add one small hard light |
| No focus stack | Sharp prongs, soft band, or the reverse | Stack from front prongs to back of band |
| Ring leaning in the holder | A crooked listing photo | Check from the camera position before shooting |
| No inside-band shot | Questions about the metal | Add Step 4 to every listing |
| Fingerprints on the band | Smudges that show at zoom | Gloves, and a wipe before every frame |
Shoot it yourself, or outsource the finish?
Shooting your own rings makes sense for most small shops. Putty, a stand and two lights are enough for clean results, and a few new rings a month rarely need outside help.
| Doing it yourself works when | Outsourcing works when |
|---|---|
| You list a few rings a month | A collection launches with dozens of rings |
| Most rings are plain bands | Diamonds and stones need clean facets and true color |
| One person shoots every listing | Several shoots have to match |
| The images go to your own shop | A marketplace launch date is fixed |
Editing time is what grows. Cleaning dust off the prongs, removing scratches and the putty, and taking the background to white takes 15 to 40 minutes per image. Six shots of twenty rings is 30 to 80 hours. The capture side of every shot is in our complete jewelry photography method.
At that volume, a professional jewelry retoucher gives those hours back. Our studio has retouched jewelry by hand since 2010, with more than 60 retouchers on jewelry alone. Every image gets a second check at 100% zoom, and full-resolution files come back, most within 24 hours.
To see the finish on your own rings, send us your trial images. It’s free, with no card or sign-up.
Frequently asked questions
For the main image, slightly above the stone, about 10 to 15°, with the stone facing the lens. Add a three-quarter view, a profile and top-down, so buyers see the setting height and the stone face up.
Use a large soft light for the metal and one small hard light for the stone, with black cards near the lens for contrast. Move the hard light between frames until the facets throw back bright points without blowing out.
Press the shank into a small ball of clear museum putty, or use a clear acrylic ring stand or a ring clip. Keep the holder behind the band so it doesn’t show from the front.
Yes, for one frame. A hand shows the size and how the ring sits, which a measurement alone doesn’t. Keep the main image on white, where the stone is easiest to see.
Yes. Dust on the prongs, fine scratches and the holder can be removed without changing the ring. A stone shot tilted away or without sparkle can’t be fixed without misrepresenting it, so get those right at the shoot.