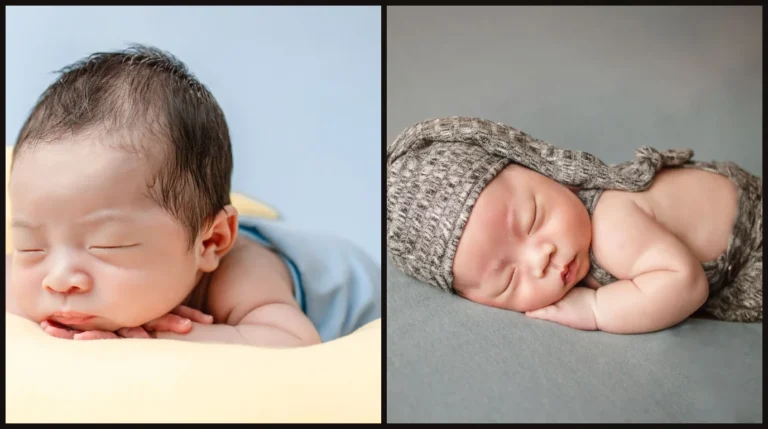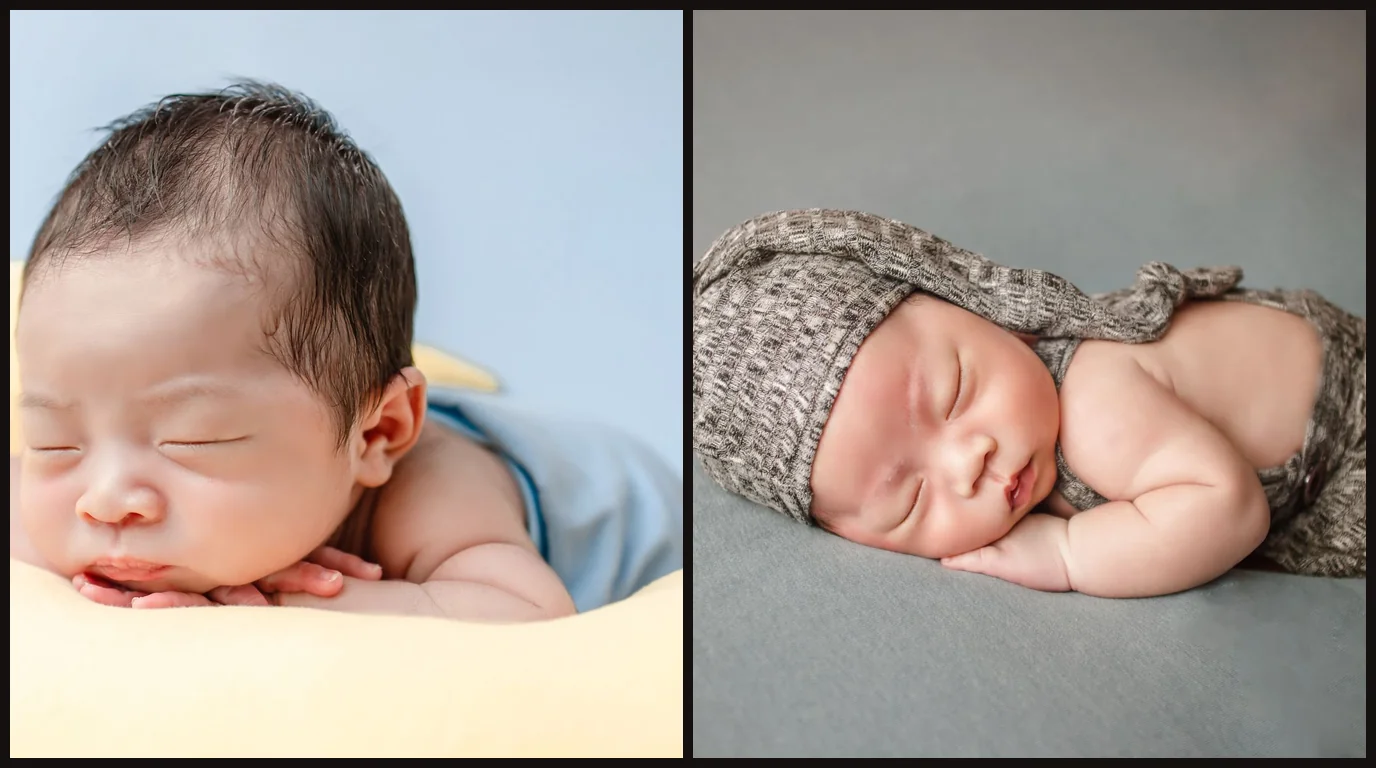
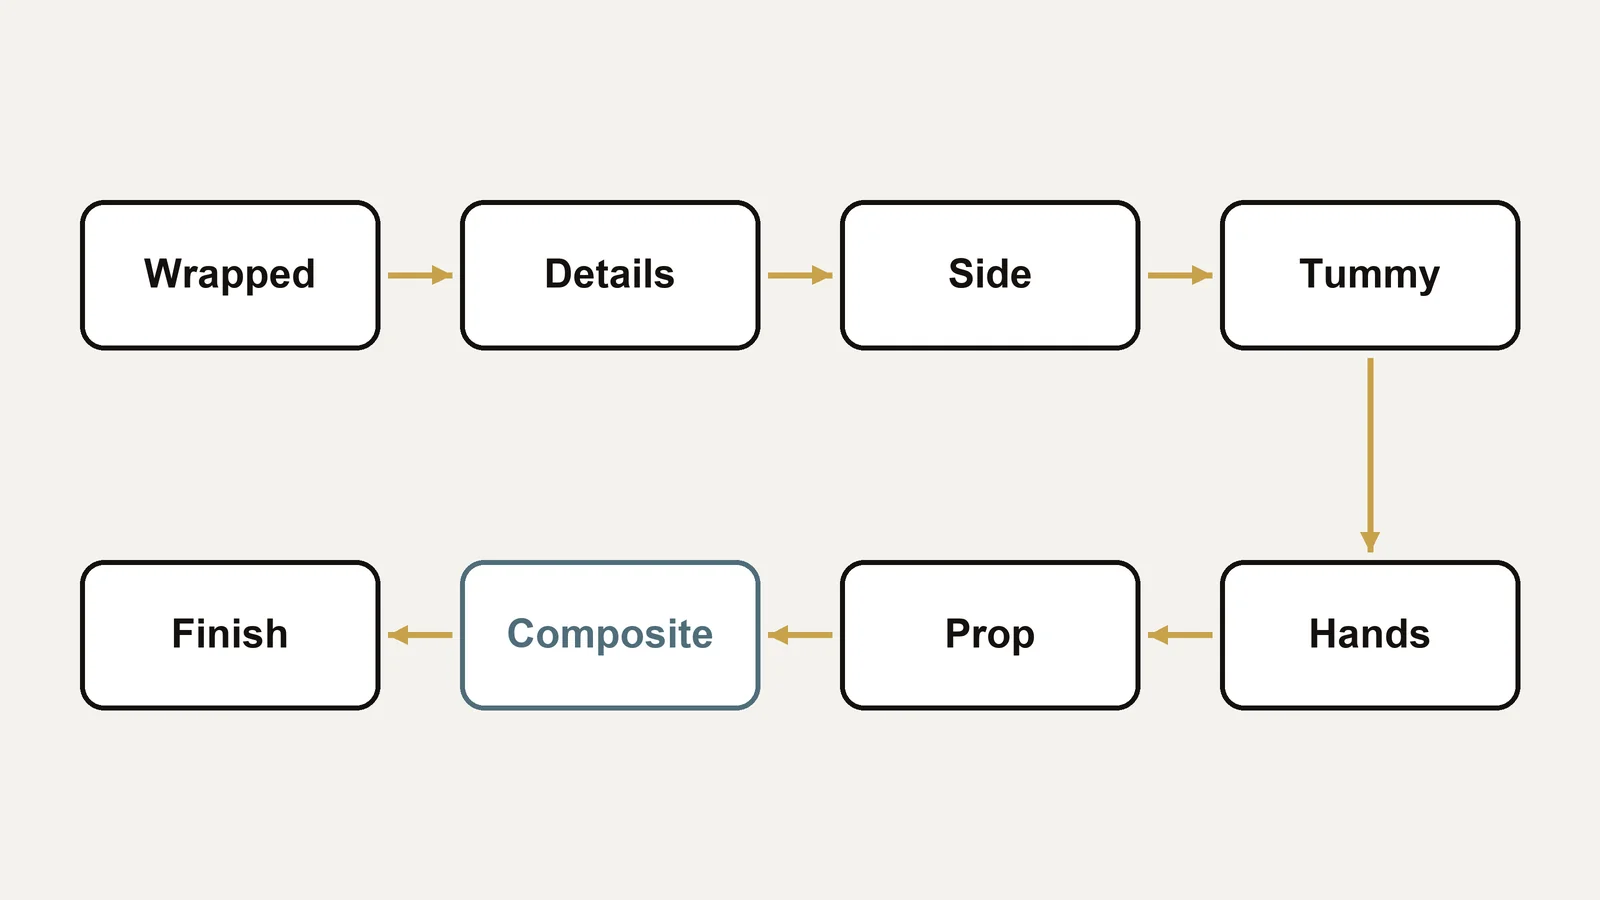
The newborn photo poses most photographers rely on are wrapped poses, detail shots, side-lying, the tummy pose, head on hands, a prop pose and the froggy pose. Shoot them as one flow that moves a sleeping baby as little as possible, and shoot the froggy pose only as a composite of separate frames.
Quick answer:
- Start wrapped, then details, side-lying, tummy and head on hands.
- Move to a prop in the same position, with a spotter beside it.
- Shoot froggy and potato sack poses only as composites.
- Change hats and wraps first, then move the baby.
- Allow about an hour of posing inside a longer session.
If you are setting up a session from scratch, start with our full newborn session workflow, then come back here for the poses.
What posed newborn photography covers
Posed newborn photography means arranging a sleeping baby, usually in the first two weeks, into curled positions on a posing beanbag, in wraps or in props, under controlled light. A newborn posing guide covers which positions to use, the order that keeps the baby asleep, and the poses that must never be held by the baby alone.
- Wrapped poses: the baby swaddled, sometimes with hands or feet showing.
- Unwrapped poses: side-lying, tummy (bum up), head on hands, taco.
- Prop poses: the baby in a basket, bowl or bed set low on the floor.
- Composite poses: froggy and potato sack, built from two or more frames.
- Family poses: the baby with parents and siblings.
A pose must never depend on the baby holding still or holding its own head. When a picture shows a baby apparently balanced on its own hands, it was shot in parts, with an adult’s hands on the baby in every frame.
Why newborn poses decide the edit
Each newborn pose shows a different amount of skin and puts different details in the sharpest part of the frame. A wrapped pose hides most of the body and needs the least editing. A tummy pose shows the back, shoulders and cheeks, where peeling and blotches are easiest to see. A side-lying pose puts the hands at the face, so scratches and long fingernails sit right in focus.
Composite poses change the edit most. A froggy pose sent as one frame leaves nothing to merge, while two frames shot from the same camera position make a routine join.
What you need before you start
| What | Why it matters | Minimum |
|---|---|---|
| Posing beanbag and posing pillows | Shapes the surface under the baby so each pose is supported | A beanbag with a stretched fabric layer and a few small pillows or rolled cloths |
| Wraps and hats laid out in order | Changing them mid-flow wakes the baby | One wrap and hat per planned pose, lint-rolled |
| A warm room and white noise | Bare babies sleep deeper when warm and shushed | A heater kept well away from the baby; a shusher or steady noise |
| A spotter | Hands on the baby in props and composite frames | A trained assistant or a briefed parent within reach |
| A tripod | Composite frames must line up | Any tripod that holds the camera still between frames |
Click Magazine’s posing guide keeps the room at around 80 degrees and warns that if the photographer starts sweating, it is too hot. Use that as a starting point and adjust to the baby.
What retouching can’t fix
A pose with no supporting frame can’t be rebuilt safely afterwards. A frame where the baby woke and tensed, or where the focus missed the lashes, stays that way. A composite shot with the camera moved between frames may not line up cleanly.
Where the line sits
Safety comes before any pose on this list. Several experienced photographers, such as Sarah Lake, refuse the froggy and potato sack poses entirely because of the strain on the neck and airway. If you do them, do them only as composites, with training and a spotter, and skip any pose the baby resists.
Newborn poses in a posing flow: 8 steps
The flow below takes about an hour of posing, inside a session of one and a half to three hours with feeds and settling. The order follows the one most posing guides use: wrapped and family first, then the unwrapped poses on the beanbag, then props, then composites.
Step 1: Wrapped poses and family frames (10–15 min)
Start swaddled, while the baby settles and the parents are fresh.
- Wrap the baby snugly with the hands near the face, and leave the feet or hands peeking out for variety.
- Shoot from above on the beanbag, then hand the wrapped baby to each parent for family frames.
- Keep siblings in this part of the session, while the baby is still wrapped.

Step 2: Detail shots (5 min)
Before the wrap comes off, loosen it to show the hands and feet.
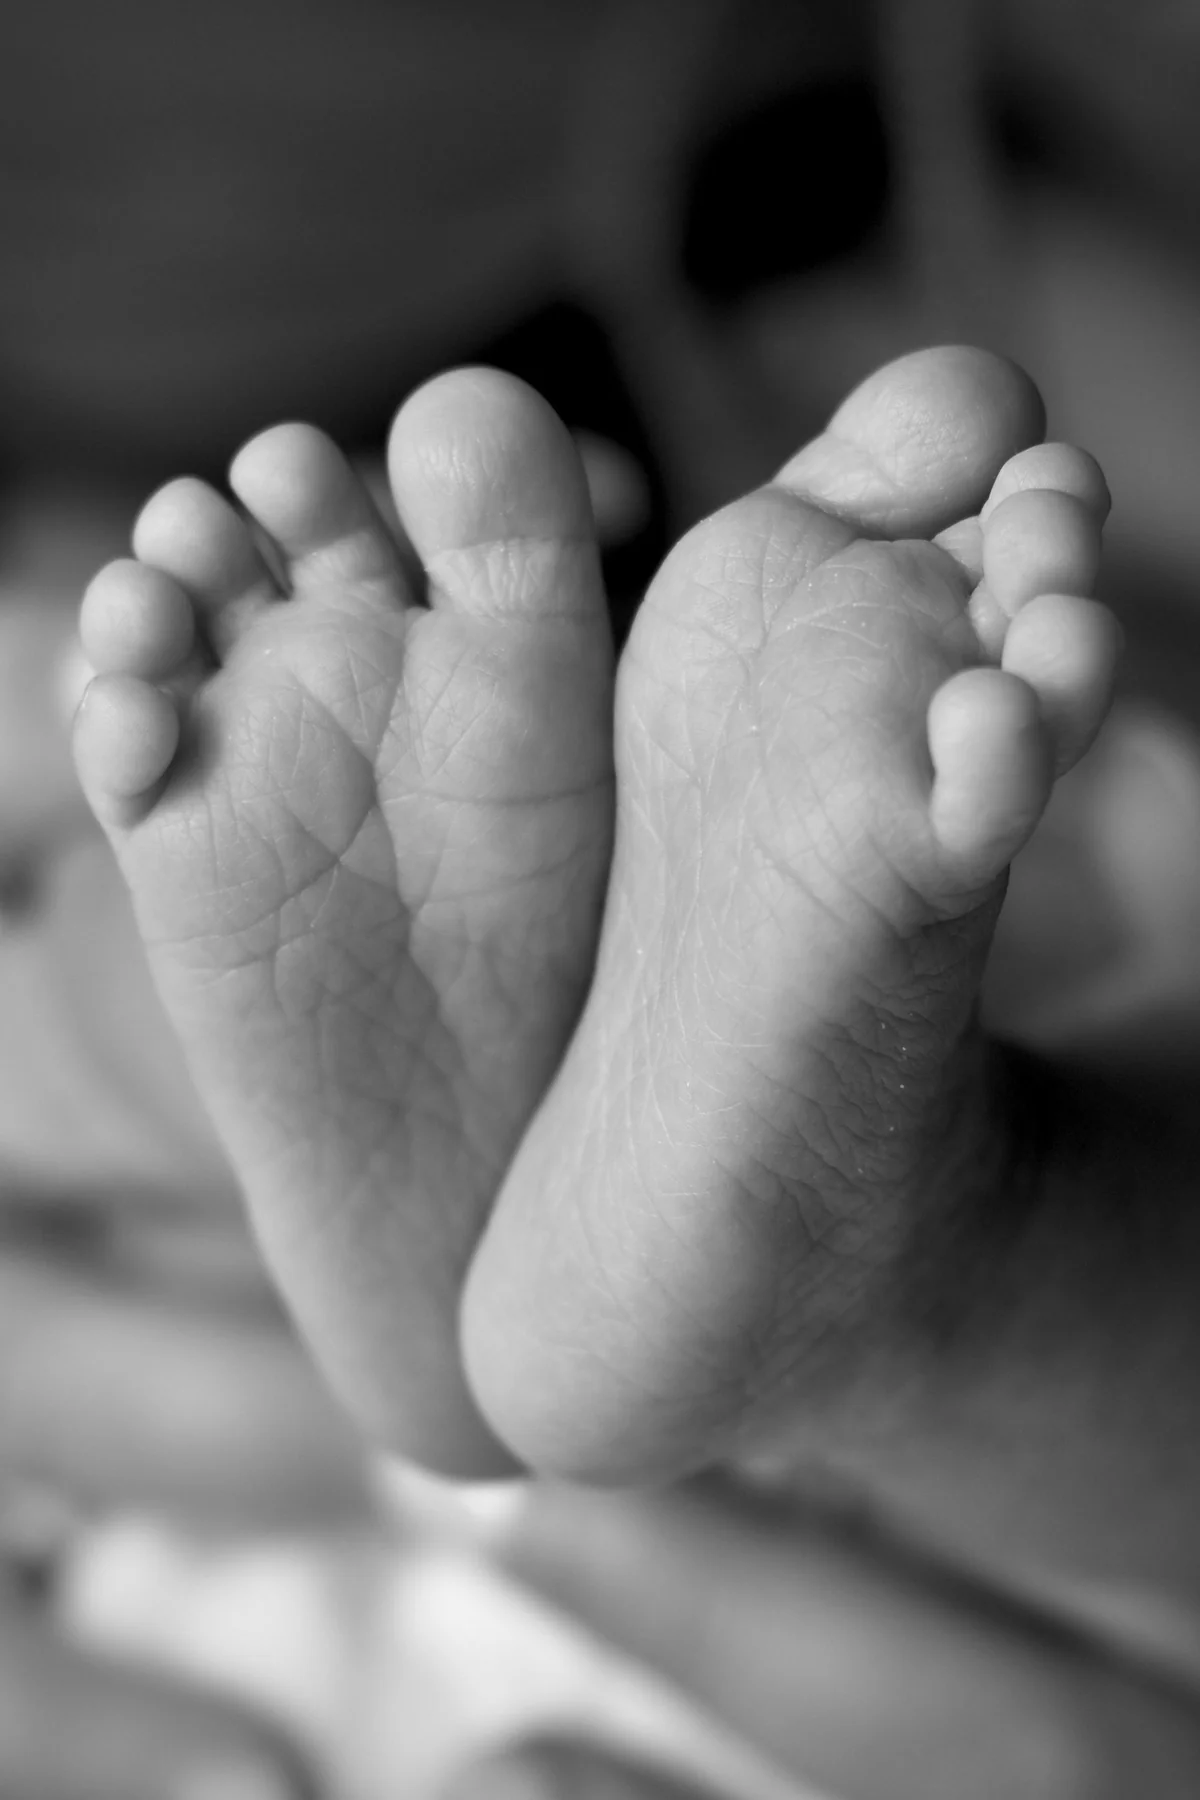
- Switch to a macro lens and shoot hands, feet, lips, lashes and ears.
- Focus carefully: details are the frames shown largest in an album.
- Check fingernails and toenails; long nails show more at this size than anywhere else.
Step 3: Side-lying (5–10 min)
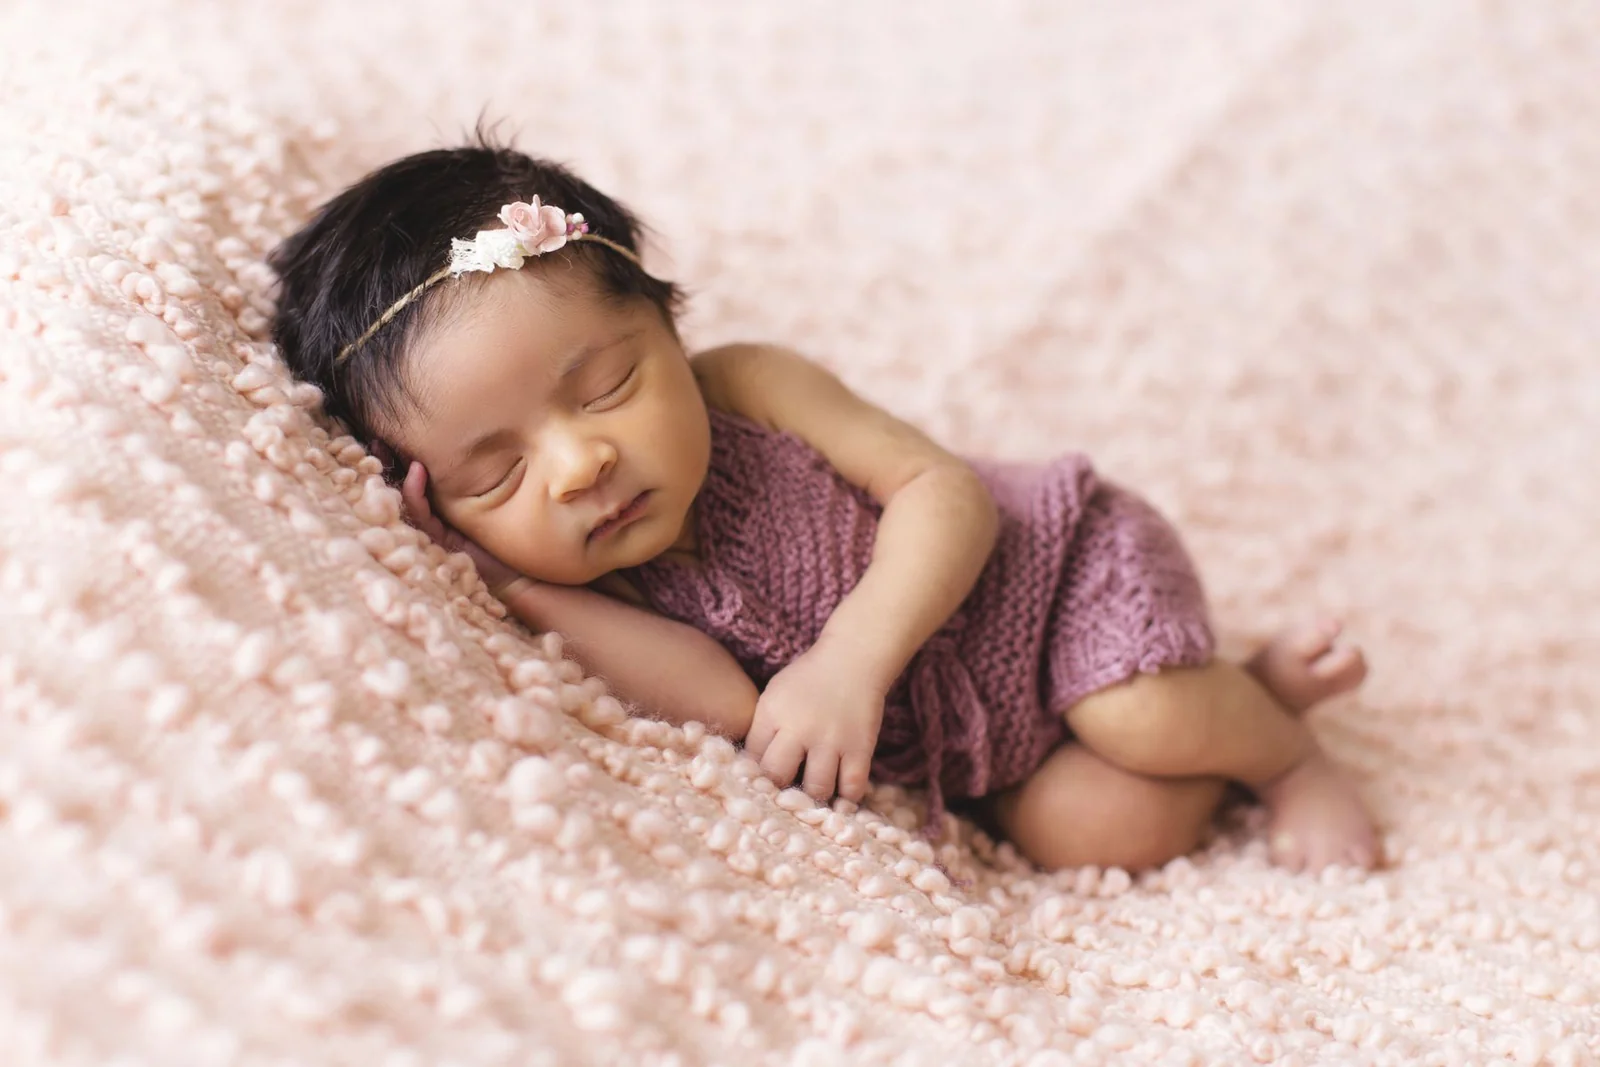
Unwrapped poses start here, on a fabric layer over the beanbag.
- Tuck the hands in a prayer position by the cheek and roll the baby gently onto its side.
- Bring the knees up and use small pillows under the fabric to set the height.
- Shoot from the head end and from above.
Step 4: Tummy pose (5–10 min)
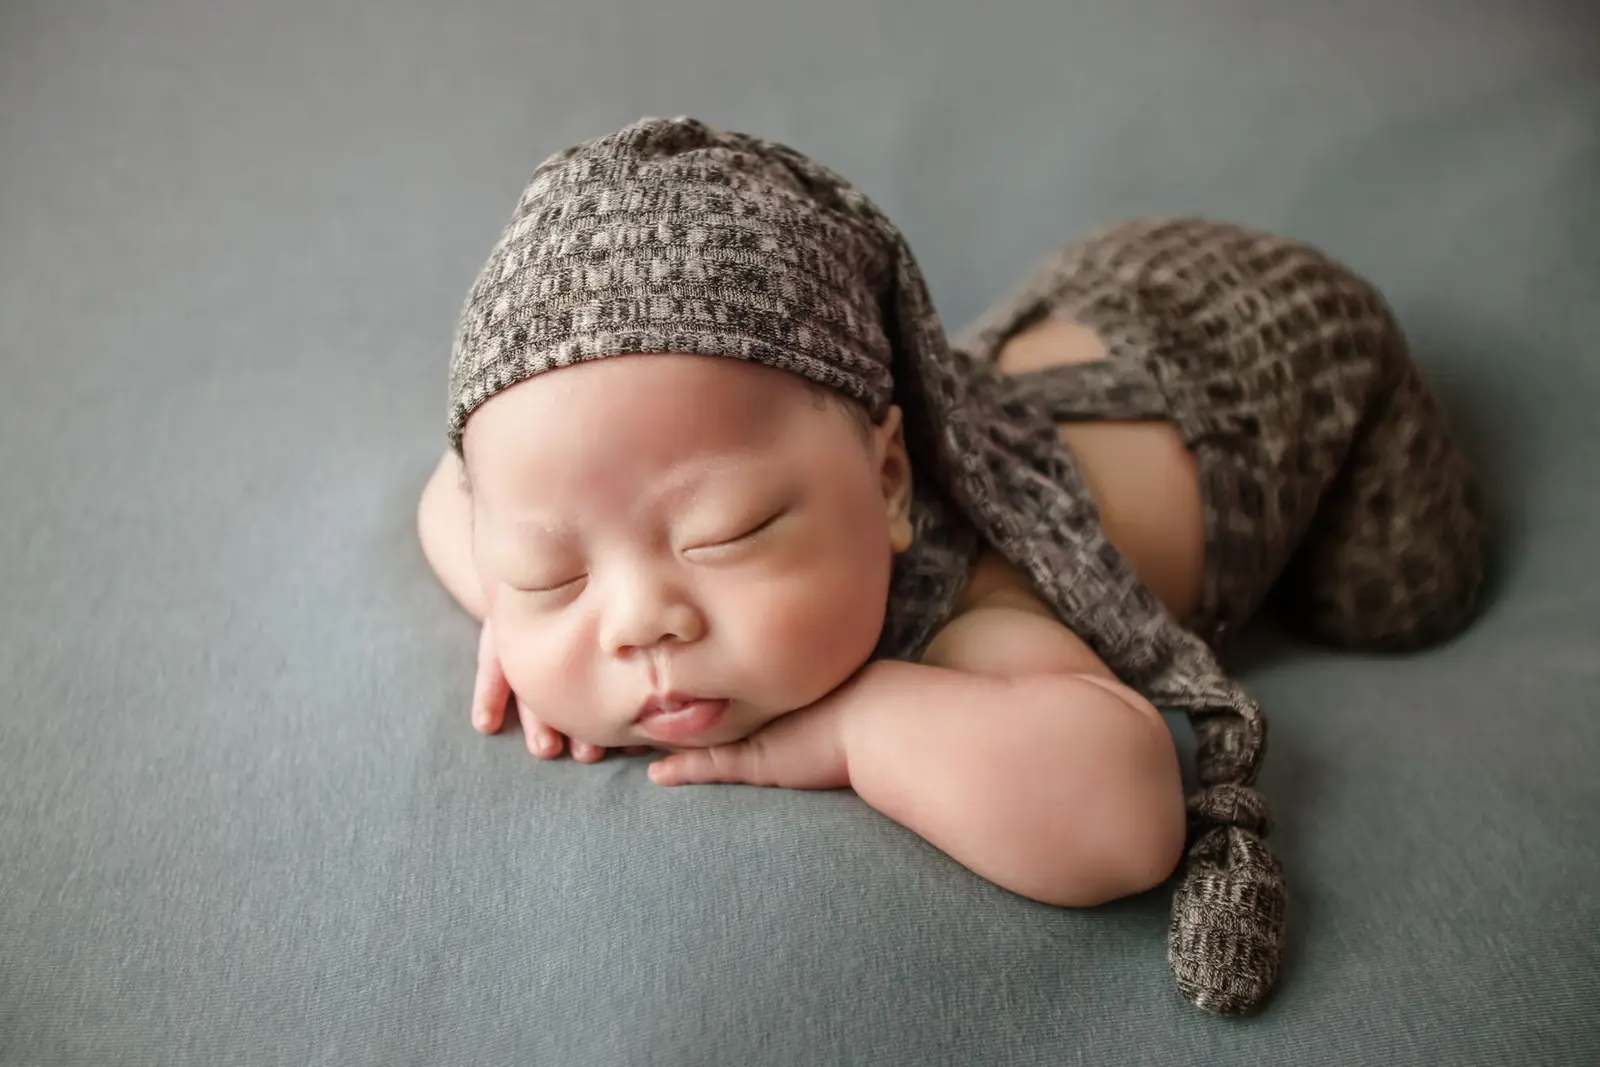
From side-lying, the baby rolls forward into the tummy pose, also called bum up.
- Cross the feet and tuck the knees under the belly.
- Move the far hand out of sight and rest the cheek on the near hand.
- Adjust the cushioning under the chest so the back curves gently.
Step 5: Head on hands (5 min)
Still on the tummy, bring both forearms forward under the face.
- Move the back arm around in front of the face, then rest the head on the stacked hands.
- Angle the elbows out into a triangle.
- Keep the head resting on the beanbag. If the pose needs the head lifted, it becomes a composite (step 7).
Step 6: Move to a prop (5–10 min)
Props come after the beanbag poses, in the position the baby is already in.
- Set the prop on the floor or on the beanbag, filled and weighted so the baby lies level.
- Hold the head and hands with one hand and the bottom and feet with the other, then lift and set the baby down in the same position.
- Keep the spotter’s hands within reach the whole time the baby is in the prop.
Step 7: Composite poses: froggy and potato sack (10–15 min)
These are the newborn photography positions that are never held by the baby alone.
- Lock the camera on a tripod and set the light before moving the baby.
- Shoot one frame with the spotter’s hand supporting the head, then one with the hand on the wrists or body, without moving the camera.
- Shoot extra frames of each half. Spares give the editor a cleaner join.
Tip: Put the next pose’s hat and wrap on first, then move the baby. Every extra touch is another chance to wake them.
Our froggy pose guide covers the two frames, the spotter’s position and what to send your editor.
Step 8: Back-lying in a prop to finish (5 min)
If the baby wakes full and content at the end, finish with an easy pose.
- Re-swaddle quickly and lay the baby on its back in a low prop or on the beanbag.
- Shoot wide and from above, then a few awake frames if the eyes open.
- End the posing here; a waking baby is the signal to stop.
Simple newborn poses for beginners
If you are new to posing infants for photography, build your sessions around the poses that are safe as single frames. A wrapped pose on the back is the easiest and needs the least editing, and side-lying is a classic portrait pose that is quick to set up. The tummy pose is the signature newborn portrait once the baby is deeply asleep, and back-lying in a low prop is a calm way to end. With detail shots, those poses make a full gallery without a single composite. Add composite poses only after training, with an assistant you have practiced with.
Common mistakes
| Mistake | What it looks like | Fix |
|---|---|---|
| Froggy shot as one frame | Supporting hands in the only frame, nothing to merge | Two frames from a locked camera, hands on in both |
| Camera moved between composite frames | Halves that don’t line up | Tripod, and no zoom or focus changes between frames |
| Hats changed after the move | A waking baby and a lost pose | Change wraps and hats first, then move |
| Hands near the face with long nails | Scratches and nails in the sharpest part of the frame | Check nails at the details step; note them for your editor |
| Props set up high | A safety risk, and a prop that tips | Props low and weighted, spotter beside them |
| Too many poses | A tired, waking baby by the prop round | Pick five or six poses and do them well |
What posing can’t fix
Even careful posing leaves work for the edit. Composite poses need the frames merged, the supporting hands removed and the light matched across the join. Tummy and side-lying poses show the skin as it is that day: baby acne, peeling, scratches and redness. That is the work of safe-pose composite editing and skin correction, done after the session from the frames you send.
Send every frame of each composite pose, including the ones you think are unusable, and keep the frames of one pose together in a folder or with a shared name.
Do it yourself or outsource?
If your sessions are mostly wrapped and single-frame poses, editing them yourself is quick and keeps your style consistent.
| Editing yourself works when | Outsourcing works when |
|---|---|
| Your galleries are mostly wrapped poses | Most galleries include composite poses |
| You shoot a few sessions a month | You shoot several sessions a week |
| You enjoy compositing | Compositing is the slowest part of your edit |
For the full session, from safety and light to props and handoff, see our newborn photography guide.
For galleries full of composites, professional newborn editing takes the merges off your desk. Composites are priced per photo, every image gets a second check by a second retoucher at 100%, and the standard turnaround is 24 hours.
Send us your trial images. It’s free, with no card or sign-up.
Frequently asked questions
Wrapped poses, side-lying, the tummy pose, head on hands, prop poses and detail shots of hands and feet. The froggy pose is popular too, but it is always a composite of two or more frames.
A wrapped pose with the baby on its back on a supported surface. It needs no balancing, keeps the baby warm and settled, and is the easiest pose to hold safely.
Yes. It is shot as at least two frames, one with a hand supporting the head and one with the hand on the wrists, then merged in editing. The baby never holds the pose alone.
The baby is wrapped and shown sitting upright, as if in a sack. Like the froggy pose, it is made from two or more frames with an adult supporting the baby, and some photographers don’t offer it at all.
About an hour for a full posing flow, inside a session of one and a half to three hours that includes feeds, changes and settling.